Введение
If the cooling fan produces a grinding noise, the fan starts and stops intermittently, or there is no air coming out of the exhaust ports, use this guide to remove and replace the fan. You will need a plastic opening tool and a Phillips #1 screwdriver head.
Выберете то, что вам нужно
-
-
-
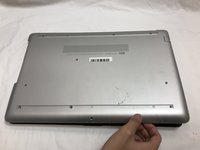
Turn your laptop over so that the Laptop Identification Tag on the underside of the laptop faces the ceiling.
 Спросите у FixBot
-
-
-
Using the plastic opening tools, peel back the plastic feet from the underside of the laptop.
-
-
-
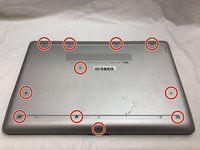
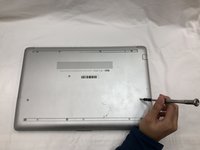
Using a Phillips #1 screwdriver, remove the eleven 9.0 mm screws holding the back cover in place.
-
-
-
-
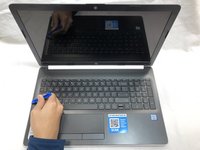
Flip the computer over and open the screen.
-
Start from a corner and run the plastic opening tools along the edge of the back cover.
-
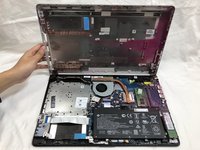
After the cover has been completely loosened around the entire perimeter, close the screen and flip the computer over.
-
Gently pry back the cover starting from the middle, bottom edge.
-
-
-
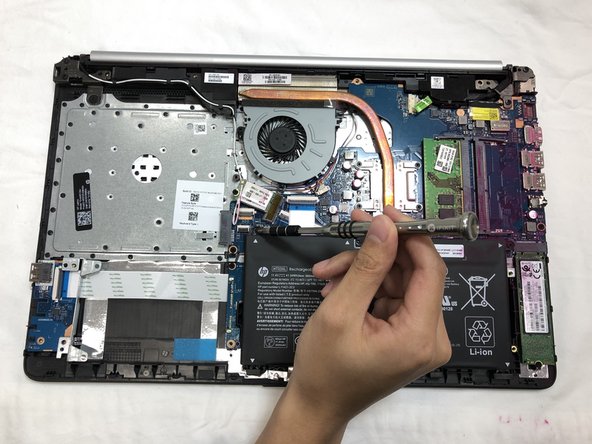
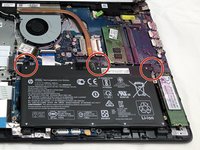
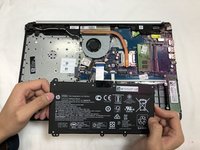
Using the Phillips #1 screwdriver, remove the three 8.0 mm screws holding the battery in place.
-
-
-
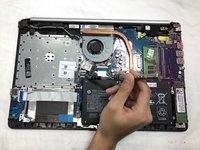
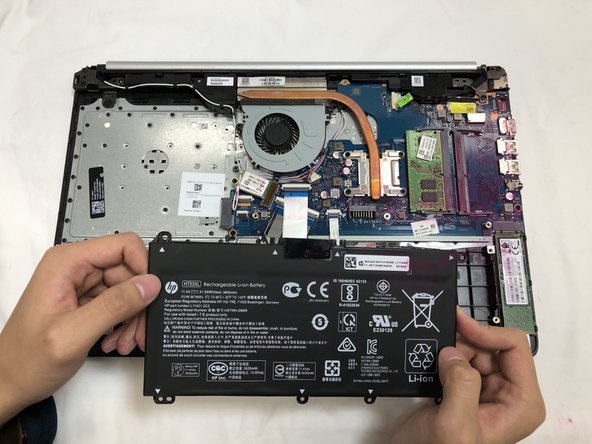
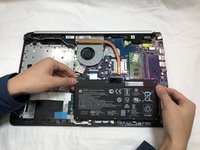
Remove the battery by tilting the top of the battery towards you and pulling the battery away from the mounting tabs.
-
-
-
-
-
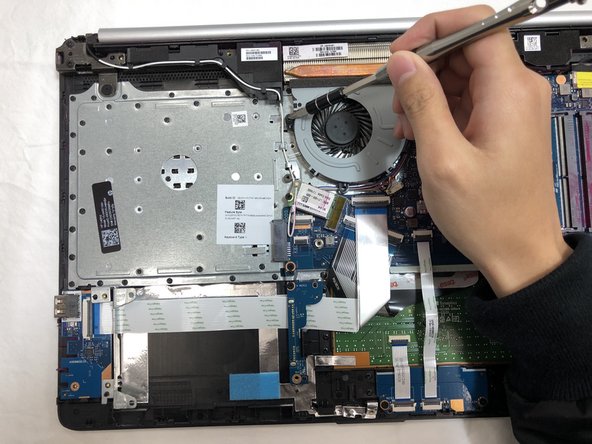
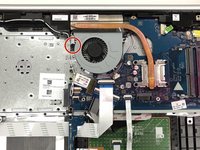
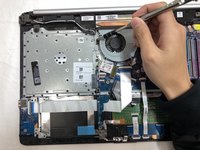
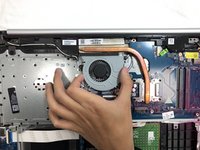
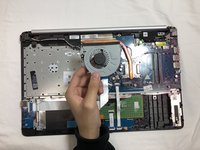
Using the Phillips #1 screwdriver, remove the single 6.0 mm screw holding the fan in place.
-
-
-
Using the tip of the blue plastic opening tool or your fingernail, pull the connector for the fan cable straight out of the socket.
-
-











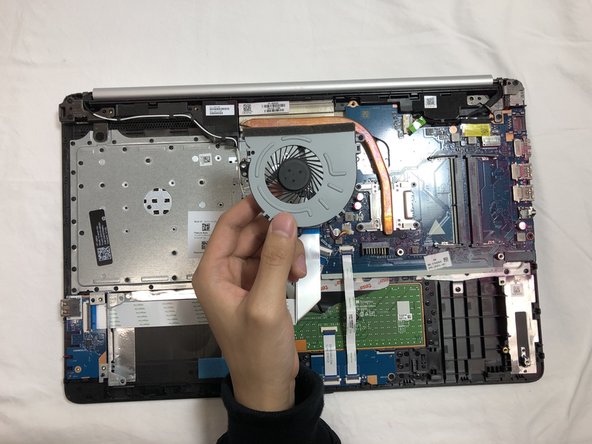
To reassemble your device, follow these instructions in reverse order.
Отменить: Я не выполнил это руководство.
Еще один человек закончил это руководство.

Команда

UC Davis, Team S20-G4, Lore Winter 2019 Участник UC Davis, Team S20-G4, Lore Winter 2019
UCD-LORE-W19S20G4
3 членов
Автор 35 руководств
1 Комментарий к руководству
In Step 9, the instructions are not clear "Using the tip of the blue plastic opening tool or your fingernail, pull the connector for the fan cable straight out of the socket.". By straight out, that could mean straight up. However, the connector needs to be pulled straight back towards the fan body. It is difficult to see which way the connector should go. Otherwise, the instructions are excellent.
