Введение
Directions for the removal and replacement of the RAM module in a HP 2000 - 2D22DX laptop computer. When adding more RAM, always replace the existing modules to ensure compatibility between modules.
Выберете то, что вам нужно
-
-
-
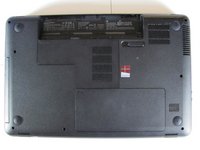
Flip the device over and locate the battery compartment.
-
Slide the battery release latch to the left until the battery is detached from its slot.
-
A distinguishable pop will be heard when the battery is fully released.
 Спросите у FixBot
-
-
-
Slowly pull the battery out of its slot, being careful not to damage any of the connectors in the process.
-
-
-
-
-
-
After battery removal, the RAM compartment cover is exposed.
-
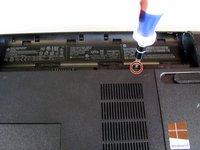
Locate the Phillips head screw seen in the second picture. It secures the RAM compartment to the plastic chassis.
-
Loosen the screw that is securing the RAM compartment with a Phillips #00 screwdriver.
-
-
-
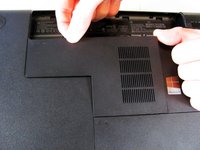
Once the screw is sufficiently loosened, gently unclip the RAM compartment cover from its slots in the plastic chassis.
-
Pull the compartment door out and away from the chassis, exposing the black film covering the RAM module.
-
-
-
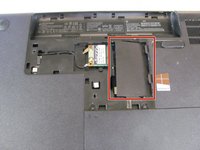
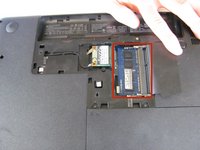
Move the black plastic film to the side to locate the RAM slots.
-
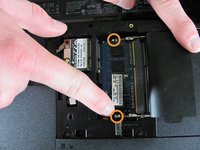
Locate the metal clips holding the RAM card in place.
-
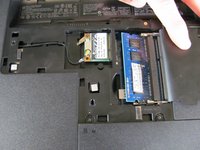
Using your fingers, push the metal clips out and away from the RAM module until the RAM module pops up at a 45 degree angle.
-
-
-
Hold the black plastic film away from the RAM slots. Grasp the edge of the RAM card and slide it out at a 45 degree angle.
-
-







To reassemble your device, follow these instructions in reverse order.
Отменить: Я не выполнил это руководство.
7 человек успешно провели ремонт по этому руководству.

Команда

Cal Poly, Team 3-40, Maness Spring 2014 Участник Cal Poly, Team 3-40, Maness Spring 2014
CPSU-MANESS-S14S3G40
4 членов
Автор 54 руководств
