Перейти к основному содержанию
Присоединяйся к сообществу ремонтников - Создай аккаунт

HP Chromebook 11-v011dx Screen Replacement

Выберете то, что вам нужно

    1. HP Chromebook 11-v011dx Screen  Replacement, Key Board: шаг 1, изображение 1 из 3 HP Chromebook 11-v011dx Screen  Replacement, Key Board: шаг 1, изображение 2 из 3 HP Chromebook 11-v011dx Screen  Replacement, Key Board: шаг 1, изображение 3 из 3
      • Wedge the spudger between one of the black rubber caps on each of the four corners on the bottom of the HP Chromebook 11-v011dx.

      • Lift up the black rubber cap until it is completely removed.

      • Repeat this until all four of the black rubber caps are removed.

      Спросите у FixBot

      Добавить комментарий

    2. HP Chromebook 11-v011dx Screen  Replacement: шаг 2, изображение 1 из 2 HP Chromebook 11-v011dx Screen  Replacement: шаг 2, изображение 2 из 2
      • Locate the two smaller black rubber caps on the top corners of the HP ChromeBook 11-v011dx. Wedge the spudger between one of them.

      • Lift up the small black rubber cap until it is completely off.

      • Repeat this step one more time to remove the other small black rubber cap on the other side.

      Спросите у FixBot

      Добавить комментарий

    3. HP Chromebook 11-v011dx Screen  Replacement: шаг 3, изображение 1 из 2 HP Chromebook 11-v011dx Screen  Replacement: шаг 3, изображение 2 из 2
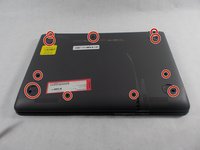
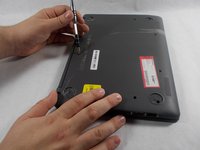
      • Locate the eleven screws on the bottom the HP ChromeBook. Six are located under the larger black rubber caps and the others are in different locations.

      • Use a Phillips #0 screwdriver to remove eleven 1.3mm screws.

      Спросите у FixBot

      Добавить комментарий

    4. HP Chromebook 11-v011dx Screen  Replacement: шаг 4, изображение 1 из 3 HP Chromebook 11-v011dx Screen  Replacement: шаг 4, изображение 2 из 3 HP Chromebook 11-v011dx Screen  Replacement: шаг 4, изображение 3 из 3
      • Make sure to do steps 1-3 or it will be impossible to lift up the key board and you may also do damage to the hardware.

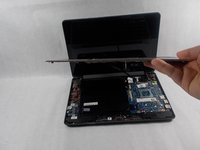
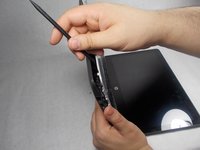
      • Wedge the spudger between the key board and the bottom panel, carefully go around the keyboards edges gently.

      • Lift the spudger a little in the front of the keyboard until the key board lifts up.

      • With your hands, slowly and carefully lift the key board up.

      Спросите у FixBot

      Добавить комментарий

    5. HP Chromebook 11-v011dx Screen  Replacement: шаг 5, изображение 1 из 1
      • Locate the black tab that holds a wire in place that keeps the keyboard connected to the mother board.

      • Slowly unplug this wire that connects to the key board.

      Спросите у FixBot

      Добавить комментарий

    1. HP Chromebook 11-v011dx Screen  Replacement, Screen: шаг 6, изображение 1 из 2 HP Chromebook 11-v011dx Screen  Replacement, Screen: шаг 6, изображение 2 из 2
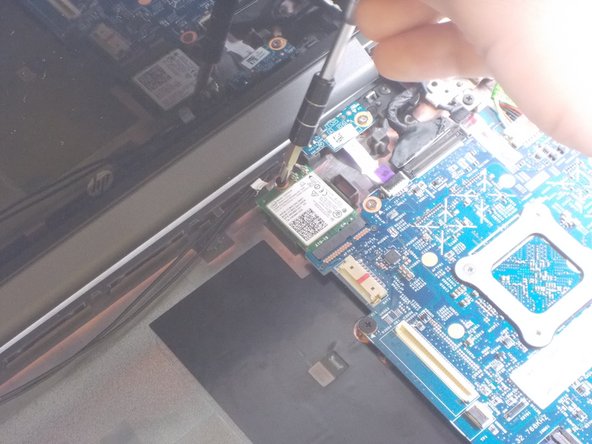
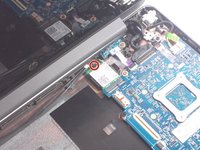
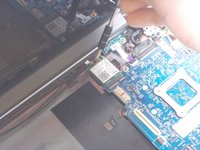
      • Use a Phillips #0 screwdriver to remove the 1.3 mm screw that holds the wireless card.

      Спросите у FixBot

      Добавить комментарий

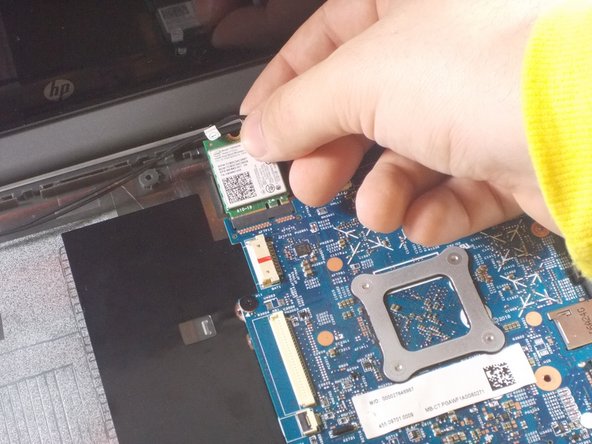
    2. HP Chromebook 11-v011dx Screen  Replacement: шаг 7, изображение 1 из 2 HP Chromebook 11-v011dx Screen  Replacement: шаг 7, изображение 2 из 2
      • Remove the wireless card from the motherboard with your own hand.

      Спросите у FixBot

      Добавить комментарий

    3. HP Chromebook 11-v011dx Screen  Replacement: шаг 8, изображение 1 из 2 HP Chromebook 11-v011dx Screen  Replacement: шаг 8, изображение 2 из 2
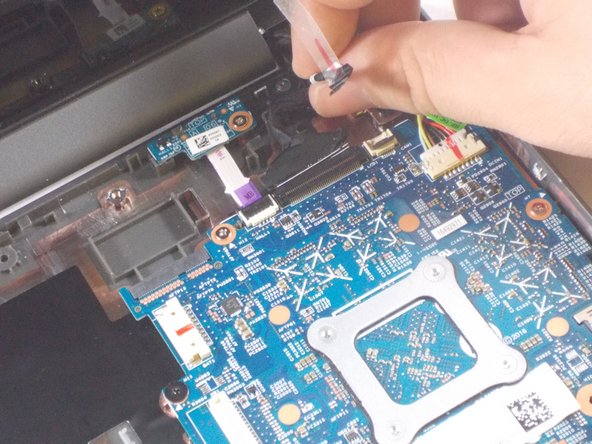
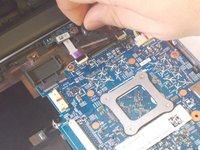
      • Find the wire that connects the screen to the motherboard.

      • Lift black tab that holds the wire in place.

      • Remove the wire.

      Спросите у FixBot

      Добавить комментарий

    4. HP Chromebook 11-v011dx Screen  Replacement: шаг 9, изображение 1 из 2 HP Chromebook 11-v011dx Screen  Replacement: шаг 9, изображение 2 из 2
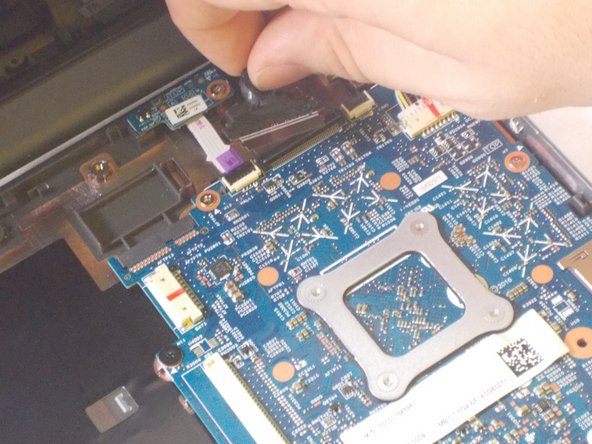
      • Find the display cable that connects the screen to the motherboard.

      • Lift black tab that holds the display cable in place.

      • Remove display cable.

      Спросите у FixBot

      Добавить комментарий

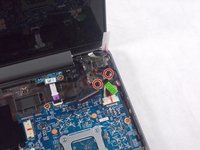
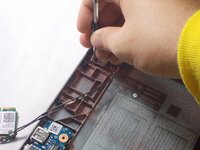
    5. HP Chromebook 11-v011dx Screen  Replacement: шаг 10, изображение 1 из 3 HP Chromebook 11-v011dx Screen  Replacement: шаг 10, изображение 2 из 3 HP Chromebook 11-v011dx Screen  Replacement: шаг 10, изображение 3 из 3
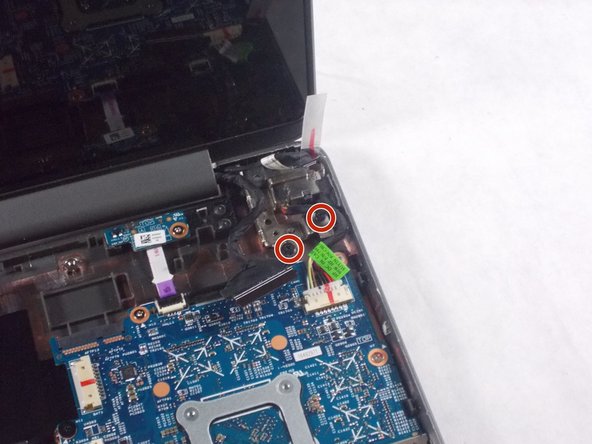
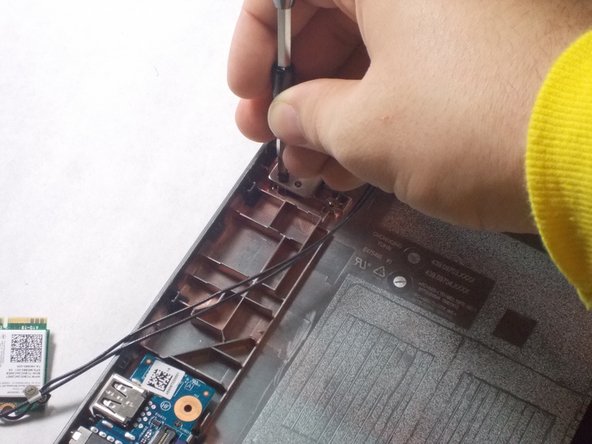
      • Use a Phillips #0 screwdriver to remove the four 1.3mm screws that hold the screen in place.

      • Two screws are on the left of the laptop and two are on the right of the laptop.

      Спросите у FixBot

      Добавить комментарий

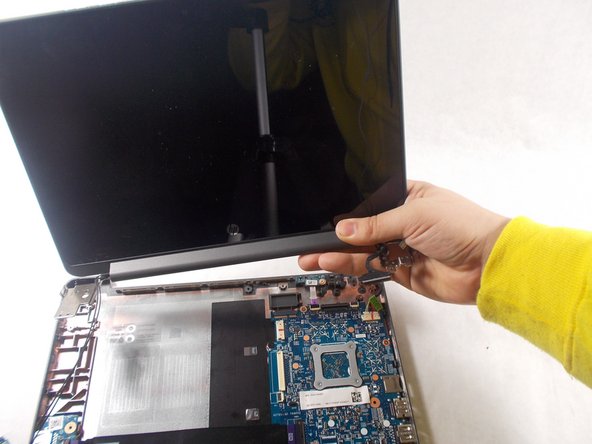
    6. HP Chromebook 11-v011dx Screen  Replacement: шаг 11, изображение 1 из 2 HP Chromebook 11-v011dx Screen  Replacement: шаг 11, изображение 2 из 2
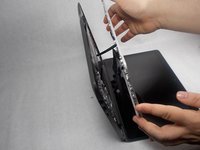
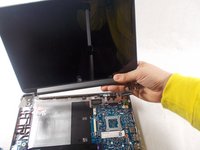
      • Be careful when removing the screen so it doesn't get caught on any wires.

      • Remove the screen from the laptop.

      Спросите у FixBot

      Добавить комментарий

Заключение

To reassemble your device, follow these instructions in reverse order.

Отменить: Я не выполнил это руководство.

Еще один человек закончил это руководство.

Kyle DeMello

Участник с: 10/20/17

542 Репутация

Автор 5 руководств

Команда

UMass Dartmouth, Team S4-G2, Julie Fall 2017 Участник UMass Dartmouth, Team S4-G2, Julie Fall 2017

UMASSD-JULIE-F17S4G2

3 членов

Автор 45 руководств

0 Комментарии к руководству

Добавить комментарий

Статистика просмотров:

За последние 24 часов: 0

За последние 7 дней: 8

За последние 30 дней: 15

За всё время: 1,133