Введение
Damage to the device screen may prevent you from using your printer to its designed functionality. In this scenario, replacing the screen is a prudent option. However, following the entirety of this guide will void the warranty agreement. Proceed with caution. While following the steps in this guide, ensure your printer is grounded (plugged into a wall socket rated for 15A, 120V) to ensure that static discharge does not damage your printer after the replacement.
Выберете то, что вам нужно
-
-
-
Open the printer by pushing upwards against the plastic tabs on the printer body's sides.
-
Remove the opening assist by pushing it toward the front of the printer with a nylon spudger.
-
Remove the spring-loaded clip attached to the top of the printer by pushing it off of the hook.
 Спросите у FixBot
-
-
-
Place the T9 Torx screwdriver in the screw slot and turn counterclockwise to remove the two 12 mm screws that hold the screen manifold to the printer.
-
Push with minimal force to the right to dislodge the manifold from the printer body.
-
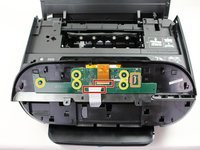
Lift the panel up and turn it over to reveal the green micro-controller board underneath.
-
-
-
-
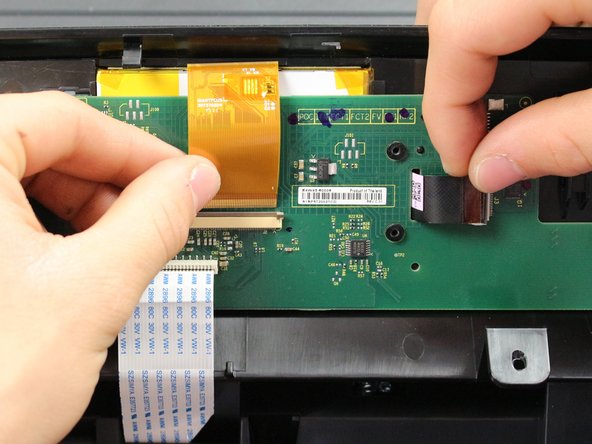
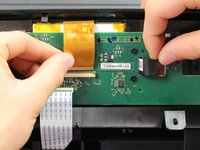
Undo the two connectors by gently pulling them away from the board.
-
Remove the last connector by flipping the tab up and pulling away from the board while also pulling left.
-
Remove the five 6.5 mm screws from the board using the T6 Torx screwdriver.
-
-
-
Insert the plastic opening tool into the space between the green board and the printer manifold and push downwards to dislodge the green board.
-
-
-
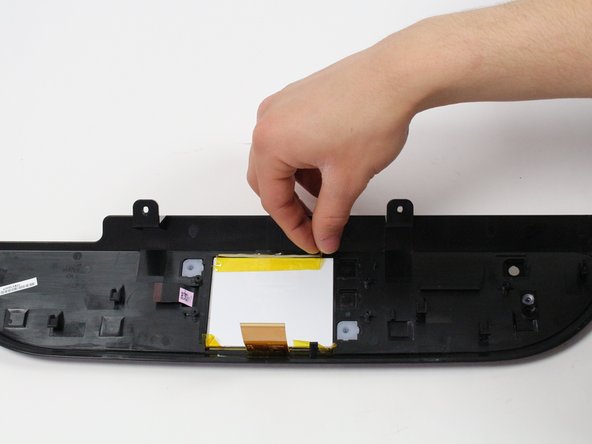
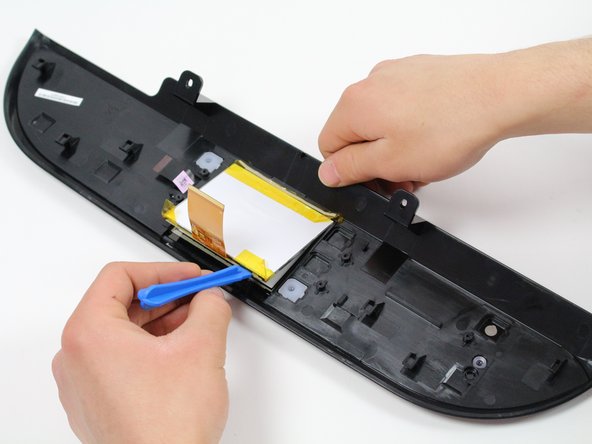
Peel back the tape that holds the screen in place.
-
Insert the plastic opening tool between the white screen backing and the screen to pry the screen backing from the adhesive that holds it in place.
-
-




To reassemble your device, follow these instructions in reverse order.
Отменить: Я не выполнил это руководство.
Еще один человек закончил это руководство.

Команда

Cal Poly, Team S1-G2, Livingston Winter 2018 Участник Cal Poly, Team S1-G2, Livingston Winter 2018
CPSU-LIVINGSTON-W18S1G2
3 членов
Автор 10 руководств
