Перейти к основному содержанию
Присоединяйся к сообществу ремонтников - Создай аккаунт

HP Mini 210-2070NR RAM Replacement

Выберете то, что вам нужно

    1. HP Mini 210-2070NR RAM Replacement, Battery and Service Access Cover: шаг 1, изображение 1 из 1
      • Before beginning, make sure that your computer is turned off and all external power cords are disconnected.

      • Close the laptop and turn it over so that the underside is up and the silver battery bay is facing towards you.

      Спросите у FixBot

      Добавить комментарий

    2. HP Mini 210-2070NR RAM Replacement: шаг 2, изображение 1 из 3 HP Mini 210-2070NR RAM Replacement: шаг 2, изображение 2 из 3 HP Mini 210-2070NR RAM Replacement: шаг 2, изображение 3 из 3
      • The battery locking latch is on the bottom right corner; slide it inward to unlock the battery.

      • Slide the battery release latch inwards.

      • Pull the battery towards you to remove it.

      Спросите у FixBot

      Добавить комментарий

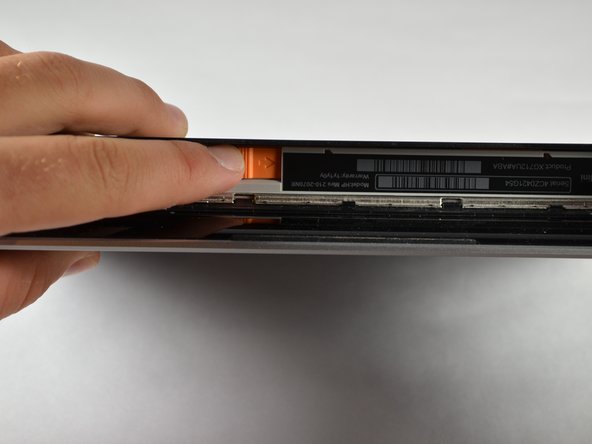
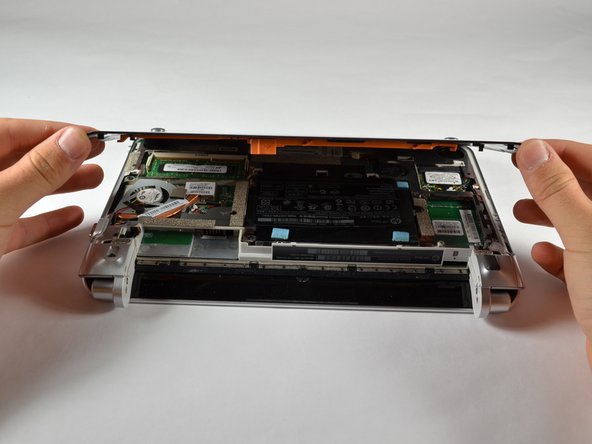
    3. HP Mini 210-2070NR RAM Replacement: шаг 3, изображение 1 из 3 HP Mini 210-2070NR RAM Replacement: шаг 3, изображение 2 из 3 HP Mini 210-2070NR RAM Replacement: шаг 3, изображение 3 из 3
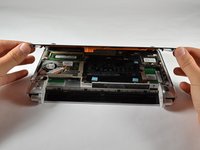
      • Slide the service access cover release lever to the right.

      • While holding the lever to the right, lift up the laptop's bottom cover gently and remove the cover.

      Спросите у FixBot

      Добавить комментарий

    4. HP Mini 210-2070NR RAM Replacement: шаг 4, изображение 1 из 1
      • Orient the computer as shown in the picture.

      Спросите у FixBot

      Добавить комментарий

    1. HP Mini 210-2070NR RAM Replacement, RAM: шаг 5, изображение 1 из 1
      • Using your fingers, pull the two white clips (tabs) on both sides of the RAM away from each other. Keep pulling the clips until the RAM pops up

      • Hold the RAM on the edges only. Touching the components on the RAM might damage it.

      Спросите у FixBot

      Добавить комментарий

    2. HP Mini 210-2070NR RAM Replacement: шаг 6, изображение 1 из 1
      • Grab the edges of the module and gently lift it from the slot.

      • RAM Cards are designed with a notch on the surface to prevent incorrect insertion into the memory module slot.

      Спросите у FixBot

      Добавить комментарий

Заключение

To reassemble your device, follow these instructions in reverse order.

Отменить: Я не выполнил это руководство.

2 человек успешно провели ремонт по этому руководству.

Sean Kuster

Участник с: 10/05/12

91 Репутация

Автор 3 руководств

Команда

Cal Poly, Team 3-23, Amido Fall 2012 Участник Cal Poly, Team 3-23, Amido Fall 2012

CPSU-AMIDO-F12S3G23

4 членов

Автор 6 руководств

0 Комментарии к руководству

Добавить комментарий

Статистика просмотров:

За последние 24 часов: 3

За последние 7 дней: 8

За последние 30 дней: 21

За всё время: 2,477