Перейти к основному содержанию
Присоединяйся к сообществу ремонтников - Создай аккаунт

HP Notebook 15-ba018ds Fan Replacement

Выберете то, что вам нужно

    1. HP Notebook 15-ba018ds Fan Replacement, Battery: шаг 1, изображение 1 из 1
      • Before beginning, make sure the laptop is completely turned off by pressing the off button and waiting for the screen to turn black.

      • Flip the laptop over so the battery is exposed which will be next to the hinges on the top left and right.

      Спросите у FixBot

      Добавить комментарий

    2. HP Notebook 15-ba018ds Fan Replacement: шаг 2, изображение 1 из 3 HP Notebook 15-ba018ds Fan Replacement: шаг 2, изображение 2 из 3 HP Notebook 15-ba018ds Fan Replacement: шаг 2, изображение 3 из 3
      • Place your thumbs on the slide locks that are next to the hinges and simultaneously push them toward each other to unlock the battery.

      • While still holding onto the slide locks, push the battery away from the laptop with your index fingers.

      Спросите у FixBot

      Добавить комментарий

    1. HP Notebook 15-ba018ds Fan Replacement, Fan: шаг 3, изображение 1 из 2 HP Notebook 15-ba018ds Fan Replacement, Fan: шаг 3, изображение 2 из 2
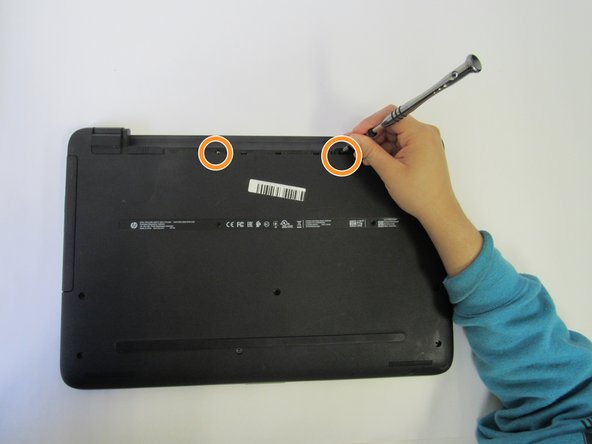
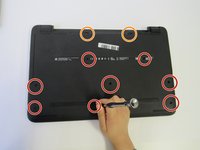
      • Unscrew the 8 screws on the back cover.

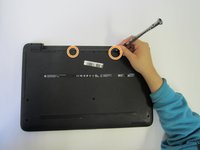
      • There are also two screws in the battery area that need to be removed.

      Спросите у FixBot

      Добавить комментарий

    2. HP Notebook 15-ba018ds Fan Replacement: шаг 4, изображение 1 из 1
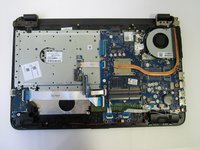
      • Use an opening tool to help remove the back cover.

      • If you look at the side of the laptop, you can see where it can be separated into two parts.

      Спросите у FixBot

      Добавить комментарий

    3. HP Notebook 15-ba018ds Fan Replacement: шаг 5, изображение 1 из 2 HP Notebook 15-ba018ds Fan Replacement: шаг 5, изображение 2 из 2
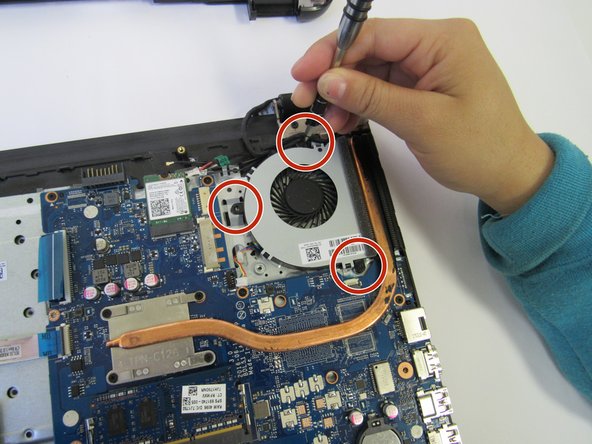
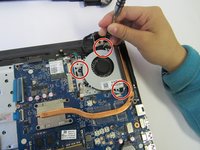
      • Remove the three Phillips head screws attached to the fan.

      Спросите у FixBot

      Добавить комментарий

    4. HP Notebook 15-ba018ds Fan Replacement: шаг 6, изображение 1 из 2 HP Notebook 15-ba018ds Fan Replacement: шаг 6, изображение 2 из 2
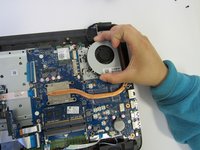
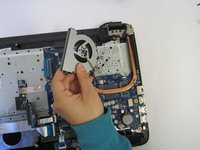
      • Remove old fan and replace with a new fan.

      Спросите у FixBot

      Добавить комментарий

Заключение

To reassemble your device, follow these instructions in reverse order.

Отменить: Я не выполнил это руководство.

Еще один человек закончил это руководство.

Terrell Bradford

Участник с: 09/18/18

443 Репутация

Автор 3 руководств

Команда

University of North Texas, Team S3-G2, Raign Fall 2018 Участник University of North Texas, Team S3-G2, Raign Fall 2018

UNT-RAIGN-F18S3G2

4 членов

Автор 32 руководств

0 Комментарии к руководству

Добавить комментарий

Статистика просмотров:

За последние 24 часов: 0

За последние 7 дней: 3

За последние 30 дней: 21

За всё время: 1,610