Перейти к основному содержанию
Присоединяйся к сообществу ремонтников - Создай аккаунт

HP Officejet Pro 8625 Display Replacement

Выберете то, что вам нужно

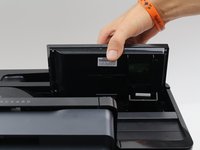
  1. HP Officejet Pro 8625 Display  Replacement, Display Motherboard: шаг 1, изображение 1 из 2 HP Officejet Pro 8625 Display  Replacement, Display Motherboard: шаг 1, изображение 2 из 2
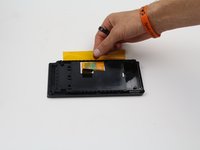
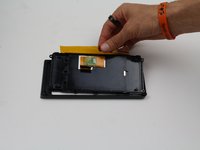
    • Disconnect the display by holding it in place while pulling down on the plastic hinge.

    • Slowly apply more and more force as it does take a lot to separate, do not worry about the hinge or display breaking.

    Спросите у FixBot
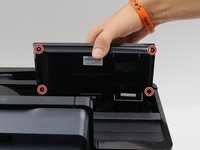
  2. HP Officejet Pro 8625 Display  Replacement: шаг 2, изображение 1 из 3 HP Officejet Pro 8625 Display  Replacement: шаг 2, изображение 2 из 3 HP Officejet Pro 8625 Display  Replacement: шаг 2, изображение 3 из 3
    • Lift the display as high as it will allow to expose the back of the display.

    • Pinch the sides of the cover and pull away from the printer to reveal the connector.

    • Remove the connector by pulling both away from the display and towards the printer.

    Спросите у FixBot
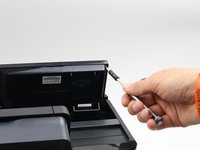
  3. HP Officejet Pro 8625 Display  Replacement: шаг 3, изображение 1 из 3 HP Officejet Pro 8625 Display  Replacement: шаг 3, изображение 2 из 3 HP Officejet Pro 8625 Display  Replacement: шаг 3, изображение 3 из 3
    • Remove the four 6.2 mm T9 screws from the back of the display.

    • Pull the display assembly up and away from the printer.

    Спросите у FixBot
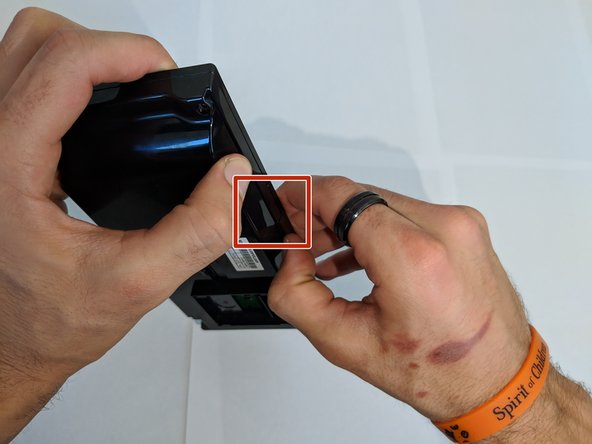
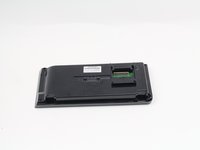
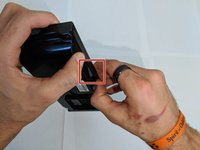
  4. HP Officejet Pro 8625 Display  Replacement: шаг 4, изображение 1 из 2 HP Officejet Pro 8625 Display  Replacement: шаг 4, изображение 2 из 2
    • Remove the back cover from the display assembly by pressing down on the point of connection.

    • If you use a plastic spudger for this step, be careful not to brake the plastic as you do not need to use much force to remove the back cover.

    Спросите у FixBot
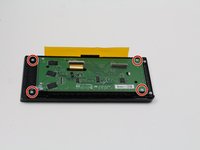
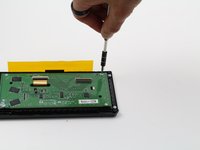
  5. HP Officejet Pro 8625 Display  Replacement: шаг 5, изображение 1 из 2 HP Officejet Pro 8625 Display  Replacement: шаг 5, изображение 2 из 2
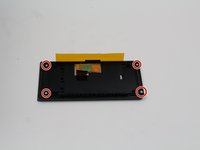
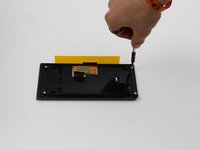
    • Remove the four 4.8 mm T6 screws from the back of the display motherboard.

    Спросите у FixBot
  6. HP Officejet Pro 8625 Display  Replacement: шаг 6, изображение 1 из 2 HP Officejet Pro 8625 Display  Replacement: шаг 6, изображение 2 из 2
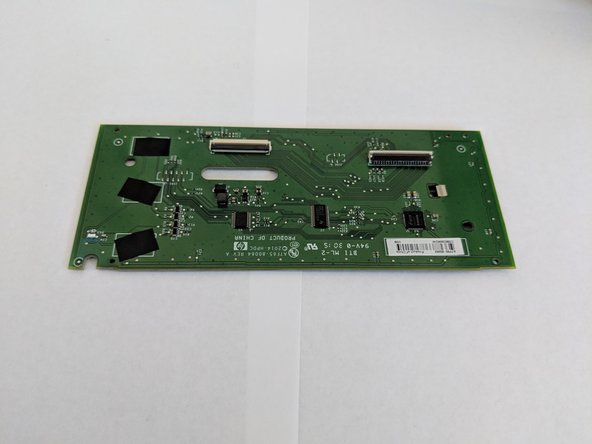
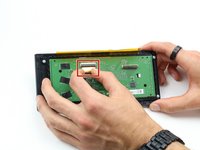
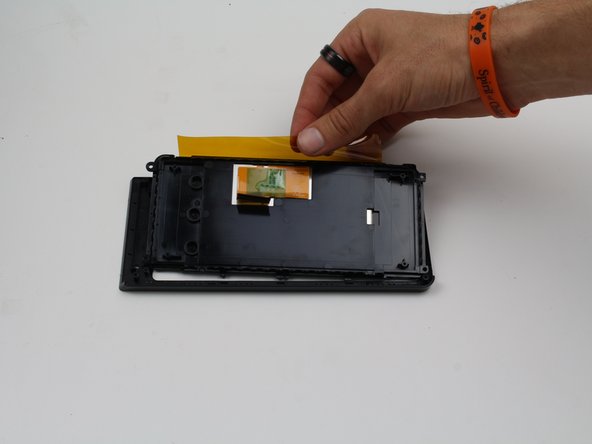
    • Remove the connection on the front of the display motherboard.

    • Remove the display motherboard.

    Спросите у FixBot
  7. HP Officejet Pro 8625 Display  Replacement, Display: шаг 7, изображение 1 из 2 HP Officejet Pro 8625 Display  Replacement, Display: шаг 7, изображение 2 из 2
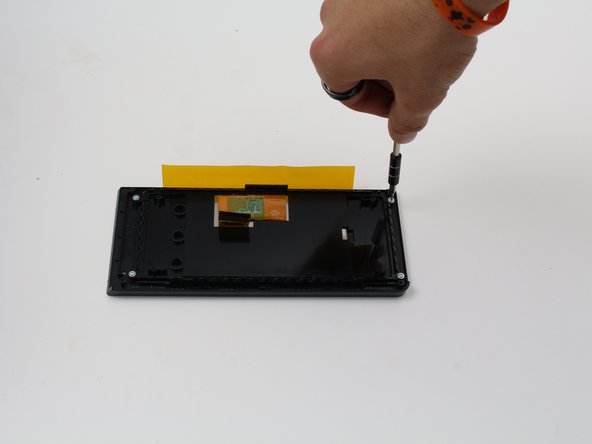
    • Remove the four 4.8 mm screws from the back of the display using a T6 screwdriver.

    Спросите у FixBot
  8. HP Officejet Pro 8625 Display  Replacement: шаг 8, изображение 1 из 3 HP Officejet Pro 8625 Display  Replacement: шаг 8, изображение 2 из 3 HP Officejet Pro 8625 Display  Replacement: шаг 8, изображение 3 из 3
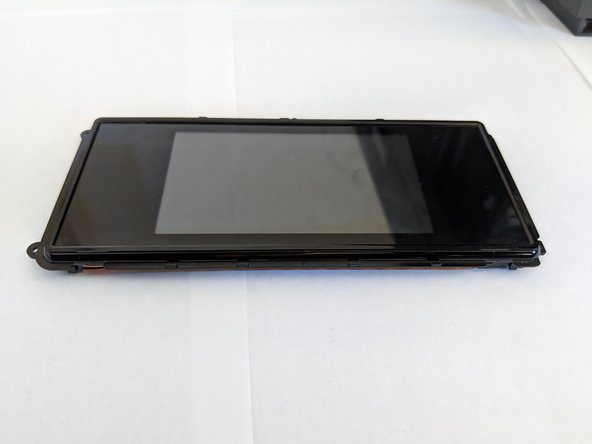
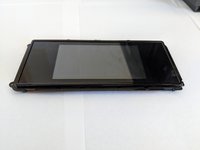
    • Lift the display out of the case.

    Спросите у FixBot
Заключение

To reassemble your device, follow these instructions in reverse order.

Cole Andrews

Участник с: 10/08/18

273 Репутация

Автор 2 руководств

Команда

Cal Poly, Team S13-G3, White Fall 2018 Участник Cal Poly, Team S13-G3, White Fall 2018

CPSU-WHITE-F18S13G3

3 членов

Автор 14 руководств

0 Комментарии к руководству

Добавить комментарий

Статистика просмотров:

За последние 24 часов: 3

За последние 7 дней: 15

За последние 30 дней: 60

За всё время: 826