Введение
HP Pavilion 14-v062us Keyboard
If your HP Pavilion 14-b120dx laptop has sticky keys, missing components, or an overall malfunctioning keyboard, it might be time to replace the keyboard. This operation isn’t as hard as one may think. In fact, with the right materials, you can tackle this job in just a few steps.
For precise instructions, use this guide to replace the keyboard. This guide will show you how to replace the keyboard on your HP Pavilion 14-v062us. Before starting, make sure your device is turned off and disconnected from any power sources. Transfer your laptop to a stable, dry, working surface to begin the operation. The installation process is just the reverse order of the removal process.
Выберете то, что вам нужно
-
-
-
Push inward towards the center of laptop (it may take a lot of pressure). Battery should release once buttons are completely pushed in
 Спросите у FixBot
-
-
-
-
-
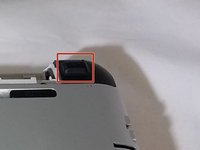
Remove rectangular rubber tops with a spudger
-
Remove the two 4.60 mm PH#1 screws located under rectangular rubber tops.
-
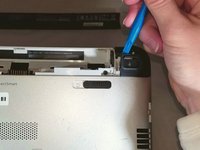
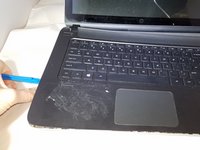
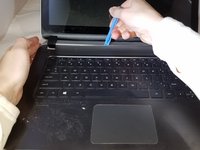
Remove plastic edge covering with the blue plastic opening tool.
-
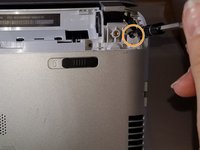
Remove two 4.63 mm PH#1 screws located under plastic edge covering.
-
-
-
-
Use Phillips screwdriver #1
-
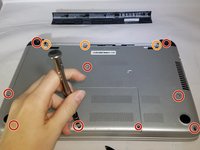
Remove all nine 7.09 mm PH#1 screw black screws including small rectangular cover.
-
Remove the three 7.14 mm PH#1 screws.
-
Remove the one 7.09 mm PH#1 screw that will be underneath the small rectangular cover
-
-
-
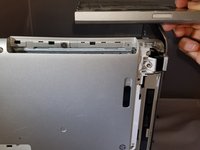
Remove disc tray
-
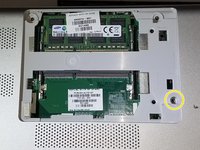
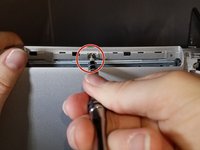
Locate screw within computer that is inside of where the disc tray was
-
Using a Phillips #1 screwdriver, unscrew the screw
-
Set laptop down and open laptop so the keyboard is facing you
-
-
-
Using a spudger or plastic opening tool, pry along siding of keyboard, where it connects to the rest of the laptop
-
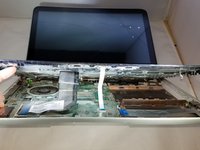
Pry until you are able to lift entire face and keyboard
-
Only cables should be connecting it underneath
-
-
-
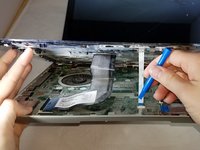
Disconnect/ unplug cables using plastic opening tool.
-
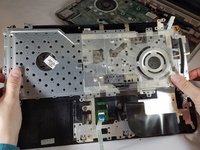
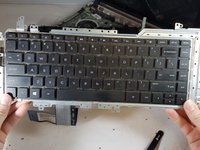
Separate the keyboard panel from the laptop with your hands.
-
Turn around the laptop and lay it flat.
-
-
-
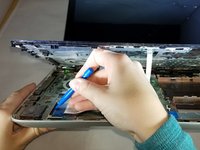
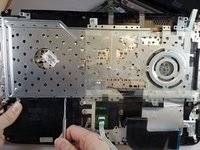
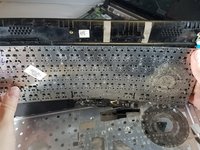
Use a spudger to pry around the first layer of the silver panel until you are able to remove it
-
-
-
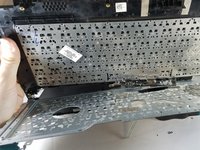
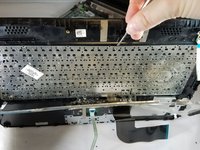
Using a spudger tool, start prying around the second layer of the silver panel until you are able to remove it
-
-














To reassemble your device, follow these instructions in reverse order.
Отменить: Я не выполнил это руководство.
2 человек успешно провели ремонт по этому руководству.

Команда

Eastern Washington University, Team S1-G4, Carnegie Fall 2017 Участник Eastern Washington University, Team S1-G4, Carnegie Fall 2017
EWU-CARNEGIE-F17S1G4
3 членов
Автор 23 руководств
2 Комментарии к руководству
Thank you so much, this guide is very helpful.
Thank you for the guide. It was very helpful!
