Этот перевод был сделан машиной и пока не проверен человеком. Говорите на этом языке? Просмотрите его.
Введение
Если ваш экран треснул, неисправен или не показывает изображение при включенном компьютере, возможно, вам придется его заменить. Это руководство поможет вам заменить экран и устранить проблему.
Выберете то, что вам нужно
-
-
-
Сдвиньте фиксатор, чтобы извлечь аккумулятор
-
После извлечения аккумулятора вы увидите 8 винтов в отсеке для аккумулятора. Открутите эти 8 винтов.
 Спросите у FixBot
-
-
-
После того как винты корпуса аккумулятора выкручены, откройте ноутбук, чтобы снять рамку клавиатуры.
-
Подденьте рамку сбоку с помощью пластиковой лопатки (spudger). Аккуратно отсоедините фиксатор. Будьте осторожны, чтобы не сломать его.
-
Затем используйте пластиковую лопатку, чтобы аккуратно отсоединить рамку сверху. Будьте осторожны, чтобы не сломать фиксатор.
-
После этого нажмите кнопку, расположенную над тачпадом, чтобы полностью снять рамку в нижней части.
-
-
-
После снятия рамки можно будет извлечь клавиатуру. Ее нужно отсоединить от шлейфа. Аккуратно вытяните шлейф из разъема.
-
Клавиатура отсоединена от компьютера.
-
-
-
-
-
Отсоедините два провода, аккуратно потянув их на себя.
-
Затем извлеките два провода из зажима, который удерживал их на месте.
-
-
-
-
Отсоедините закрытый защитной пленкой шлейф, расположенный с левой стороны компьютера.
-
-
-
Аккуратно вытяните провод меньшего размера из фиксатора. Пожалуйста, не тяните за сам провод. Используйте для этого пластиковый колпачок.
-
-
-
Экран ноутбука крепится тремя винтами с каждой стороны. Открутите каждый винт с обеих сторон.
-
Затем аккуратно извлеките экран из посадочного места. Не прилагайте чрезмерных усилий.
-
-
-
Используйте лопатку (spudger), чтобы удалить резиновые наклейки, расположенные в нижней части с каждой стороны экрана.
-
Выкрутите винты с каждой стороны.
-
-
-
С усилием подденьте переднюю крышку экрана. Проведите инструментом для открывания по периметру переднего экрана. Будьте осторожны, чтобы не сломать защелку. Это приведет к повреждению всего экрана.
-
-
-
Извлеките экран из корпуса.
-
Аккуратно отсоедините кабель веб-камеры от монитора, расположенный на задней стороне ноутбука.
-
-


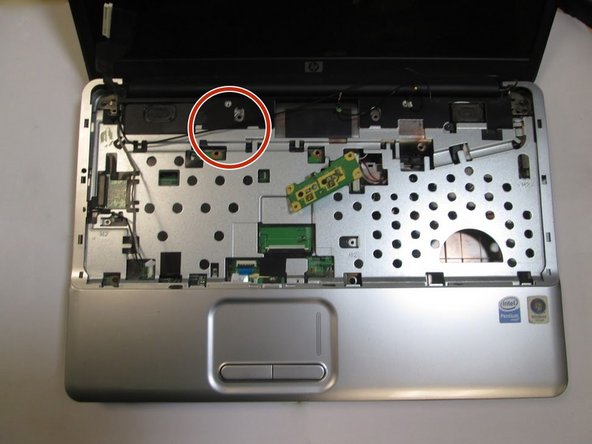
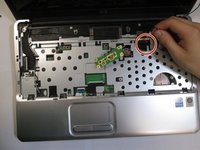
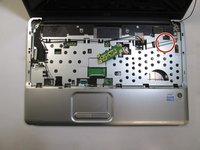
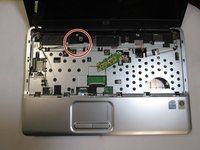


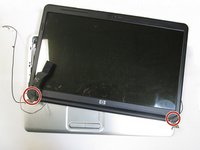
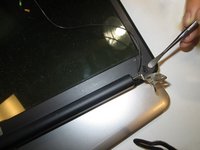


Для сборки устройства выполните эти действия в обратном порядке.
Отменить: Я не выполнил это руководство.
2 человек успешно провели ремонт по этому руководству.

Команда

Cal Poly, Team 10-5, Banghart Winter 2017 Участник Cal Poly, Team 10-5, Banghart Winter 2017
CPSU-BANGHART-W17S10G5
3 членов
Автор 60 руководств
1 Комментарий к руководству
Thanks helping me me out. left 1 key screw stuck.
Keyboard wudnt come out SUPRISE SUPRISE!. very kind of to help.
