Перейти к основному содержанию
Присоединяйся к сообществу ремонтников - Создай аккаунт

HP Pavilion N3350 Optical Drive Replacement

Выберете то, что вам нужно

    1. HP Pavilion N3350 Optical Drive Replacement, Keyboard: шаг 1, изображение 1 из 2 HP Pavilion N3350 Optical Drive Replacement, Keyboard: шаг 1, изображение 2 из 2
      • Open your laptop. Beneath the screen, here is a large plastic piece that contains slots for a speaker, the power button, and numerous indicator lights.

      • To remove this, pry it open with a spudger tool gently. It should pop out of place.

      Спросите у FixBot

      Добавить комментарий

    2. HP Pavilion N3350 Optical Drive Replacement: шаг 2, изображение 1 из 2 HP Pavilion N3350 Optical Drive Replacement: шаг 2, изображение 2 из 2
      • Remove the three 6mm screws using a Phillips #1 screwdriver.

      • Once the screws are removed, the keyboard is free from the base of the laptop.

      Спросите у FixBot

      Добавить комментарий

    3. HP Pavilion N3350 Optical Drive Replacement: шаг 3, изображение 1 из 2 HP Pavilion N3350 Optical Drive Replacement: шаг 3, изображение 2 из 2
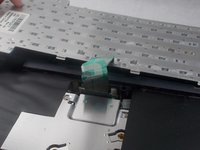
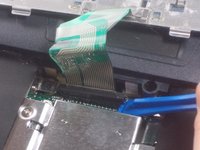
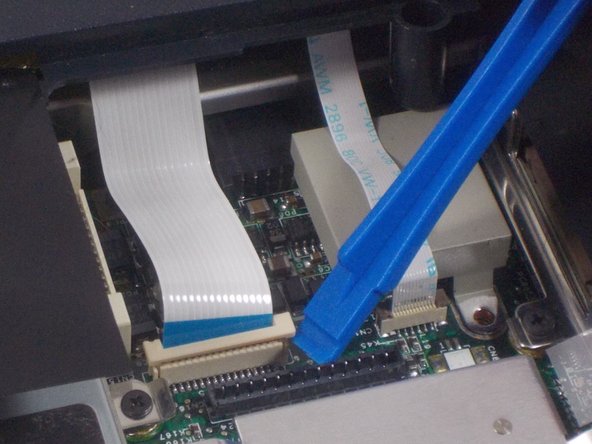
      • Disconnect the green ribbon cable using a plastic opening tool.

      Спросите у FixBot

      Добавить комментарий

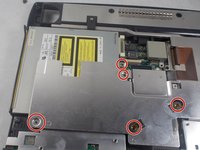
    1. HP Pavilion N3350 Optical Drive Replacement, Optical Drives: шаг 4, изображение 1 из 2 HP Pavilion N3350 Optical Drive Replacement, Optical Drives: шаг 4, изображение 2 из 2
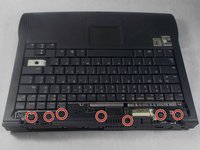
      • Remove the 6 millimeter screws indicated with a Phillips #1 screwdriver.

      • Remove the top plastic covering from the base of the device.

      Спросите у FixBot

      Добавить комментарий

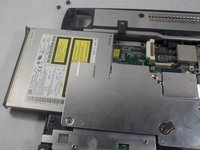
    2. HP Pavilion N3350 Optical Drive Replacement: шаг 5, изображение 1 из 2 HP Pavilion N3350 Optical Drive Replacement: шаг 5, изображение 2 из 2
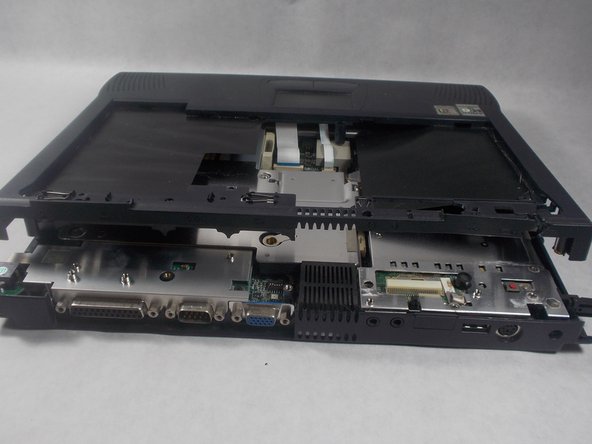
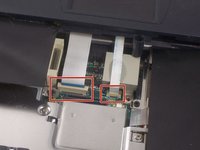
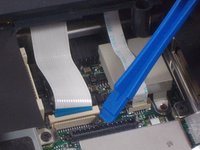
      • Use a plastic opening tool to disconnect both cable connectors gently.

      Спросите у FixBot

      Добавить комментарий

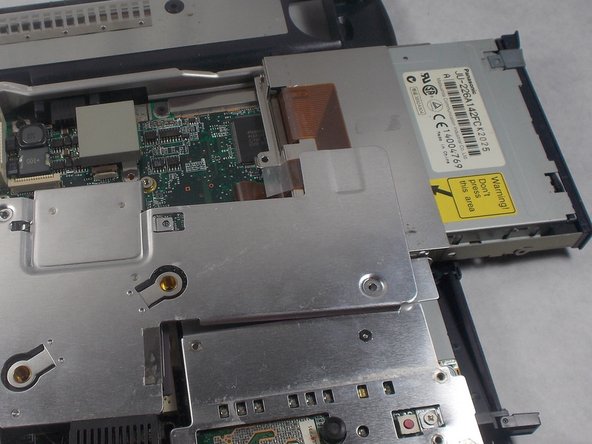
    3. HP Pavilion N3350 Optical Drive Replacement: шаг 6, изображение 1 из 2 HP Pavilion N3350 Optical Drive Replacement: шаг 6, изображение 2 из 2
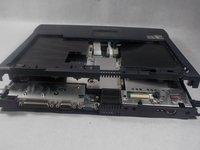
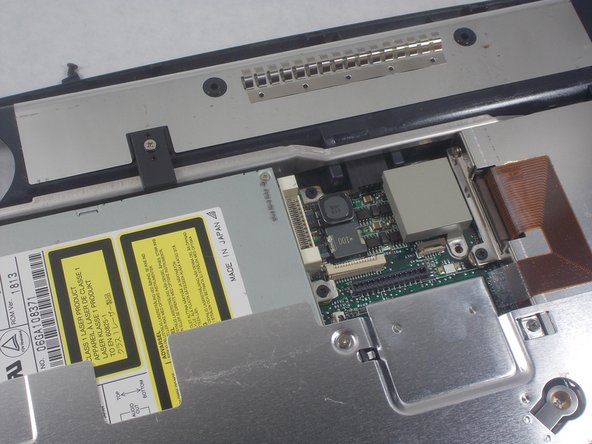
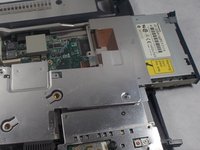
      • Once these cables are disconnected, the optical drives can be found inside.

      • This particular laptop has a CD/DVD combo drive on the left, and a floppy disc drive on the right.

      Спросите у FixBot

      Добавить комментарий

    4. HP Pavilion N3350 Optical Drive Replacement: шаг 7, изображение 1 из 2 HP Pavilion N3350 Optical Drive Replacement: шаг 7, изображение 2 из 2
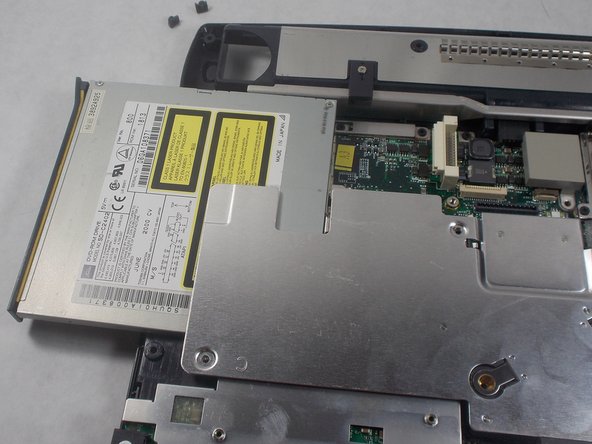
      • The 1 centimeter screws indicated need to be removed using a Phillips #1 screwdriver to free the CD/DVD combo drive.

      • Once freed, the CD/DVD combo drive should slide out and remove easily.

      Спросите у FixBot

      Добавить комментарий

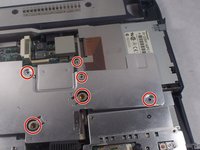
    5. HP Pavilion N3350 Optical Drive Replacement: шаг 8, изображение 1 из 2 HP Pavilion N3350 Optical Drive Replacement: шаг 8, изображение 2 из 2
      • The 1 centimeter screws indicated must be removed with a Phillips #1 screwdriver to free the floppy disc drive.

      • Remove the floppy disc drive from the device.

      Спросите у FixBot

      Добавить комментарий

Заключение

To reassemble your device, follow these instructions in reverse order.

Отменить: Я не выполнил это руководство.

Еще один человек закончил это руководство.

Lyndon Davis

Участник с: 03/19/18

124 Репутация

1 руководство автора

Команда

UMass Dartmouth, Team S3-G8, Peak Spring 2018 Участник UMass Dartmouth, Team S3-G8, Peak Spring 2018

UMASSD-PEAK-S18S3G8

3 членов

Автор 79 руководств

0 Комментарии к руководству

Добавить комментарий

Статистика просмотров:

За последние 24 часов: 2

За последние 7 дней: 6

За последние 30 дней: 32

За всё время: 594