Перейти к основному содержанию
Присоединяйся к сообществу ремонтников - Создай аккаунт

HP Pavilion dv1000 Bluetooth Card Replacement

Выберете то, что вам нужно

    1. HP Pavilion dv1000 Bluetooth Card Replacement, Battery: шаг 1, изображение 1 из 1
      • Shut down the computer.

      • Disconnect all external devices and cables from the computer.

      Спросите у FixBot

      Добавить комментарий

    2. HP Pavilion dv1000 Bluetooth Card Replacement: шаг 2, изображение 1 из 1
      • Flip the laptop over.

      Спросите у FixBot

      Добавить комментарий

    3. HP Pavilion dv1000 Bluetooth Card Replacement: шаг 3, изображение 1 из 2 HP Pavilion dv1000 Bluetooth Card Replacement: шаг 3, изображение 2 из 2
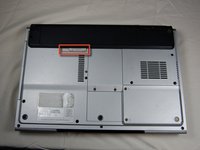
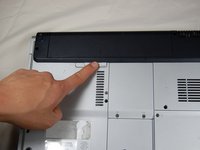
      • Locate the gray sliding tab next to the black bar where the battery is located.

      • Slide the gray sliding tab to the left until you hear a distinct click.

      • The inside edge of the battery should pop up.

      Спросите у FixBot

      Добавить комментарий

    4. HP Pavilion dv1000 Bluetooth Card Replacement: шаг 4, изображение 1 из 3 HP Pavilion dv1000 Bluetooth Card Replacement: шаг 4, изображение 2 из 3 HP Pavilion dv1000 Bluetooth Card Replacement: шаг 4, изображение 3 из 3
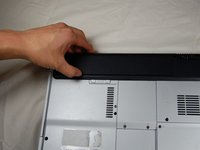
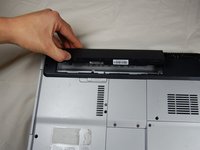
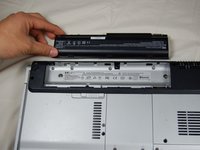
      • Grasp the inside edge of the battery.

      • Lift the inside edge of the battery up to detach the battery from the laptop.

      Спросите у FixBot

      Добавить комментарий

    1. HP Pavilion dv1000 Bluetooth Card Replacement, Hard Drive: шаг 5, изображение 1 из 1
      • With the battery removed, locate the hard drive access panel.

      Спросите у FixBot

      Добавить комментарий

    2. HP Pavilion dv1000 Bluetooth Card Replacement: шаг 6, изображение 1 из 3 HP Pavilion dv1000 Bluetooth Card Replacement: шаг 6, изображение 2 из 3 HP Pavilion dv1000 Bluetooth Card Replacement: шаг 6, изображение 3 из 3
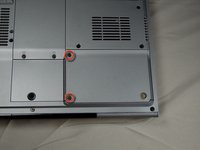
      • Identify the two screws that attach the hard drive access panel.

      • Remove the identified screws with your #00 Philips screwdriver.

      • Lift the left edge of the access panel up and to the right to detach the hard drive access panel from the laptop.

      Спросите у FixBot

      Добавить комментарий

    3. HP Pavilion dv1000 Bluetooth Card Replacement: шаг 7, изображение 1 из 1
      • This particular laptop does not contain a hard drive-- yours will.
      • Identify the plastic tab located on the left side of the hard drive.

      • Grasp the tab, gently lift up, and slide the tab to the left to remove the hard drive from the laptop.

      • If you wish to replace your hard drive with another, the hard drive has a metal bracket screwed onto the sides of the casing. Unscrew the bracket from the old hard drive and screw it onto the new hard drive before inserting into the laptop.

      Спросите у FixBot

      Добавить комментарий

    1. HP Pavilion dv1000 Bluetooth Card Replacement, RAM: шаг 8, изображение 1 из 1
      • Locate RAM access door on the bottom side of the laptop.

      Спросите у FixBot

      Добавить комментарий

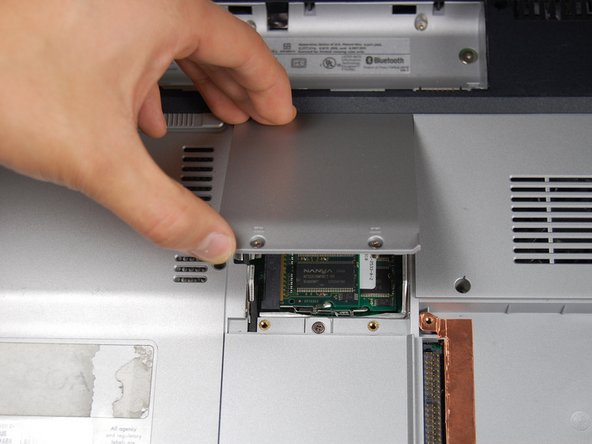
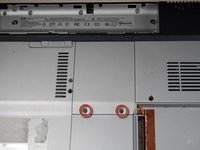
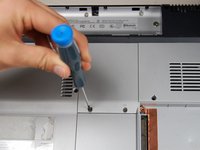
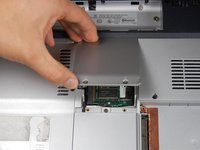
    2. HP Pavilion dv1000 Bluetooth Card Replacement: шаг 9, изображение 1 из 3 HP Pavilion dv1000 Bluetooth Card Replacement: шаг 9, изображение 2 из 3 HP Pavilion dv1000 Bluetooth Card Replacement: шаг 9, изображение 3 из 3
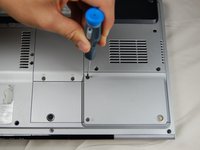
      • Locate the two screws holding down the RAM access cover

      • Unscrew the two screws with a size 00 Philips screwdriver.

      • Note: The screws do not detach from the cover.

      Спросите у FixBot

      Добавить комментарий

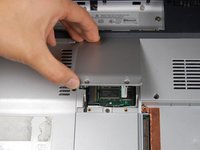
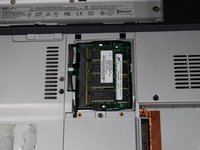
    3. HP Pavilion dv1000 Bluetooth Card Replacement: шаг 10, изображение 1 из 2 HP Pavilion dv1000 Bluetooth Card Replacement: шаг 10, изображение 2 из 2
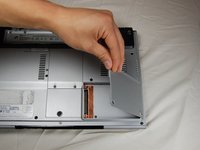
      • Lift up on the screw side of the RAM access cover to remove it.

      Спросите у FixBot

      Добавить комментарий

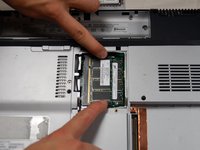
    4. HP Pavilion dv1000 Bluetooth Card Replacement: шаг 11, изображение 1 из 2 HP Pavilion dv1000 Bluetooth Card Replacement: шаг 11, изображение 2 из 2
      • Gently pull apart the metal tabs located on both sides of the stick of RAM.

      • The RAM stick should tilt upwards.

      Спросите у FixBot

      Добавить комментарий

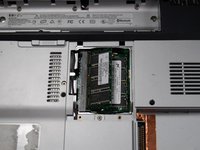
    5. HP Pavilion dv1000 Bluetooth Card Replacement: шаг 12, изображение 1 из 1
      • Gently lift the the RAM up and out of its seat.

      Спросите у FixBot

      Добавить комментарий

    6. HP Pavilion dv1000 Bluetooth Card Replacement: шаг 13, изображение 1 из 1
      • Repeat the previous two steps for the remaining stick of RAM.

      Спросите у FixBot

      Добавить комментарий

    1. HP Pavilion dv1000 Bluetooth Card Replacement, Bluetooth Card: шаг 14, изображение 1 из 3 HP Pavilion dv1000 Bluetooth Card Replacement, Bluetooth Card: шаг 14, изображение 2 из 3 HP Pavilion dv1000 Bluetooth Card Replacement, Bluetooth Card: шаг 14, изображение 3 из 3
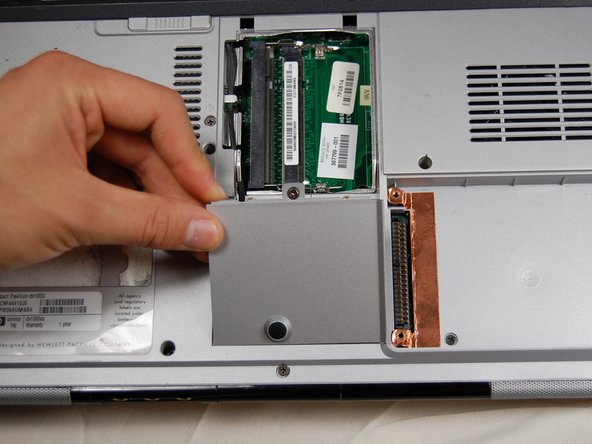
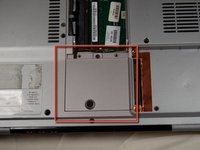
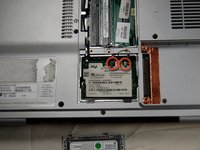
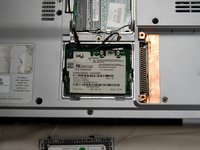
      • Locate the small panel below the panel you just removed.

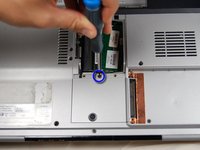
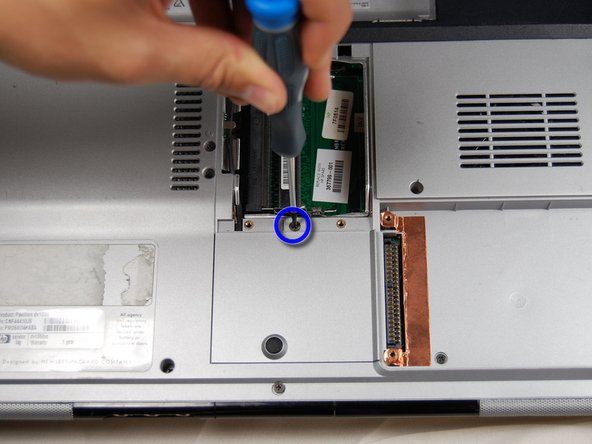
      • Loosen the one screw in the middle with a #00 Phillips screwdriver. Again, the screw will not fall out of the panel when loosened.

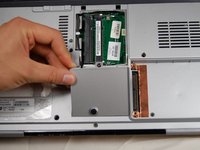
      • Lift the panel up and out of its slot to remove.

      Спросите у FixBot

      Добавить комментарий

    2. HP Pavilion dv1000 Bluetooth Card Replacement: шаг 15, изображение 1 из 3 HP Pavilion dv1000 Bluetooth Card Replacement: шаг 15, изображение 2 из 3 HP Pavilion dv1000 Bluetooth Card Replacement: шаг 15, изображение 3 из 3
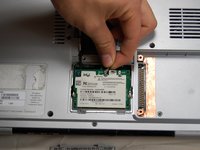
      • Identify the two connections at the top of the bluetooth card.

      • Using your fingers, gently pull up on the white clip until it releases.

      • Remove the black clip in the same manner as the white clip

      Спросите у FixBot

      Добавить комментарий

    3. HP Pavilion dv1000 Bluetooth Card Replacement: шаг 16, изображение 1 из 3 HP Pavilion dv1000 Bluetooth Card Replacement: шаг 16, изображение 2 из 3 HP Pavilion dv1000 Bluetooth Card Replacement: шаг 16, изображение 3 из 3
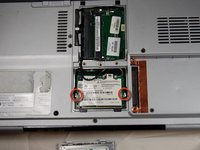
      • Locate the two clips on either side of the Bluetooth card.

      • Using your fingers, press the clips outwards, away from the card until the card pops up.

      • Grab the card gently from the top and pull the card up and out of the slot.

      Спросите у FixBot

      Добавить комментарий

Заключение

To reassemble your device, follow these instructions in reverse order.

Отменить: Я не выполнил это руководство.

3 человек успешно провели ремонт по этому руководству.

Ross Johnson

Участник с: 04/01/11

182 Репутация

Автор 2 руководств

Команда

Cal Poly, Team 10-37, Forte Spring 2011 Участник Cal Poly, Team 10-37, Forte Spring 2011

CPSU-FORTE-S11S10G37

5 членов

Автор 72 руководств

0 Комментарии к руководству

Добавить комментарий

Статистика просмотров:

За последние 24 часов: 2

За последние 7 дней: 8

За последние 30 дней: 35

За всё время: 5,542