Введение
Use this guide to replace a faulty or damaged battery in the HP ProBook 640 G5. If your laptop isn't turning on, has issues charging, or is draining power fast, it's most likely that the battery may be damaged or is faulty. This guide will show you step by step how to take off the back cover of your laptop, find where the battery is, and finally how to replace it.
Выберете то, что вам нужно
-
-
Shut down the HP ProBook 640 G5 completely.
-
Disconnect the power adapter and all connected peripherals.
-
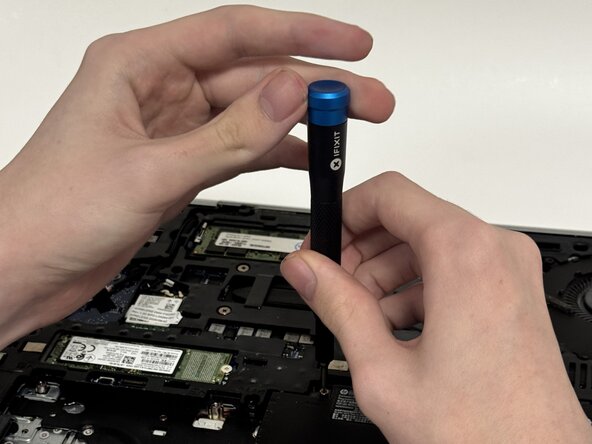
Press and hold the power button for 5 seconds to discharge remaining electricity.
 Спросите у FixBot
-
-
-
Flip the laptop over so the bottom is facing up.
-
Loosen eight silver 6mm screws using a Phillips #0 screwdriver.
-
Remove two black 6mm screws using a TR7 Torx screwdriver.
-
Insert a plastic opening tool into the seam and gently pry around the edges.
-
Lift the bottom cover away from the laptop.
-
-
-
-
Remove six 6mm and two 2mm screws using a Phillips #0 screwdriver.
-
-
-
Lift the battery near the lower end and pull it out of the slot on the top.
-


To reassemble your device, follow these instructions in reverse order.
Команда

Austin Community College, Team 1-2, Anderson Spring 2026 Участник Austin Community College, Team 1-2, Anderson Spring 2026
AUSTINCC-ANDERSON-S26S1G2
3 членов
Автор 6 руководств