Введение
This article will cover how to replace a broken or unresponsive HTC EXCA100 Keyboard within the device. You will need to have new keyboard purchased as this guide WILL NOT restore the damaged one but instead provide a walkthrough on how to replace it. The 2 screwdrivers are the most important tool, and specific types are later listed, without them you CANNOT complete the replacement. The directions provided will cover how to partially disassemble the device, properly replace the keyboard, and then reassemble it. Potential hazard in permanently damaging your device if instructions are not followed correctly.
This page includes:
- A 6-part step-by-step set of instructions
- A list of tools required for the replacement
- Multiple photos for an easier following of directions
Выберете то, что вам нужно
-
-
-
Remove the rubber screw covers. If needed, use a thin object to help pry them off. There should be two of them on top of the phone. Skip this step if already removed.
-
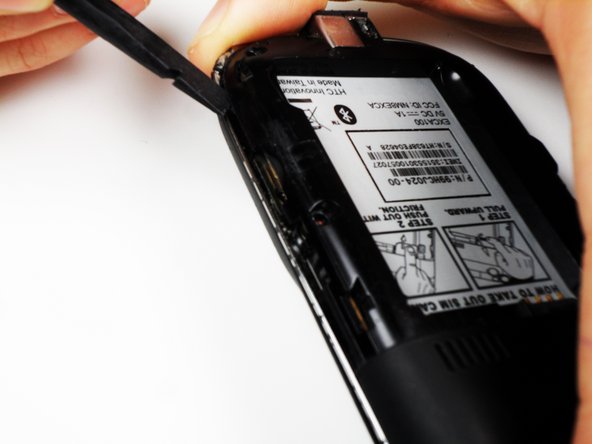
Pry loose the metal cover near the camera lens.
 Спросите у FixBot
-
-
-
Remove the battery cover.
-
Gripping the battery by the bottom, lift and remove it from the phone.
-
-
-
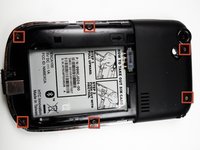
After removing the rubber stoppers on top, there should be six exposed screws. Remove these using the T6 screwdriver.
-
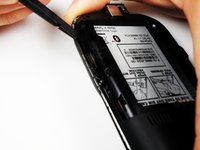
Next, use the spudger to loosen the case underneath the shiny metal edge. Go all the way around the phone until completely loosened.
-
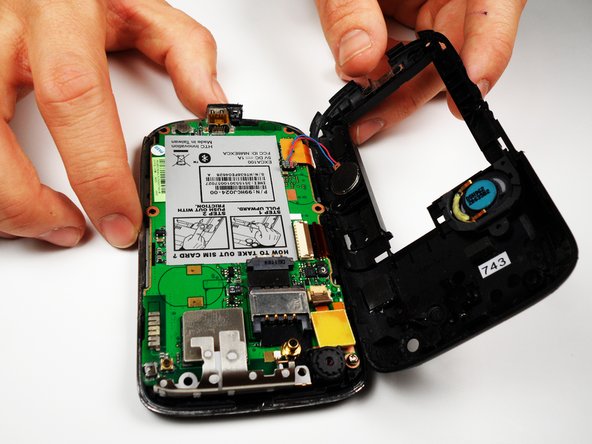
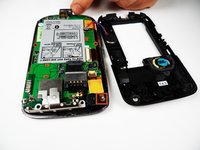
After loosening the case, remove it.
-
-
-
-
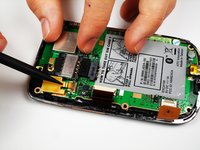
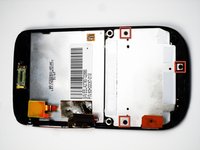
Remove the one remaining screw in the logic board.
-
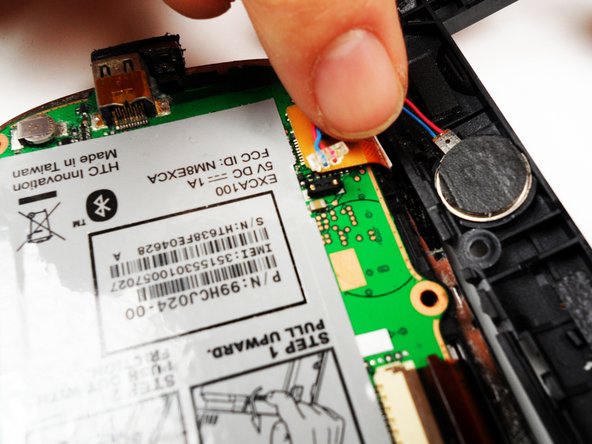
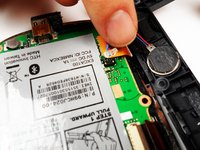
Unclip the wire that connects the back of the case to the logic board.
-
-
-
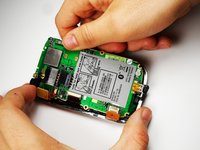
On the left side of the phone, there are three copper colored clips.
-
Unclip the bottom clip, thread the middle one through the logic board, and pull the top one out gently.
-
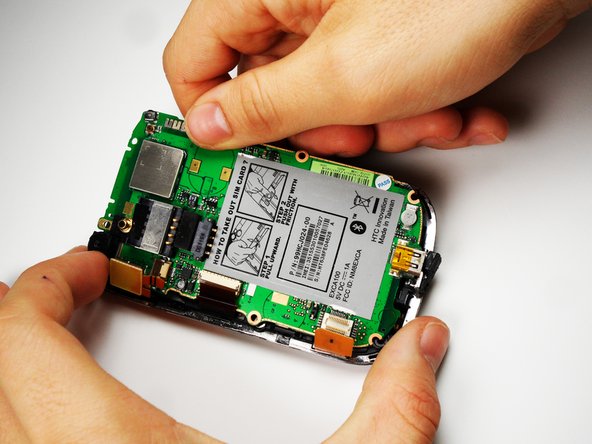
You can then lift the logic board out of the phone.
-
Do this at an angle, lifting the side to the right of the SIM card instructions.
-
-
-
-
-
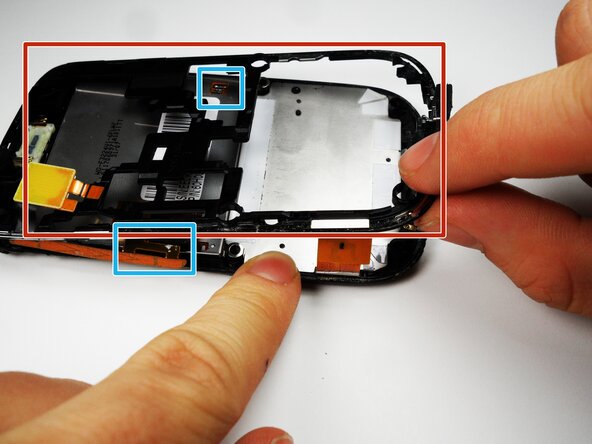
Slip out the copper clips attached to the bottom frame
-
Remove the metal frame carefully.
-
-
-
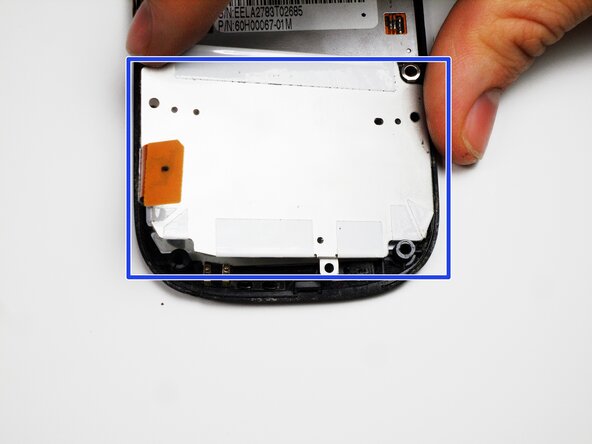
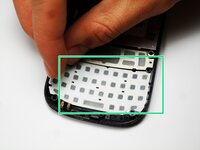
Use the Phillip 00 screwdriver to remove the 3 screws.
-
After the screws are removed, remove the metal backing to the keyboard.
-
Peel off the keyboard and replace it with a new one
-
-


To reassemble your device, follow these instructions in reverse order.
Команда

Cal Poly, Team 25-27, Garner Spring 2011 Участник Cal Poly, Team 25-27, Garner Spring 2011
CPSU-GARNER-S11S25G27
4 членов
Автор 20 руководств