Введение
The motherboard is the main component of your device and is responsible for processing data and connecting the hardware. If your HTC Excalibur has experienced a malfunction like continuous crashes, failure to reboot, or it's unresponsive, this guide is here to help you go through the step-by-step process to replace your motherboard. Be careful while working with the device and avoid damaging the components of the device.
Выберете то, что вам нужно
-
-
-
Remove the rubber screw covers. If needed, use a thin object to help pry them off. There should be two of them on top of the phone. Skip this step if already removed.
-
Pry loose the metal cover near the camera lens.
 Спросите у FixBot
-
-
-
Remove the battery cover.
-
Gripping the battery by the bottom, lift and remove it from the phone.
-
-
-
-
After removing the rubber stoppers on top, there should be six exposed screws. Remove these using the T6 screwdriver.
-
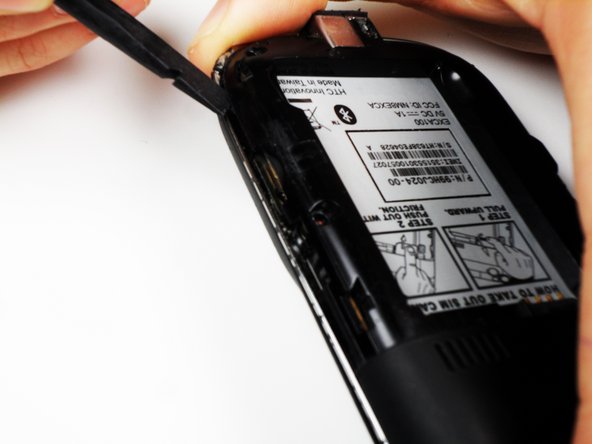
Next, use the spudger to loosen the case underneath the shiny metal edge. Go all the way around the phone until completely loosened.
-
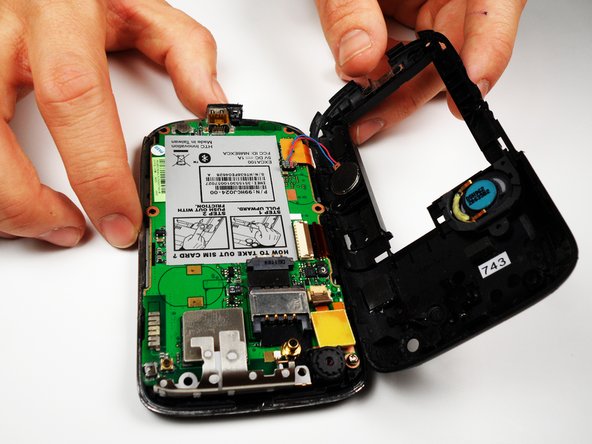
After loosening the case, remove it.
-
-
-
Remove the one remaining screw in the logic board.
-
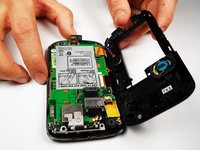
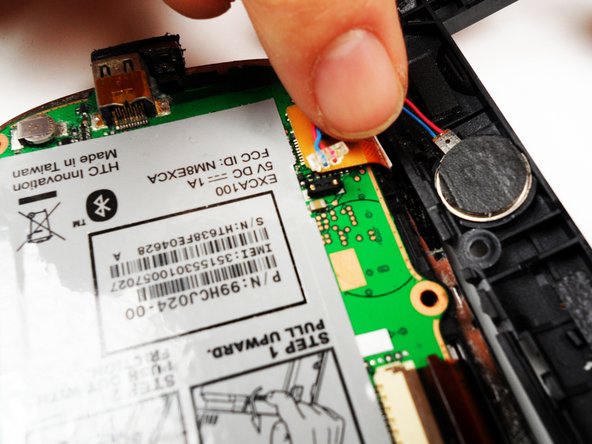
Unclip the wire that connects the back of the case to the logic board.
-
-
-
On the left side of the phone, there are three copper colored clips.
-
Unclip the bottom clip, thread the middle one through the logic board, and pull the top one out gently.
-
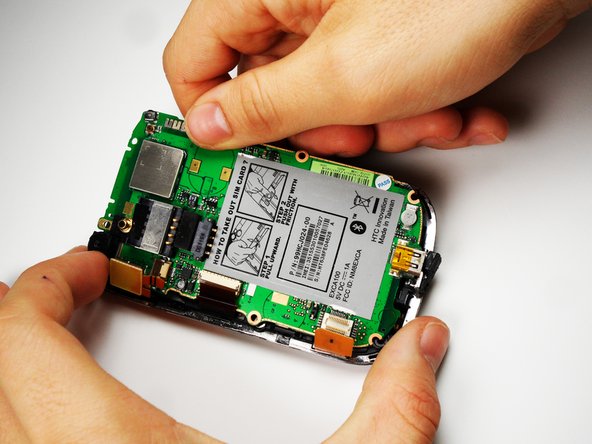
You can then lift the logic board out of the phone.
-
Do this at an angle, lifting the side to the right of the SIM card instructions.
-
-





To reassemble your device, follow these instructions in reverse order.
Отменить: Я не выполнил это руководство.
Еще один человек закончил это руководство.

Команда

Cal Poly, Team 25-27, Garner Spring 2011 Участник Cal Poly, Team 25-27, Garner Spring 2011
CPSU-GARNER-S11S25G27
4 членов
Автор 35 руководств
