Перейти к основному содержанию
Присоединяйся к сообществу ремонтников - Создай аккаунт

HTC Flyer MicroUSB Port Replacement

Выберете то, что вам нужно

    1. HTC Flyer MicroUSB Port Replacement, Back Cover: шаг 1, изображение 1 из 3 HTC Flyer MicroUSB Port Replacement, Back Cover: шаг 1, изображение 2 из 3 HTC Flyer MicroUSB Port Replacement, Back Cover: шаг 1, изображение 3 из 3
      • Apply pressure along the bottom of the white panel containing the camera and push upwards.

      • It may take some effort, but it will smoothly slide off.

      Спросите у FixBot

      Добавить комментарий

    2. HTC Flyer MicroUSB Port Replacement: шаг 2, изображение 1 из 3 HTC Flyer MicroUSB Port Replacement: шаг 2, изображение 2 из 3 HTC Flyer MicroUSB Port Replacement: шаг 2, изображение 3 из 3
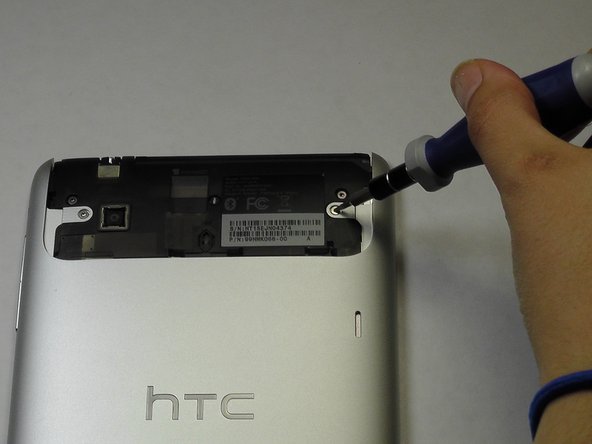
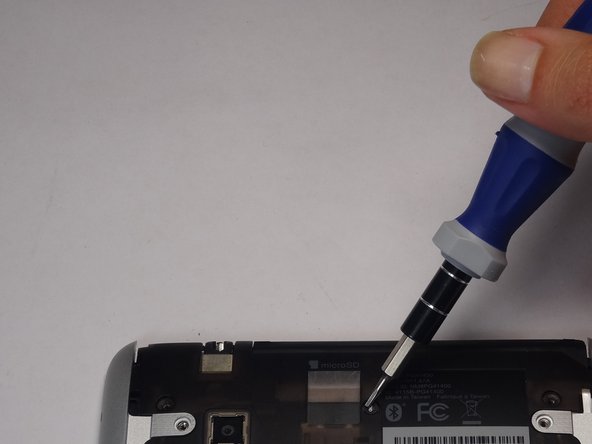
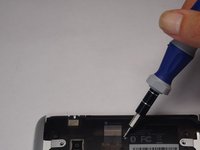
      • Unscrew the four of 3.5mm Torx T5 screws that run along the sides of the exposed innards.

      • All screws in the device will use the Torx T5 screwdriver, so keep it handy.

      Спросите у FixBot

      Добавить комментарий

    3. HTC Flyer MicroUSB Port Replacement: шаг 3, изображение 1 из 3 HTC Flyer MicroUSB Port Replacement: шаг 3, изображение 2 из 3 HTC Flyer MicroUSB Port Replacement: шаг 3, изображение 3 из 3
      • Remove the black protective piece of plastic by sliding it upwards.

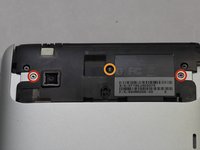
      • Remove the two 3.5mm Torx #5 screws holding the protective plastic down on along the sides.

      • A center 3.5mm Torx screw will be covered by "VOID" sticker.

      • Either remove the sticker or jam the screwdriver into the screw, and remove the screw.

      • Remove the protective panel by sliding it upwards.

      Спросите у FixBot

      Добавить комментарий

    4. HTC Flyer MicroUSB Port Replacement: шаг 4, изображение 1 из 2 HTC Flyer MicroUSB Port Replacement: шаг 4, изображение 2 из 2
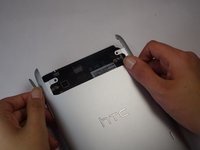
      • Before removing the back cover, apply some scotch tape to the volume buttons to prevent them from falling out of the back panel.

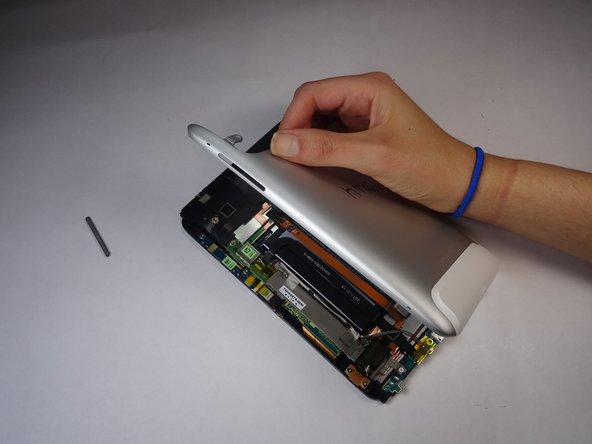
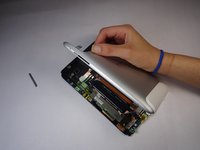
      • Use a plastic opening tool to lever up the top half of the cover.

      • Lift the back panel up and remove it from the device.

      Спросите у FixBot

      Добавить комментарий

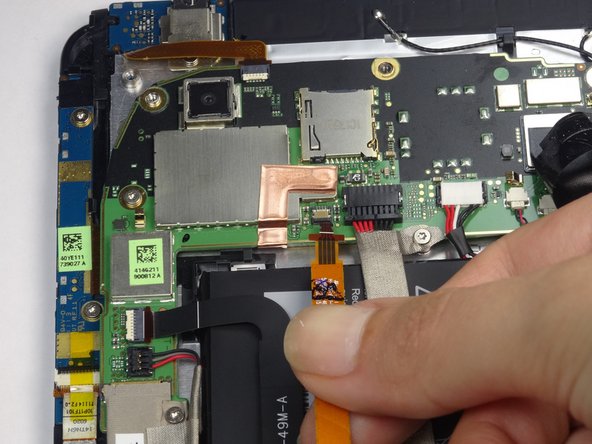
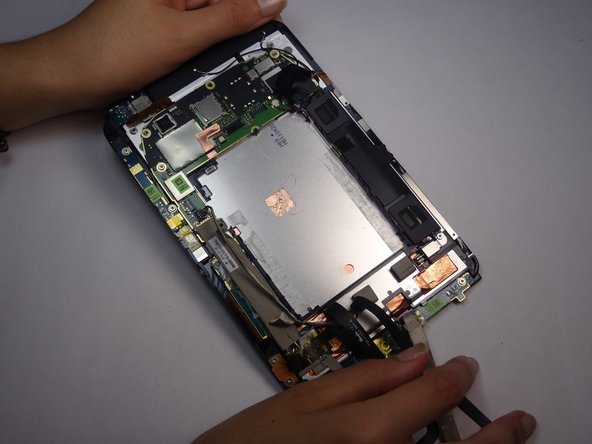
    1. HTC Flyer MicroUSB Port Replacement, Battery: шаг 5, изображение 1 из 2 HTC Flyer MicroUSB Port Replacement, Battery: шаг 5, изображение 2 из 2
      • Gently unfold the black tape along the top that covers the cable attachment points.

      • Leave the tape partially attached so that it can be easily re-attached.

      Спросите у FixBot

      Добавить комментарий

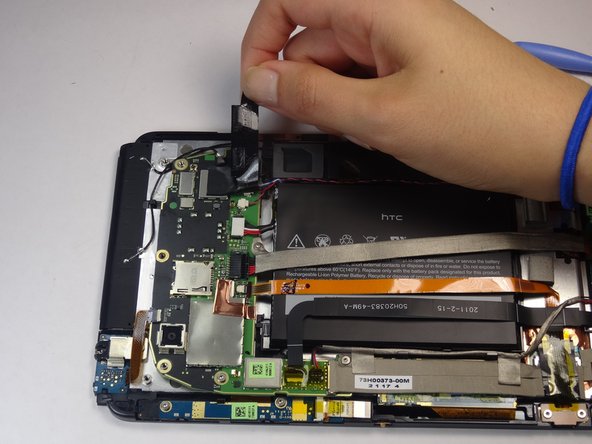
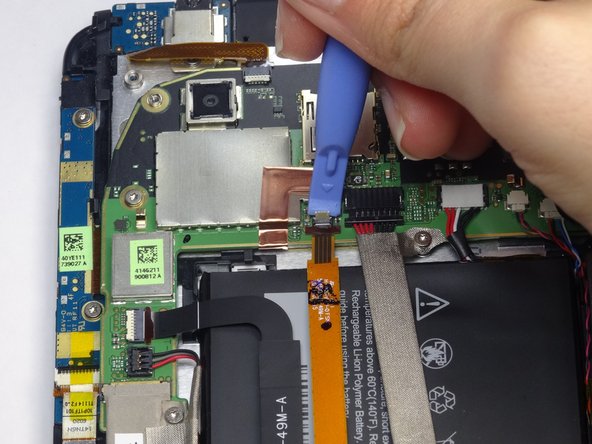
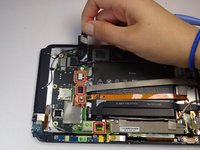
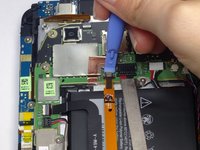
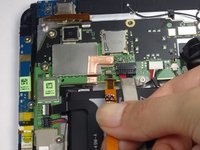
    2. HTC Flyer MicroUSB Port Replacement: шаг 6, изображение 1 из 3 HTC Flyer MicroUSB Port Replacement: шаг 6, изображение 2 из 3 HTC Flyer MicroUSB Port Replacement: шаг 6, изображение 3 из 3
      • Use the tip of a spudger as a lever to disconnect the four cable connectors.

      • Gently pull out these cables after releasing the back piece.

      Спросите у FixBot

      Добавить комментарий

    3. HTC Flyer MicroUSB Port Replacement: шаг 7, изображение 1 из 1
      • Remove the single 2.5mm Torx T5 screw holding the battery down along the top side.

      Спросите у FixBot

      Добавить комментарий

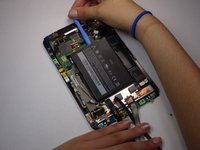
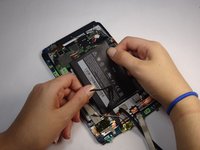
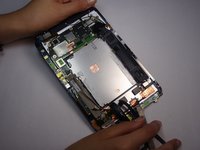
    4. HTC Flyer MicroUSB Port Replacement: шаг 8, изображение 1 из 3 HTC Flyer MicroUSB Port Replacement: шаг 8, изображение 2 из 3 HTC Flyer MicroUSB Port Replacement: шаг 8, изображение 3 из 3
      • Wedge the flat end of a spudger inbetween the battery and the front panel assembly.

      • Run the flat end of a spudger along the top edge of the battery to separate it from the adhesive securing it to the front panel assembly.

      • If you encounter any resistance from the remaining adhesive, simply use the flat end of a spudger to remove the excess adhesive.

      Спросите у FixBot

      Добавить комментарий

    1. HTC Flyer MicroUSB Port Replacement, MicroUSB Port: шаг 9, изображение 1 из 1
      • Use a spudger to unclip the the wires attached to the power jack

      • The clips have a white or black relief tab that, when pressed, releases the wires.

      Спросите у FixBot

      Добавить комментарий

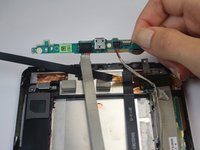
    2. HTC Flyer MicroUSB Port Replacement: шаг 10, изображение 1 из 2 HTC Flyer MicroUSB Port Replacement: шаг 10, изображение 2 из 2
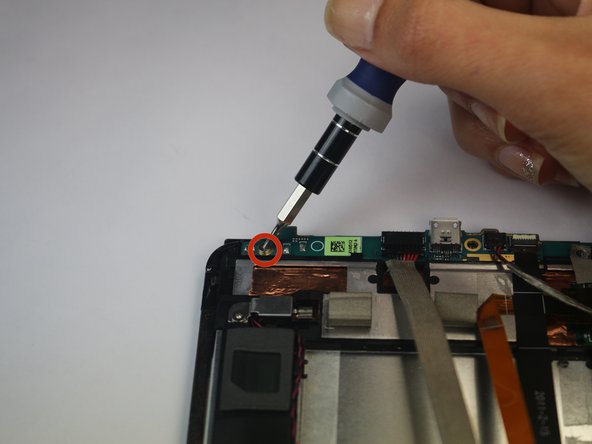
      • Remove the two 2.5mm Torx T5 screws from both sides of the power jack panel.

      Спросите у FixBot

      Добавить комментарий

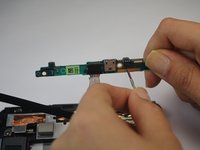
    3. HTC Flyer MicroUSB Port Replacement: шаг 11, изображение 1 из 2 HTC Flyer MicroUSB Port Replacement: шаг 11, изображение 2 из 2
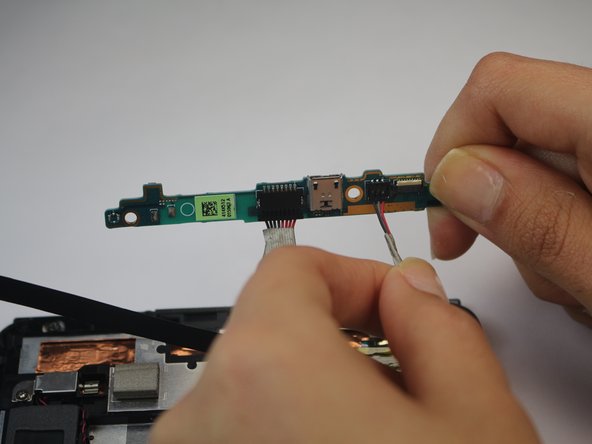
      • Gently remove the power jack panel.

      Спросите у FixBot

      Добавить комментарий

Заключение

To reassemble your device, follow these instructions in reverse order.

Отменить: Я не выполнил это руководство.

4 человек успешно провели ремонт по этому руководству.

Joshua

Участник с: 10/07/14

185 Репутация

1 руководство автора

Команда

USF Tampa, Team 8-5, Leahy Fall 2014 Участник USF Tampa, Team 8-5, Leahy Fall 2014

USFT-LEAHY-F14S8G5

3 членов

Автор 12 руководств

0 Комментарии к руководству

Добавить комментарий

Статистика просмотров:

За последние 24 часов: 0

За последние 7 дней: 7

За последние 30 дней: 34

За всё время: 1,543