Выберете то, что вам нужно
-
-
Remove the back of the phone by pushing firmly with your thumbs up towards the camera.
-
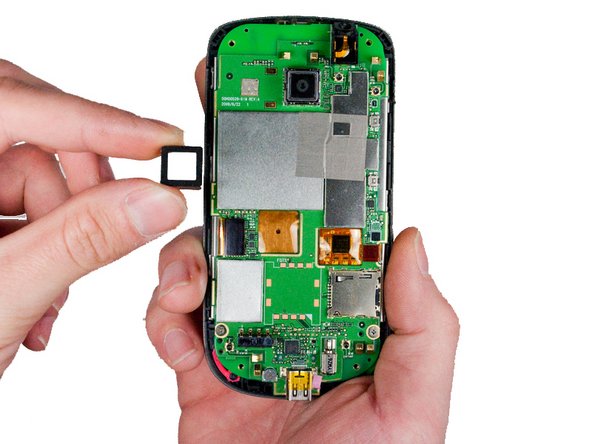
Remove both the battery and the SD card (Press SD card in to release)
-
Locate and remove the four Torx screws highlighted in the photo, with the phone laying face down on your work space.
 Спросите у FixBot
-
-
-
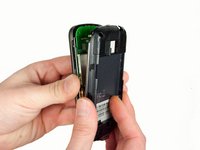
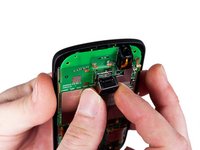
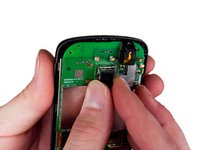
Carefully pry the inside back cover from the device using an appropriate size plastic opening tool or small flathead screwdriver.
-
Insert the flat end between the back and front enclosure, working your way around the rim.
-
-
-
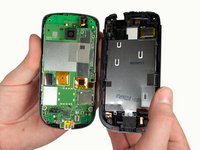
Gently depress and release the small plastic tabs around the rim in the front enclosure, highlighted here.
-
-
-
-
Carefully separate the front and back enclosures once all of the clips have been disengaged.
-
-
-
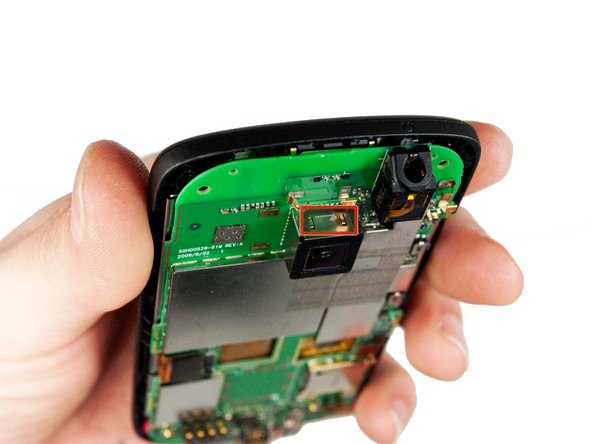
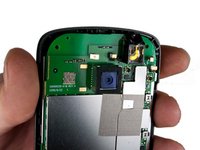
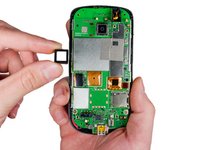
Locate the four metal tabs on the top and bottom of the camera holding the camera enclosure to the motherboard.
-
-
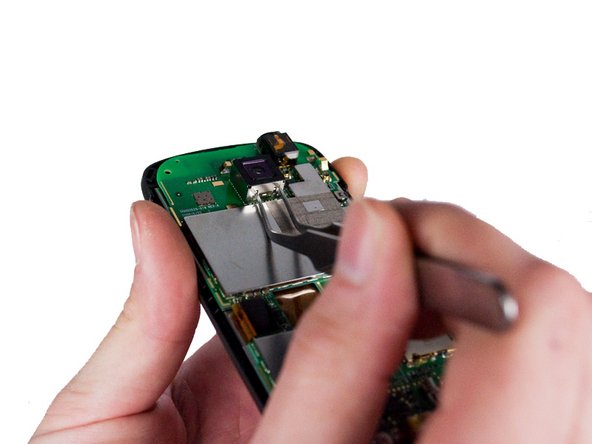
Инструмент, используемый на этом этапе:Tweezers$4.99
-
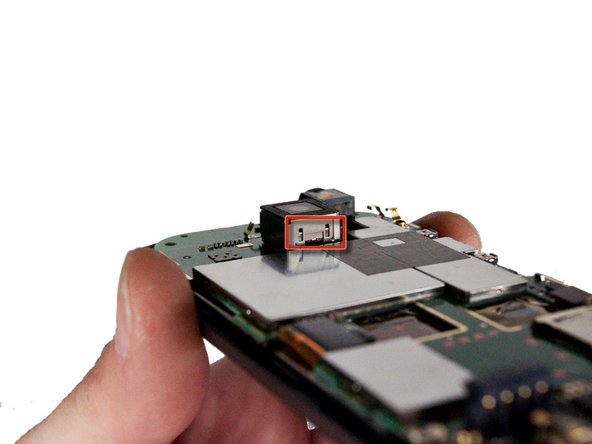
Using a pair of metal tweezers, simultaneously depress both tabs on one side of the camera enclosure and gently pull up until tabs come free. Repeat for the opposite side.
-
-
-
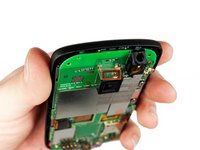
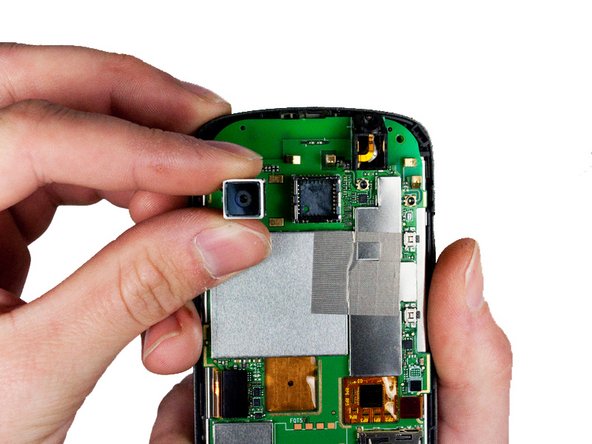
Pull the released camera enclosure away from the motherboard until it is completely free.
-
-
-
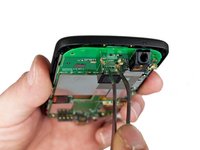
Now with camera unit exposed, gently wiggle the camera as you pull away from the phone to remove it.
-


To reassemble your device, follow these instructions in reverse order.
Отменить: Я не выполнил это руководство.
Еще один человек закончил это руководство.
Команда

Cal Poly, Team 3-26, Amido Winter 2012 Участник Cal Poly, Team 3-26, Amido Winter 2012
CPSU-AMIDO-W12S3G26
5 членов
Автор 18 руководств