Введение
This guide explains how to safely remove and replace the lens of the Hitachi CP-X440 projector. This may be necessary if the lens is damaged or broken. It is also suggested to replace the lens if the image quality begins to decrease significantly. This is evident when the images are very dim or there are visible distortions.
Some steps require handling a circuit board and wires, so proceed carefully. This procedure is simple but may be time-intensive and tedious.
Before beginning, make sure the device is unplugged from any power source.
Выберете то, что вам нужно
-
-
-
Turn the projector upside down so the bottom is facing up.
-
Using a Phillips #1 screwdriver remove the six black 2 mm screws.
 Спросите у FixBot
-
-
-
Flip the projector right-side up and navigate to the back panel.
-
Remove the three black 10 mm screws on the back panel with a Phillips #1 screwdriver.
-
Remove the two silver 10 mm screws on the power switch panel with a Phillips #1 screwdriver.
-
-
-
Now turn the projector so the front is facing you.
-
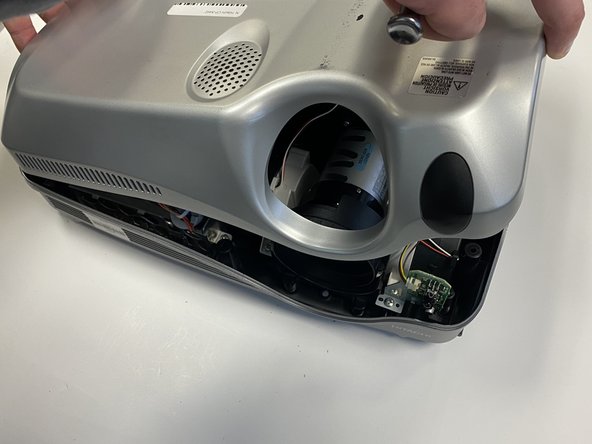
Gently remove the lid from the bottom of the projector so the green circuit board is exposed.
-
-
-
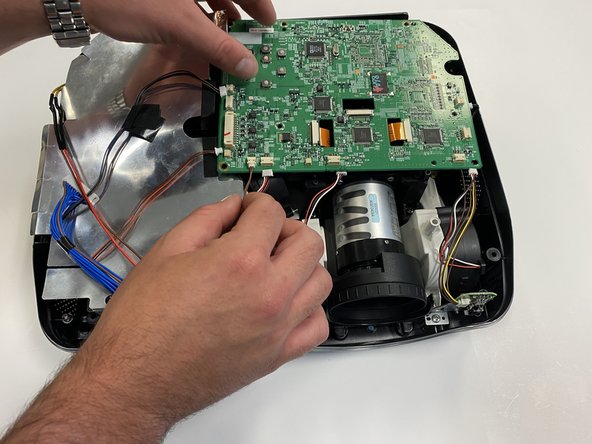
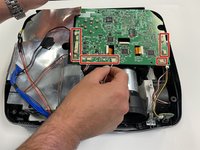
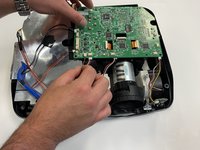
Gently remove the cables from their white connectors on the circuit board.
-
-
-
-
Gently pull out the three orange ribbons from their white connectors on the circuit board.
-
-
-
Remove the five silver 5 mm screws on the circuit board with a Phillips #2 screwdriver.
-
-
-
-
-
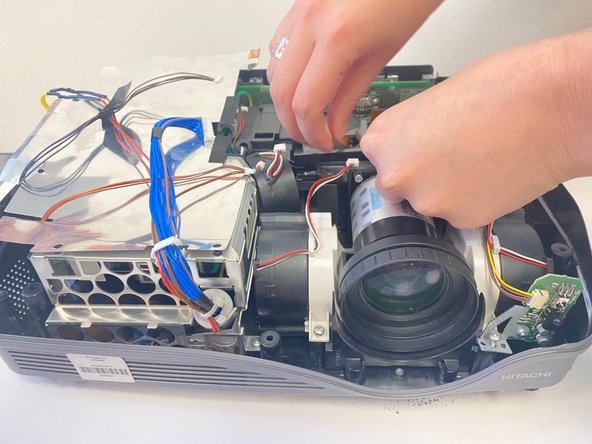
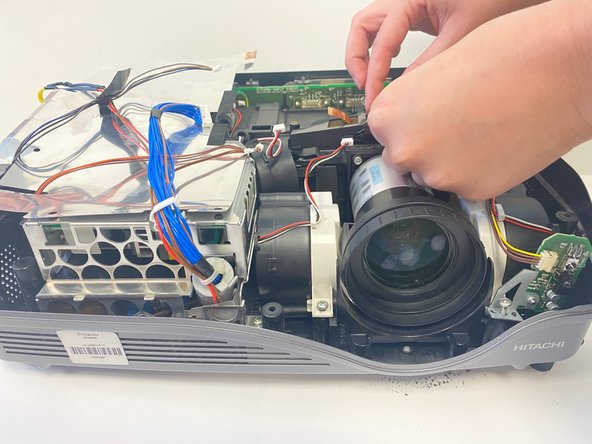
As you look at the the device overhead, you will see three pieces of orange ribbon.
-
Attached to the orange ribbon will be a stabilizer over the lamp.
-
On each side, unscrew the two 1 cm screws with a Phillips #0 Screwdriver.
-
Then remove the piece holding the orange ribbons, called the stabilizer from this point on.
-
-
-
Once the stabilizer is removed, set it to the side.
-
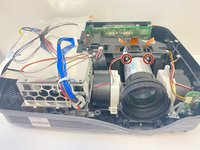
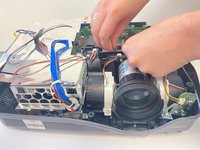
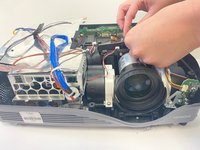
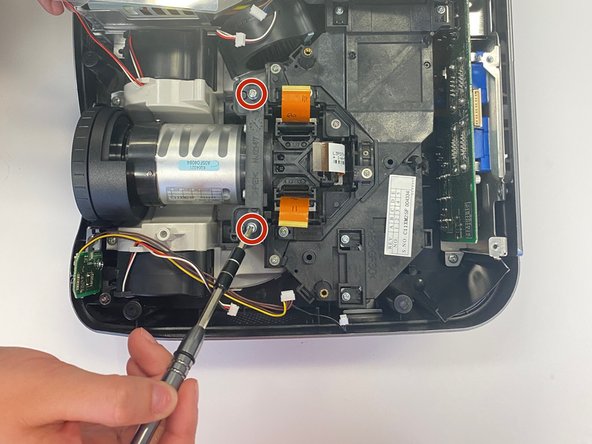
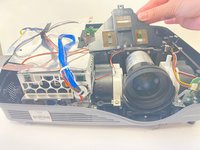
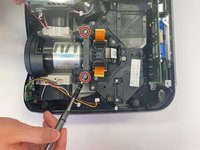
Use a Phillips #0 screwdriver to remove the two 1 cm screws on both sides of the lens.
-
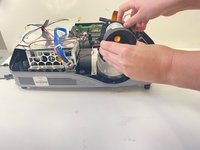
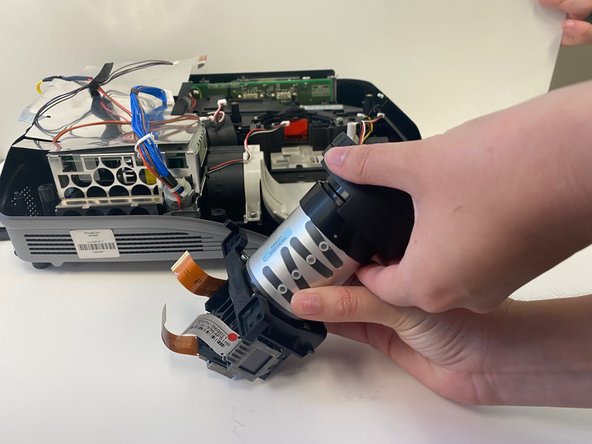
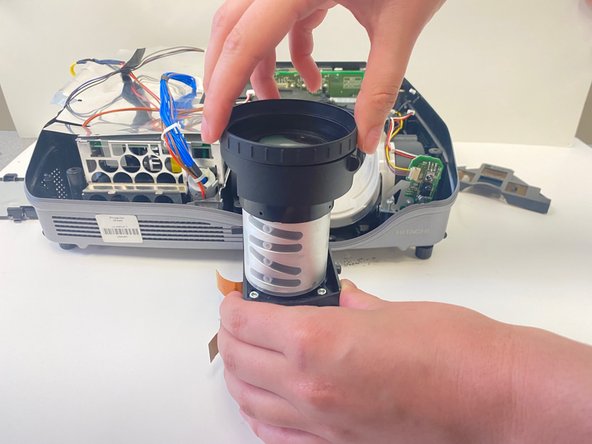
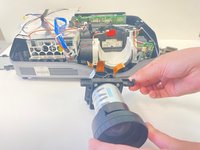
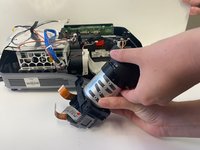
The lens element should be easily lifted out of the device.
-
-
-
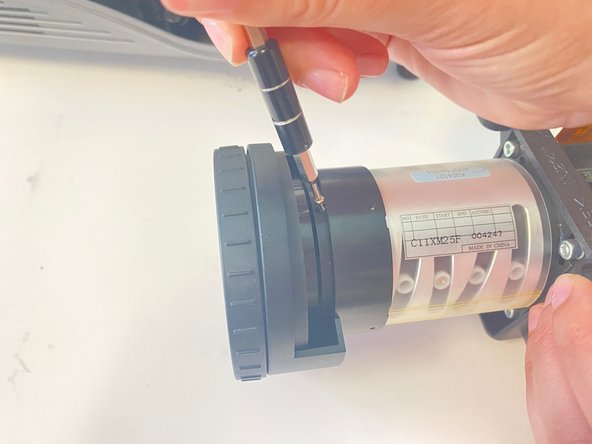
Once the lens element is safely removed, you will see 4 tiny 1/2 centimeter screws surrounding the lens.
-
Use a Phillips #000 screwdriver to unscrew each screw. This will allow you to easily remove the lens.
-
-
-
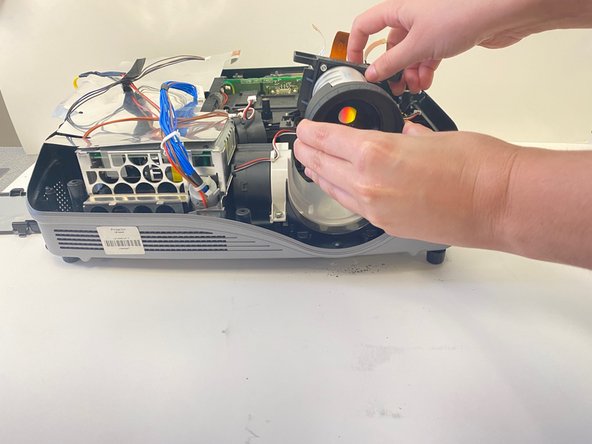
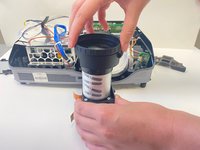
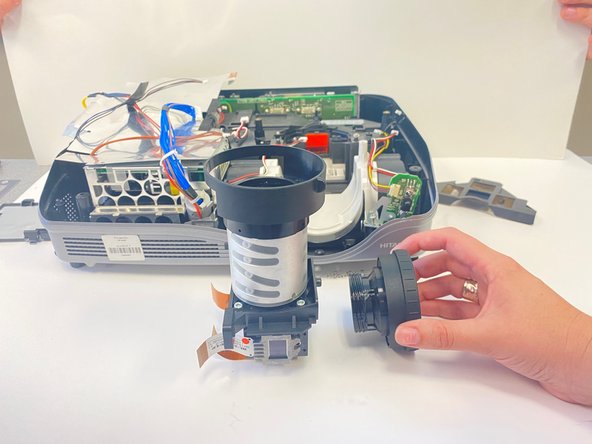
Begin to gently unscrew the lens by hand, being mindful of light pressure.
-
After a few turns, the lens should be easily removed.
-
-









To reassemble your device, follow these instructions in reverse order.

Команда

University of Alabama, Team 2-2, Bedsole Spring 2022 Участник University of Alabama, Team 2-2, Bedsole Spring 2022
UA-BEDSOLE-S22S2G2
4 членов
Автор 12 руководств
