Перейти к основному содержанию
Присоединяйся к сообществу ремонтников - Создай аккаунт

Holmes HEH8031 Control Buttons Replacement

Выберете то, что вам нужно

  1. Holmes HEH8031 Control Buttons Replacement, Housing: шаг 1, изображение 1 из 1
    • Ensure the device is unplugged from the wall outlet.

    Спросите у FixBot

    Добавить комментарий

  2. Holmes HEH8031 Control Buttons Replacement: шаг 2, изображение 1 из 1
    • Remove eight 12-mm Phillips #2 screws from the back cover.

    Спросите у FixBot

    Добавить комментарий

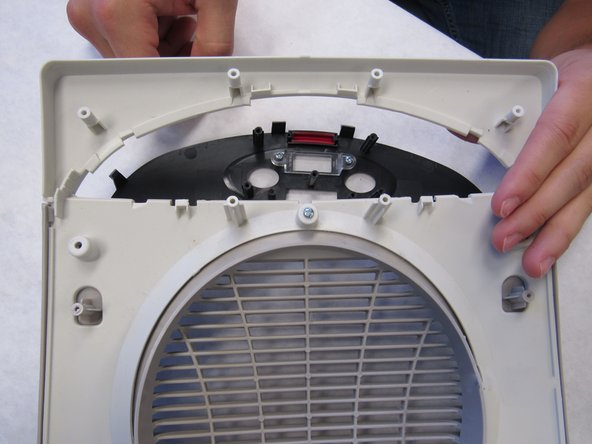
  3. Holmes HEH8031 Control Buttons Replacement: шаг 3, изображение 1 из 2 Holmes HEH8031 Control Buttons Replacement: шаг 3, изображение 2 из 2
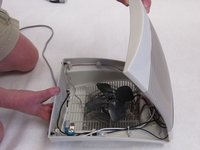
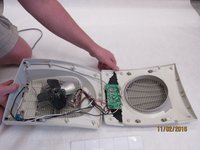
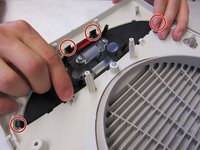
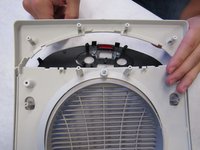
    • Turn heater over so the controls are facing up.

    • Lift the front housing away from the back of the fan and slowly fold the front housing back down to the floor.

    • Internal wires are connected to both halves of the housing. Be careful when separating the housing.

    Спросите у FixBot

    Добавить комментарий

  4. Holmes HEH8031 Control Buttons Replacement, Circuit Board Removal: шаг 4, изображение 1 из 1
    • Remove four 12mm Phillips #2 screws from the circuit board.

    Спросите у FixBot

    Добавить комментарий

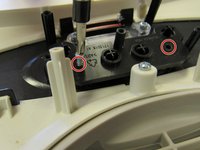
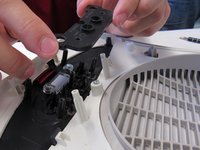
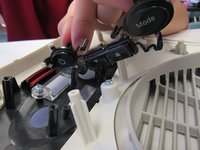
  5. Holmes HEH8031 Control Buttons Replacement, Control Buttons: шаг 5, изображение 1 из 3 Holmes HEH8031 Control Buttons Replacement, Control Buttons: шаг 5, изображение 2 из 3 Holmes HEH8031 Control Buttons Replacement, Control Buttons: шаг 5, изображение 3 из 3
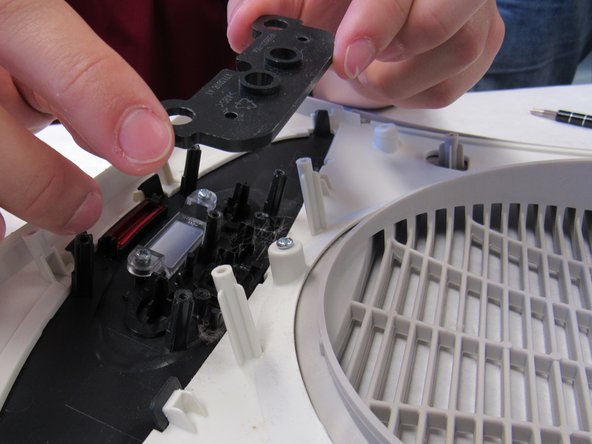
    • Remove the two Phillips #2 12mm screws from the button retainer.

    • Lift the button retainer off.

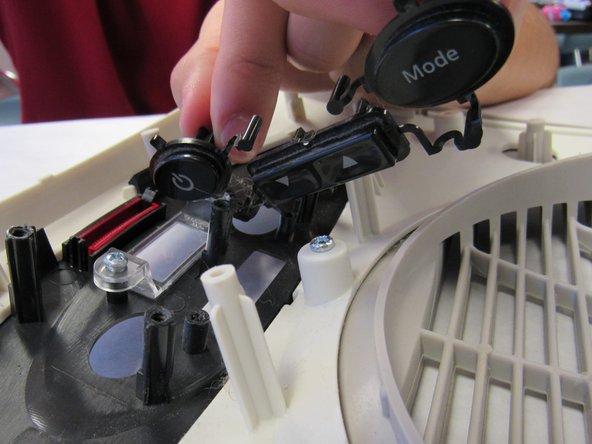
    • Remove the interconnected buttons.

    • If the buttons are broken, replace them.

    • If the buttons are sticking, clean them in warm soapy water and allow to dry.

    Спросите у FixBot

    Добавить комментарий

  6. Holmes HEH8031 Control Buttons Replacement: шаг 6, изображение 1 из 3 Holmes HEH8031 Control Buttons Replacement: шаг 6, изображение 2 из 3 Holmes HEH8031 Control Buttons Replacement: шаг 6, изображение 3 из 3
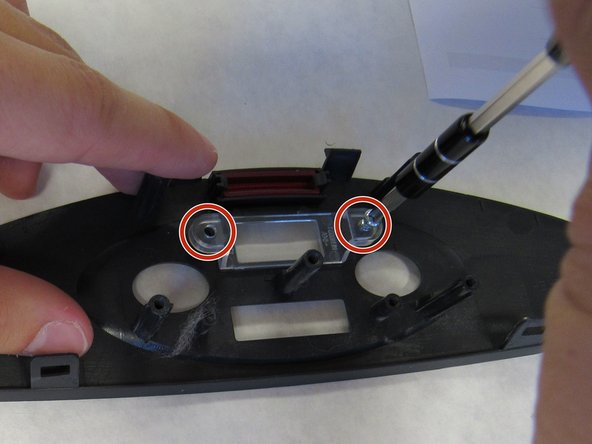
    • Using light finger pressure, carefully push the black plastic tabs off the white plastic hooks.

    • Remove the black plastic bracket out through the front of the heater housing.

    • Remove the two Phillips #2 12mm screws and remove the clear window from the black plastic bracket.

    • If the buttons were sticking, clean the black plastic bracket in warm soapy water and allow to dry.

    • If the clear window was dirty, clean it in warm soapy water and allow to dry.

    Спросите у FixBot

    Добавить комментарий

Заключение

To reassemble your device, follow these instructions in reverse order.

Отменить: Я не выполнил это руководство.

Еще один человек закончил это руководство.

Chris Shaffer

Участник с: 10/12/16

255 Репутация

Автор 2 руководств

Команда

IUPUI, Team 2-1, Baechle Fall 2016 Участник IUPUI, Team 2-1, Baechle Fall 2016

IUPUI-BAECHLE-F16S2G1

4 членов

Автор 16 руководств

0 Комментарии к руководству

Добавить комментарий

Статистика просмотров:

За последние 24 часов: 0

За последние 7 дней: 4

За последние 30 дней: 24

За всё время: 837