Перейти к основному содержанию
Присоединяйся к сообществу ремонтников - Создай аккаунт

Hover-1 Liberty Battery Replacement

Выберете то, что вам нужно

    1. Hover-1 Liberty Battery Replacement, Bottom Cover: шаг 1, изображение 1 из 2 Hover-1 Liberty Battery Replacement, Bottom Cover: шаг 1, изображение 2 из 2
      • Flip the hoverboard over so the labels are facing upwards.

      • Remove the twenty 18mm screws using a Phillips #2 screwdriver and twisting counterclockwise.

      Спросите у FixBot

      Добавить комментарий

    2. Hover-1 Liberty Battery Replacement: шаг 2, изображение 1 из 2 Hover-1 Liberty Battery Replacement: шаг 2, изображение 2 из 2
      • Remove the bottom cover by lifting it away from the hoverboard.

      • The cover on the side without the battery has two wires connecting the power button and charging port.

      Спросите у FixBot

      Добавить комментарий

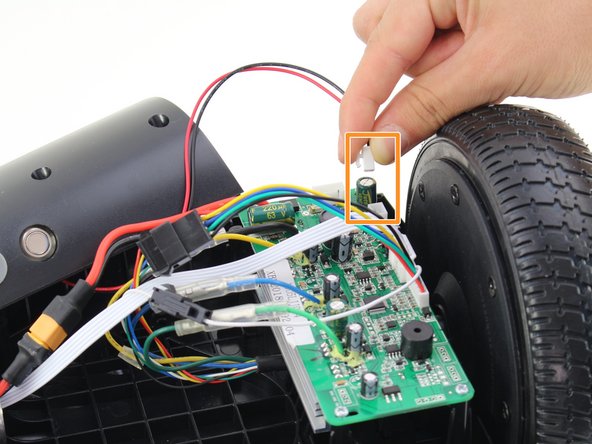
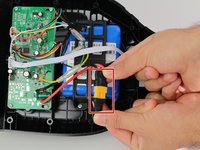
    3. Hover-1 Liberty Battery Replacement: шаг 3, изображение 1 из 3 Hover-1 Liberty Battery Replacement: шаг 3, изображение 2 из 3 Hover-1 Liberty Battery Replacement: шаг 3, изображение 3 из 3
      • Remove one connector from the non-battery side circuit board.

      • Remove the next connector from the non-battery side circuit board.

      • To remove the connectors, pinch the plug and pull away from the circuit board.

      Спросите у FixBot

      Добавить комментарий

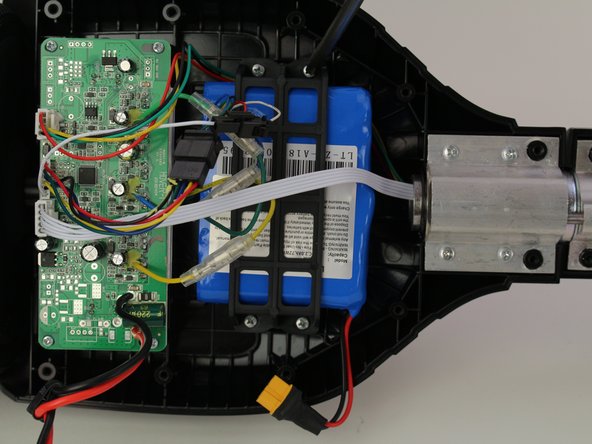
    1. Hover-1 Liberty Battery Replacement, Battery: шаг 4, изображение 1 из 2 Hover-1 Liberty Battery Replacement, Battery: шаг 4, изображение 2 из 2
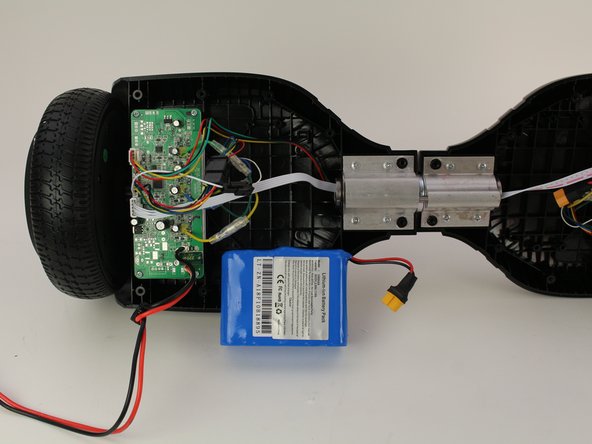
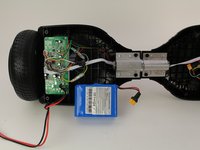
      • Disconnect the large red and black wire from the battery by pulling apart the connector.

      Спросите у FixBot

      Добавить комментарий

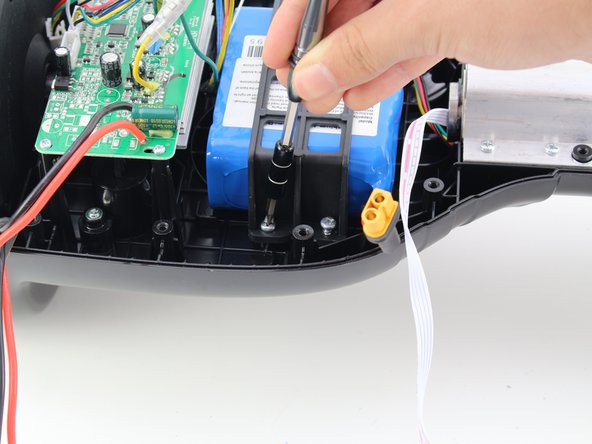
    2. Hover-1 Liberty Battery Replacement: шаг 5, изображение 1 из 2 Hover-1 Liberty Battery Replacement: шаг 5, изображение 2 из 2
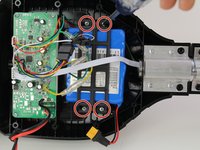
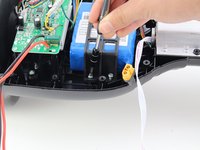
      • Remove the four 15mm Phillips #1 screws from the bracket holding the battery in place.

      Спросите у FixBot

      Добавить комментарий

    3. Hover-1 Liberty Battery Replacement: шаг 6, изображение 1 из 2 Hover-1 Liberty Battery Replacement: шаг 6, изображение 2 из 2
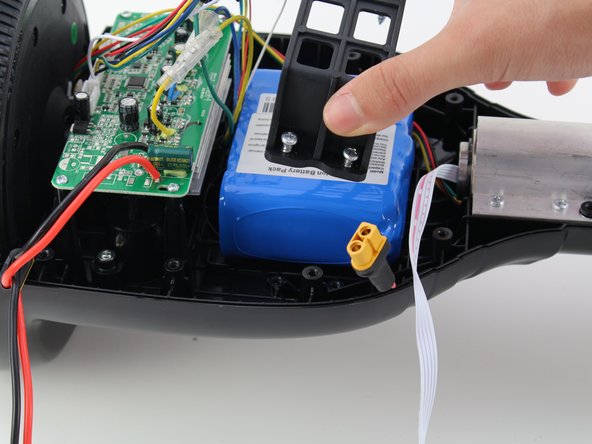
      • Remove the bracket by pulling it upwards, away from the hoverboard.

      • You will need to move some wires aside to remove the bracket successfully.

      Спросите у FixBot

      Добавить комментарий

    4. Hover-1 Liberty Battery Replacement: шаг 7, изображение 1 из 3 Hover-1 Liberty Battery Replacement: шаг 7, изображение 2 из 3 Hover-1 Liberty Battery Replacement: шаг 7, изображение 3 из 3
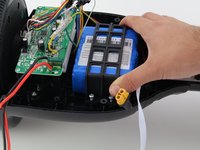
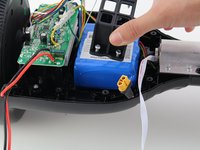
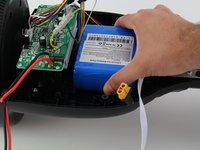
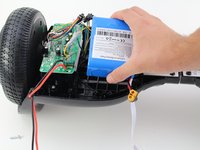
      • Remove the battery by grasping the battery and hoverboard firmly and pulling apart.

      • The battery is held in place by adhesive. So, some force is required to remove it.

      Спросите у FixBot

      Добавить комментарий

Заключение

To reassemble your device, follow these instructions in reverse order.

Отменить: Я не выполнил это руководство.

Еще один человек закончил это руководство.

Patrick Bacon

Участник с: 10/08/18

438 Репутация

Автор 2 руководств

Команда

Cal Poly, Team S13-G2, White Fall 2018 Участник Cal Poly, Team S13-G2, White Fall 2018

CPSU-WHITE-F18S13G2

3 членов

Автор 4 руководств

0 Комментарии к руководству

Добавить комментарий

Статистика просмотров:

За последние 24 часов: 2

За последние 7 дней: 12

За последние 30 дней: 57

За всё время: 3,325