Введение
If your Hover-1 Rally (model H1-RALY) scooter squeaks or fails to stop when you apply the brake, use this guide to replace the foot brake. The brake pad should be checked first when brakes are ineffective.
Foot brake replacement is common and necessary after long-term use. Avoid riding in dust and other debris to increase the lifespan of your brake pads.
Make sure to power off the scooter before you replace the brake pad.
Выберете то, что вам нужно
-
-
-
Remove the 4 mm screw in center of the wheel with a 4 mm hex key.
-
Flip the scooter and remove the same size screw from the opposite side of the wheel.
 Спросите у FixBot
-
-
-
Slide the plastic side piece off from both sides of the scooter.
-
-
-
Use a 4 mm bit extension to push the axle out of the wheel’s center.
-
-
-
-
-
-
Begin by removing the two 8.0 mm screws from the deck using the Phillips #2 screwdriver.
-
-
-
Pull the foot brake/ wheel cover away from the deck and downwards.
-
-
-
On the foot brake, remove the two 8.0 mm screws using the Phillips #2 screwdriver.
-
-
-
On the opposite side of the brake, remove the silver brake pad.
-
-


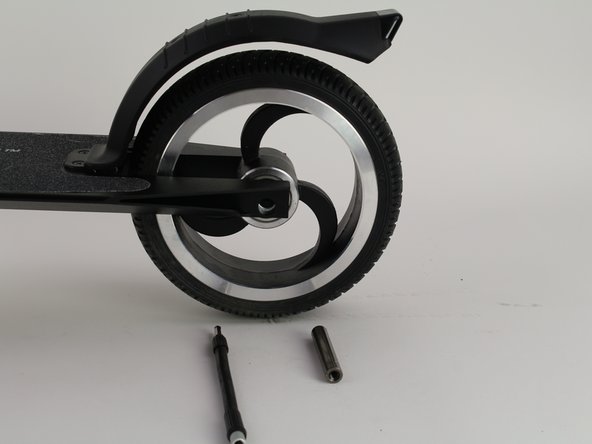
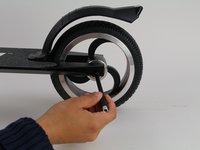
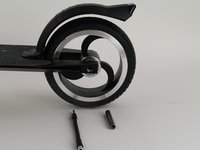


To reassemble your device, follow these instructions in reverse order.
Отменить: Я не выполнил это руководство.
2 человек успешно провели ремонт по этому руководству.

Команда

Cal Poly, Team S7-G2, Regan Winter 2020 Участник Cal Poly, Team S7-G2, Regan Winter 2020
CPSU-REGAN-W20S7G2
6 членов
Автор 7 руководств
