Введение
The balance sensors on the Hover-1 Superstar sometimes need to be replaced. This guide will explain the steps involved in replacing the balance sensor circuit boards.
Выберете то, что вам нужно
-
-
-
Flip your Hover-1 Superstar device upside down.
-
Using a Phillips #1 screwdriver, remove all twenty of the 18mm screws holding the case onto the device.
-
Remove the bottom case. Be careful of the connector holding the case and the device together.
 Спросите у FixBot
-
-
-
Locate the cable connected to the front lights.
-
Pull apart the wires until the black clip separates.
-
-
-
-
-
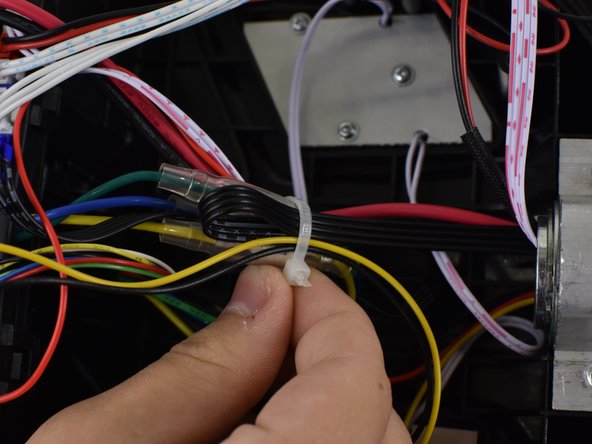
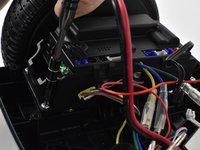
Cut both zip-ties that secure the circuit board box and the wire bundle near the center of the device together.
-
-
-
-
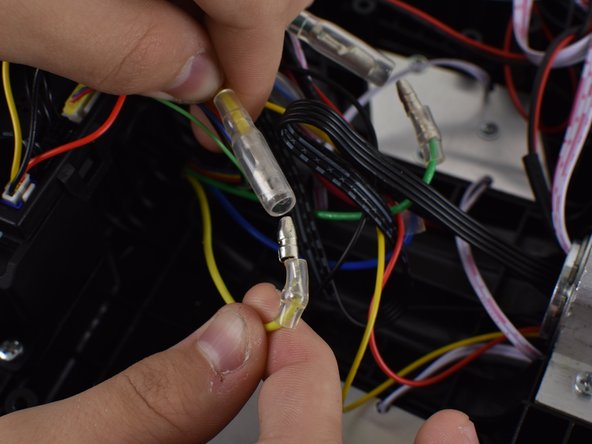
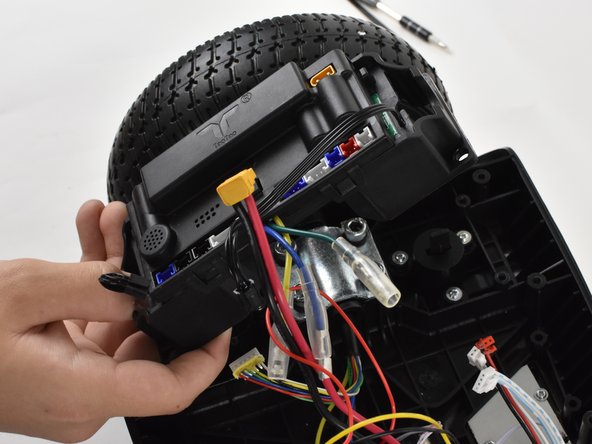
Unplug all three of the cables that were previously zip-tied. They are the cables that are connected with a clear sleeve near the center of the device.
-
-
-
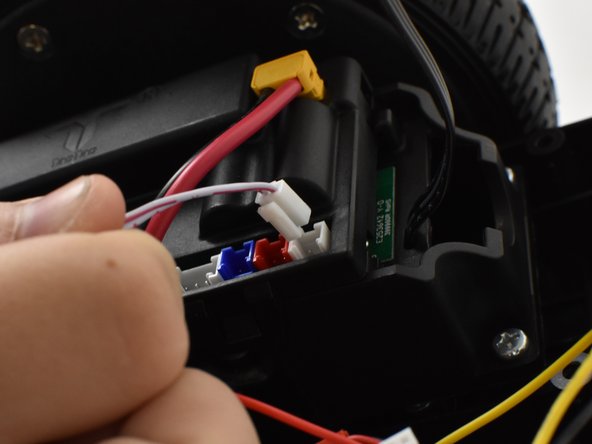
Unplug the colored connectors feeding through the top of the circuit board box. For the most part the colors correspond to each other, but make sure to take pictures to remember which connector goes in the correct position.
-
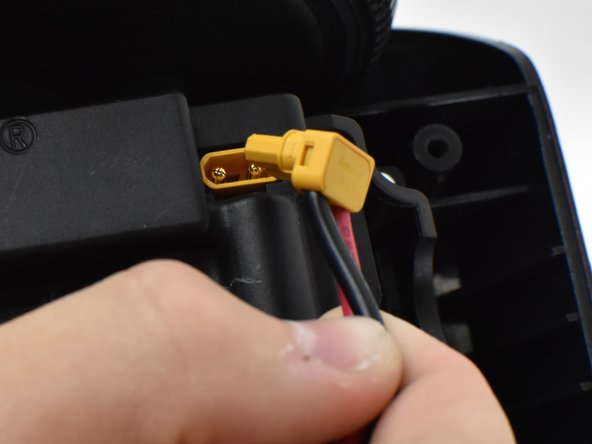
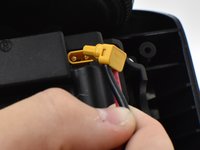
Unplug the yellow connector at the top right corner of the circuit board box.
-
-
-
Using a Phillips #1 screwdriver, remove the four 14mm screws securing the circuit board box in place.
-
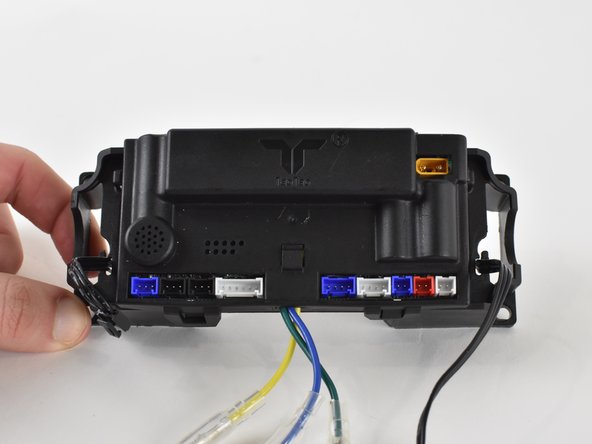
Remove the circuit board box from the hoverboard.
-
-
-
Unclip the top of the circuit board box from the bottom.
-
Remove the balance sensor circuit board.
-
-



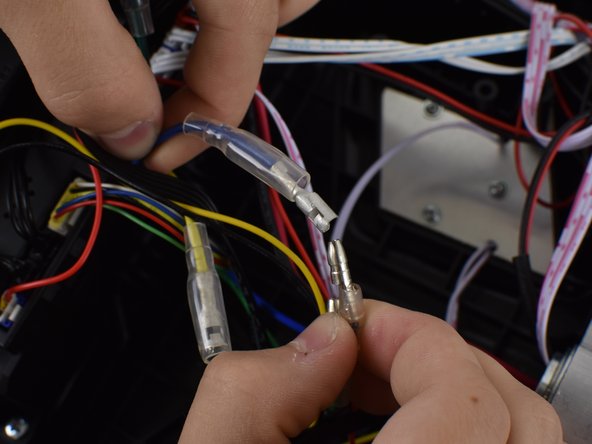


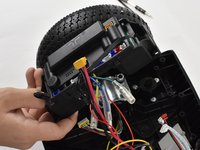
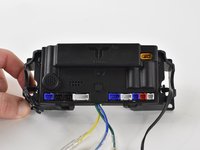

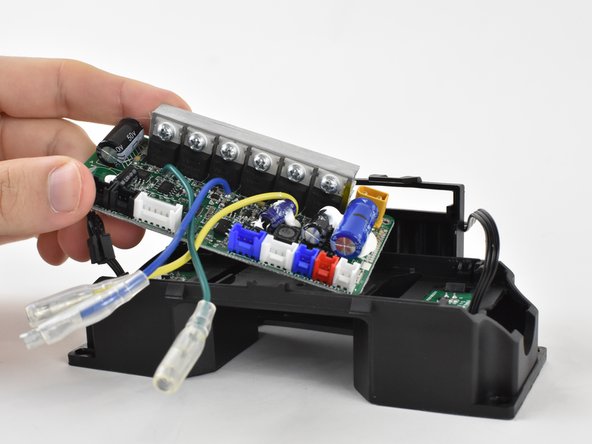
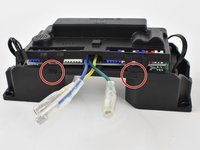
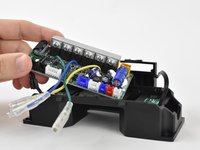
To reassemble your device, follow these instructions in reverse order.
Отменить: Я не выполнил это руководство.
5 человек успешно провели ремонт по этому руководству.

Команда

Linn Benton Community College, Team S1-G1, Karnes Fall 2018 Участник Linn Benton Community College, Team S1-G1, Karnes Fall 2018
LBCC-KARNES-F18S1G1
3 членов
Автор 5 руководств
4 Комментарии к руководству
I’m trying to repair a hover-1 Allstar for my nephew. I thought I salved it by purchasing a new board but once I plugged it back in I have the same symptoms. Those symptoms are once it’s turned on it will immediately start to beep and the red battery light turns on. Nothing I do will get it to stop beeping unless I turn it off. The battery is fully charged, so the only other thing that came to mind was to check the motor hall sensors. Those all worked and tested perfectly. I’m out of ideas, can anyone help me?
Good luck with getting some help. I been trying to find a circuit board for my grandson and no one will respond. The one I found on line does not match the one on the Hover-1 all star.
I am trying to find a board for the all-star as one of the connections has 6 wires the white being the xtra one. All the boards I look at are 5 wires. Did you locate a board?
I need a motherboard for a hover 1 charger hi- col. Where can I find one?
