Перейти к основному содержанию
Присоединяйся к сообществу ремонтников - Создай аккаунт

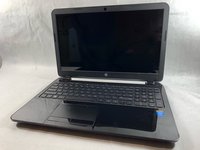
How to Access the Internal Components of an HP 15-R011DX

Выберете то, что вам нужно

    1. How to Access the Internal Components of an HP 15-R011DX, Battery: шаг 1, изображение 1 из 2 How to Access the Internal Components of an HP 15-R011DX, Battery: шаг 1, изображение 2 из 2
      • Slide the lock mechanism on the left side of the laptop to the right.

      Спросите у FixBot

      Добавить комментарий

    2. How to Access the Internal Components of an HP 15-R011DX: шаг 2, изображение 1 из 1
      • While holding the right slide mechanism, remove the battery from the laptop.

      • The battery is not pictured here because it is missing from this particular device.

      Спросите у FixBot

      Добавить комментарий

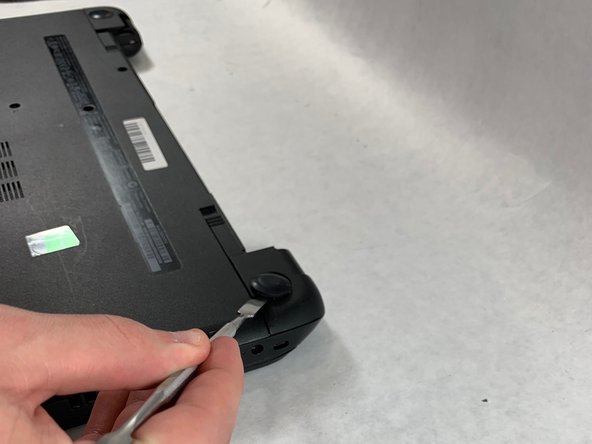
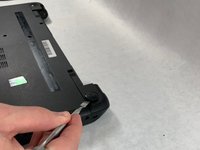
    1. How to Access the Internal Components of an HP 15-R011DX, How to Access the Internal Components of an HP 15-R011DX: шаг 3, изображение 1 из 2 How to Access the Internal Components of an HP 15-R011DX, How to Access the Internal Components of an HP 15-R011DX: шаг 3, изображение 2 из 2
      • Flip the laptop over to reveal screw locations.

      • Use a metal spudger to remove the two rear rubber feet. There are screws hidden underneath them.

      Спросите у FixBot

      Добавить комментарий

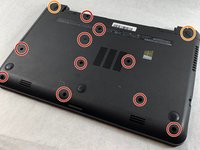
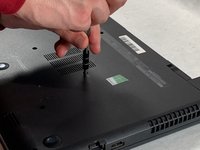
    2. How to Access the Internal Components of an HP 15-R011DX: шаг 4, изображение 1 из 2 How to Access the Internal Components of an HP 15-R011DX: шаг 4, изображение 2 из 2
      • Remove the twelve 5mm Phillips #1 screws on the back of the laptop.

      Спросите у FixBot

      Добавить комментарий

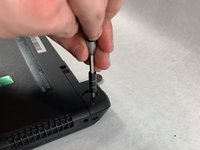
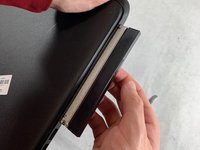
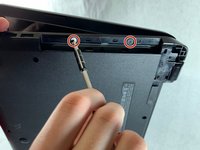
    3. How to Access the Internal Components of an HP 15-R011DX: шаг 5, изображение 1 из 2 How to Access the Internal Components of an HP 15-R011DX: шаг 5, изображение 2 из 2
      • Remove the DVD drive from the laptop.

      • Remove the two 3 mm Phillips #1 screws underneath the DVD drive.

      Спросите у FixBot

      Добавить комментарий

    4. How to Access the Internal Components of an HP 15-R011DX: шаг 6, изображение 1 из 3 How to Access the Internal Components of an HP 15-R011DX: шаг 6, изображение 2 из 3 How to Access the Internal Components of an HP 15-R011DX: шаг 6, изображение 3 из 3
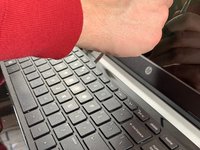
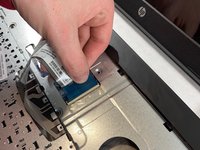
      • Flip the laptop and open.

      • Detach the keyboard by prying it free from the laptop using a spudger.

      • Do not completely remove the keyboard yet. It is still attached by a ribbon cable.

      • Disconnect the keyboard ribbon cable.

      Спросите у FixBot

      Добавить комментарий

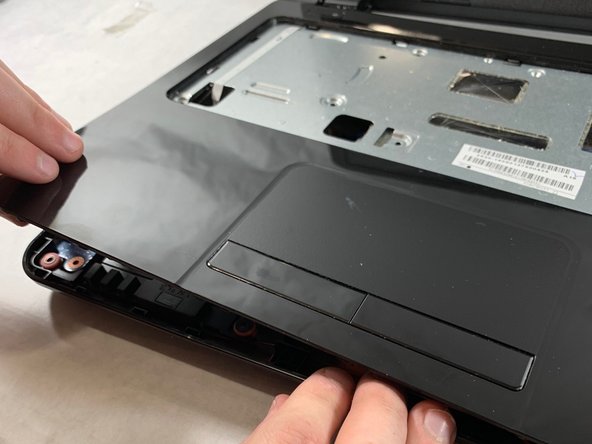
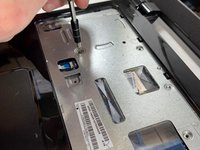
    5. How to Access the Internal Components of an HP 15-R011DX: шаг 7, изображение 1 из 2 How to Access the Internal Components of an HP 15-R011DX: шаг 7, изображение 2 из 2
      • Disconnect the two narrow ribbon cables to the left of the keyboard connection.

      • Remove five 4 mm Phillips #1 screws from the metal tray for the keyboard.

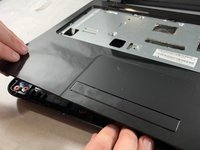
      • Pry open the plastic casing using a spudger.

      • If struggling to remove the plastic case, check that all screws have been removed.

      Спросите у FixBot

      Добавить комментарий

Заключение

To reassemble your device, follow these instructions in reverse order.

Отменить: Я не выполнил это руководство.

2 человек успешно провели ремонт по этому руководству.

Ethan Guillotte

Участник с: 03/20/19

517 Репутация

Автор 3 руководств

Команда

UMass Dartmouth, Team S2-G4, Bailey Spring 2019 Участник UMass Dartmouth, Team S2-G4, Bailey Spring 2019

UMASSD-BAILEY-S19S2G4

3 членов

Автор 54 руководств

0 Комментарии к руководству

Добавить комментарий

Статистика просмотров:

За последние 24 часов: 0

За последние 7 дней: 1

За последние 30 дней: 15

За всё время: 822