Перейти к основному содержанию
Присоединяйся к сообществу ремонтников - Создай аккаунт

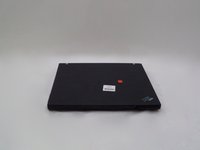
IBM ThinkPad X41 LCD Screen Replacement

Выберете то, что вам нужно

    1. IBM ThinkPad X41 LCD Screen Replacement, LCD Screen: шаг 1, изображение 1 из 3 IBM ThinkPad X41 LCD Screen Replacement, LCD Screen: шаг 1, изображение 2 из 3 IBM ThinkPad X41 LCD Screen Replacement, LCD Screen: шаг 1, изображение 3 из 3
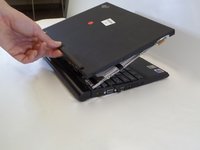
      • Open the laptop and turn to the side.

      • Using the spudger, remove the 6 black rectangular-shaped screw coverings (3 on each side)

      Спросите у FixBot

      Добавить комментарий

    2. IBM ThinkPad X41 LCD Screen Replacement: шаг 2, изображение 1 из 1
      • Using a Phillips Screw Driver, remove the (6) Phillips Head (Size PH001) 3.0 mm length screws (3 on each side) from the side of the LCD Screen Cover

      Спросите у FixBot

      Добавить комментарий

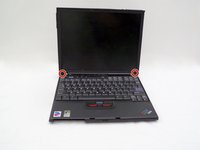
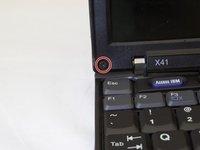
    3. IBM ThinkPad X41 LCD Screen Replacement: шаг 3, изображение 1 из 2 IBM ThinkPad X41 LCD Screen Replacement: шаг 3, изображение 2 из 2
      • Using the spudger, remove the two round, black screw coverings on the lower, left, and right corners of the LCD screen bezel.

      Спросите у FixBot

      Добавить комментарий

    4. IBM ThinkPad X41 LCD Screen Replacement: шаг 4, изображение 1 из 2 IBM ThinkPad X41 LCD Screen Replacement: шаг 4, изображение 2 из 2
      • Using a Phillips Screwdriver (Size PH001), remove the 3.0 mm screws from the lower, left and right corners of the LCD screen Bezel

      Спросите у FixBot

      Добавить комментарий

    5. IBM ThinkPad X41 LCD Screen Replacement: шаг 5, изображение 1 из 2 IBM ThinkPad X41 LCD Screen Replacement: шаг 5, изображение 2 из 2
      • Using 2 Fingers, pull the bottom of the screen bezel towards you.

      • Pull the bottom of the screen bezel approximately 1 inch away from the LCD screen.

      • Next, pull screen bezel downward and away from the LCD screen.

      Спросите у FixBot

      Добавить комментарий

    6. IBM ThinkPad X41 LCD Screen Replacement: шаг 6, изображение 1 из 1
      • Using your index finger and thumb, gently lift and pull away laptop closure latch of the side of the screen assembly.

      Спросите у FixBot

      Добавить комментарий

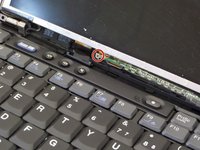
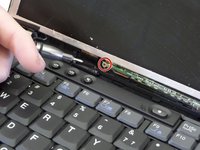
    7. IBM ThinkPad X41 LCD Screen Replacement: шаг 7, изображение 1 из 2 IBM ThinkPad X41 LCD Screen Replacement: шаг 7, изображение 2 из 2
      • Use a Phillips head screwdriver to remove the internal LCD screen support assembly above the F6 key.

      Спросите у FixBot

      Добавить комментарий

    8. IBM ThinkPad X41 LCD Screen Replacement: шаг 8, изображение 1 из 3 IBM ThinkPad X41 LCD Screen Replacement: шаг 8, изображение 2 из 3 IBM ThinkPad X41 LCD Screen Replacement: шаг 8, изображение 3 из 3
      • Close the laptop and turn so that the laptop's backside is facing you.

      • Using a thumb and index finger, gently lift the LCD screen back cover away from laptop.

      Спросите у FixBot

      Добавить комментарий

    9. IBM ThinkPad X41 LCD Screen Replacement: шаг 9, изображение 1 из 3 IBM ThinkPad X41 LCD Screen Replacement: шаг 9, изображение 2 из 3 IBM ThinkPad X41 LCD Screen Replacement: шаг 9, изображение 3 из 3
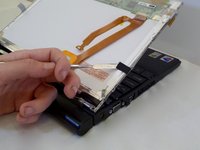
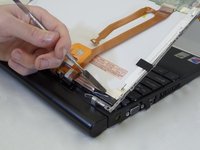
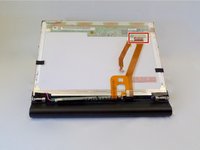
      • Using a spudger, remove the black, rectangular support tape.

      Спросите у FixBot

      Добавить комментарий

    10. IBM ThinkPad X41 LCD Screen Replacement: шаг 10, изображение 1 из 2 IBM ThinkPad X41 LCD Screen Replacement: шаг 10, изображение 2 из 2
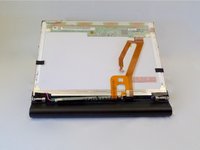
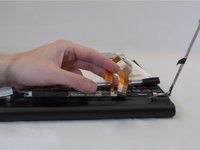
      • Carefully disconnect the orange cable from back of LCD screen.

      Спросите у FixBot

      Добавить комментарий

    11. IBM ThinkPad X41 LCD Screen Replacement: шаг 11, изображение 1 из 2 IBM ThinkPad X41 LCD Screen Replacement: шаг 11, изображение 2 из 2
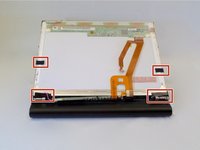
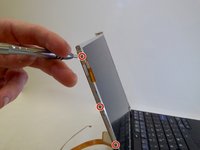
      • Using a Phillips Screwdriver (Size PH001), remove the screws from the LCD screen support arms.

      Спросите у FixBot

      Добавить комментарий

    12. IBM ThinkPad X41 LCD Screen Replacement: шаг 12, изображение 1 из 2 IBM ThinkPad X41 LCD Screen Replacement: шаг 12, изображение 2 из 2
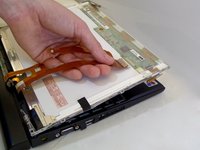
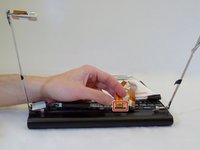
      • Unplug the orange LCD screen cable from the small circuit board near the laptop keyboard.

      Спросите у FixBot

      Добавить комментарий

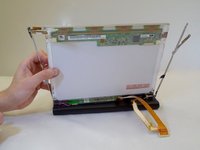
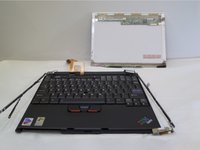
    13. IBM ThinkPad X41 LCD Screen Replacement: шаг 13, изображение 1 из 2 IBM ThinkPad X41 LCD Screen Replacement: шаг 13, изображение 2 из 2
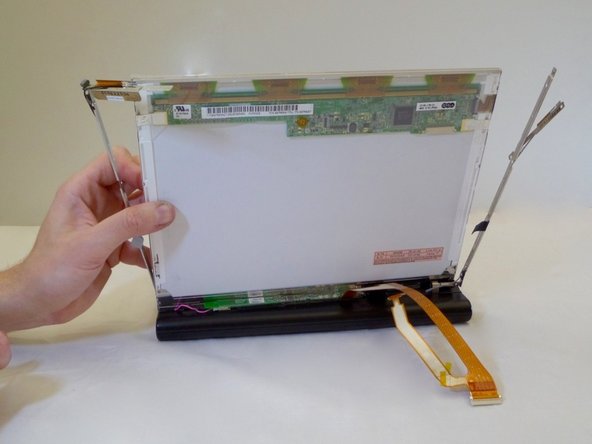
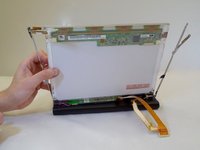
      • Using one hand, gently lift the LCD screen out of support arms.

      Спросите у FixBot

      Добавить комментарий

Заключение

To reassemble your device, follow these instructions in reverse order.

Отменить: Я не выполнил это руководство.

Еще один человек закончил это руководство.

Justin Macik

Участник с: 09/12/16

228 Репутация

1 руководство автора

Команда

CSU Fullerton, Team 2-4, Bruce Fall 2016 Участник CSU Fullerton, Team 2-4, Bruce Fall 2016

CSUF-BRUCE-F16S2G4

4 членов

Автор 16 руководств

1 Комментарий к руководству

nice little guide, short and too the point,

Vaughan Prendergast - Ответить Поделиться

Добавить комментарий

Статистика просмотров:

За последние 24 часов: 0

За последние 7 дней: 3

За последние 30 дней: 35

За всё время: 1,963