Перейти к основному содержанию
Присоединяйся к сообществу ремонтников - Создай аккаунт

InFocus IN35W Fan Replacement

Выберете то, что вам нужно

    1. InFocus IN35W Fan Replacement, Top Plate: шаг 1, изображение 1 из 3 InFocus IN35W Fan Replacement, Top Plate: шаг 1, изображение 2 из 3 InFocus IN35W Fan Replacement, Top Plate: шаг 1, изображение 3 из 3
      • Use the plastic opening tool to remove the front plastic casing surrounding the lens.

      • Pry apart the clips securing the top and bottom of the device using the plastic opening tool.

      Спросите у FixBot

      Добавить комментарий

    2. InFocus IN35W Fan Replacement: шаг 2, изображение 1 из 2 InFocus IN35W Fan Replacement: шаг 2, изображение 2 из 2
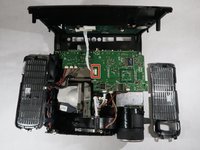
      • Pull the top piece up.

      • The two gray ventilation grates will slip off the device.

      Спросите у FixBot

      Добавить комментарий

    3. InFocus IN35W Fan Replacement: шаг 3, изображение 1 из 2 InFocus IN35W Fan Replacement: шаг 3, изображение 2 из 2
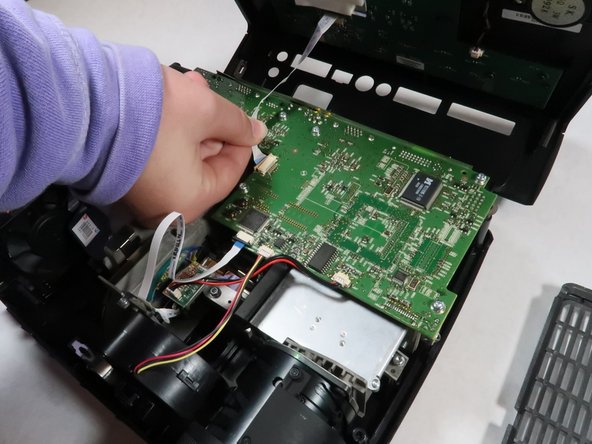
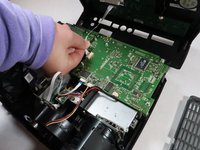
      • Detach the white speaker wire that connects the motherboard to the top piece.

      • Remove the top cover from the device.

      Спросите у FixBot

      Добавить комментарий

    1. InFocus IN35W Fan Replacement, Motherboard: шаг 4, изображение 1 из 2 InFocus IN35W Fan Replacement, Motherboard: шаг 4, изображение 2 из 2
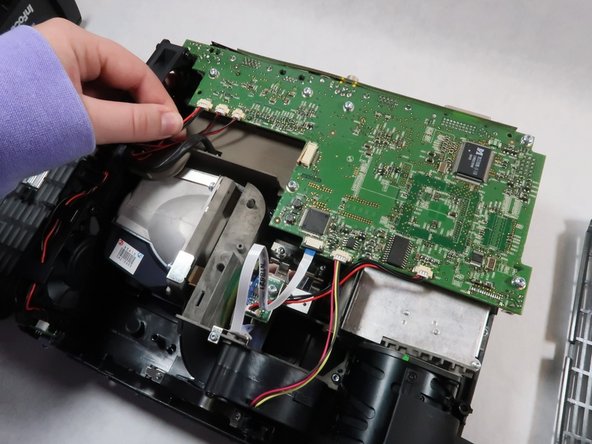
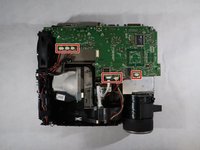
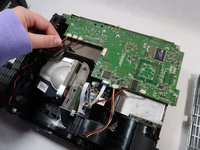
      • Detach all six of the cables and speaker wires from the white connectors on the motherboard.

      Спросите у FixBot

      Добавить комментарий

    2. InFocus IN35W Fan Replacement: шаг 5, изображение 1 из 2 InFocus IN35W Fan Replacement: шаг 5, изображение 2 из 2
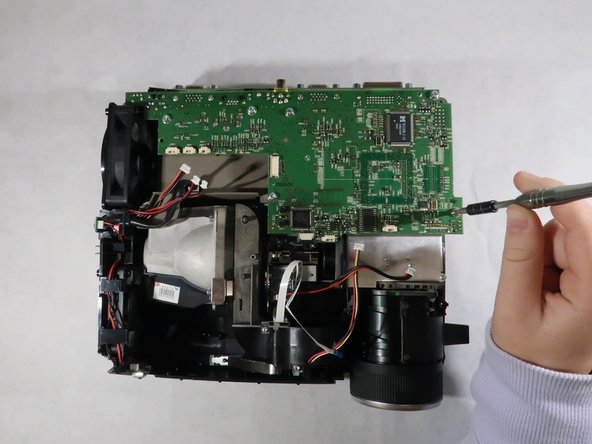
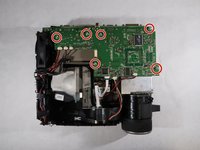
      • Remove the six 4 mm Torx TR10 screws from the motherboard.

      Спросите у FixBot

      Добавить комментарий

    3. InFocus IN35W Fan Replacement: шаг 6, изображение 1 из 1
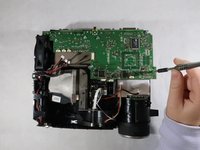
      • Carefully grasp the outsides of the motherboard and pull it up to remove it from the device.

      Спросите у FixBot

      Добавить комментарий

    1. InFocus IN35W Fan Replacement, Fan: шаг 7, изображение 1 из 2 InFocus IN35W Fan Replacement, Fan: шаг 7, изображение 2 из 2
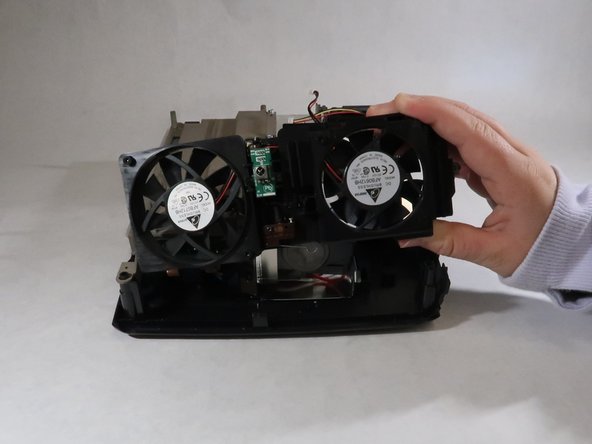
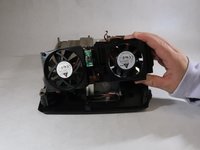
      • The fan is located on the side of the device.

      • Lift the fan up and out of the projector body.

      Спросите у FixBot

      Добавить комментарий

Заключение

To reassemble your device, follow these instructions in reverse order.

Отменить: Я не выполнил это руководство.

Grace Hubert

Участник с: 10/18/21

608 Репутация

Автор 5 руководств

Команда

UMass Dartmouth, Team 1-2, Simcock Fall 2021 Участник UMass Dartmouth, Team 1-2, Simcock Fall 2021

UMASSD-SIMCOCK-F21S1G2

4 членов

Автор 13 руководств

0 Комментарии к руководству

Добавить комментарий

Статистика просмотров:

За последние 24 часов: 0

За последние 7 дней: 2

За последние 30 дней: 18

За всё время: 322