Перейти к основному содержанию
Присоединяйся к сообществу ремонтников - Создай аккаунт
JBL Charge Button Membrane Replacement

Выберете то, что вам нужно

    1. JBL Charge Button Membrane Replacement, Case: шаг 1, изображение 1 из 3 JBL Charge Button Membrane Replacement, Case: шаг 1, изображение 2 из 3 JBL Charge Button Membrane Replacement, Case: шаг 1, изображение 3 из 3
      • Make sure the device is powered off before you begin to disassemble the speaker.

      • Remove the trim from the speaker using a jimmy or metal spudger.

      Спросите у FixBot

      Добавить комментарий

    2. JBL Charge Button Membrane Replacement: шаг 2, изображение 1 из 2 JBL Charge Button Membrane Replacement: шаг 2, изображение 2 из 2
      • Use the PH1 screwdriver to remove all five of the 6 mm screws from the battery cover.

      • Remove the battery cover and set the cover aside.

      Спросите у FixBot

      Добавить комментарий

    3. JBL Charge Button Membrane Replacement: шаг 3, изображение 1 из 2 JBL Charge Button Membrane Replacement: шаг 3, изображение 2 из 2
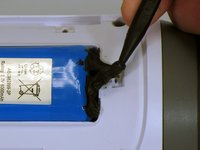
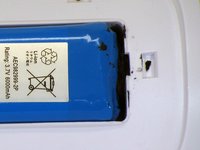
      • Use a spudger to carefully remove the liquid electrical tape that holds the battery inside the battery compartment.

      • Be careful not to puncture the battery, or damage the battery wire underneath the liquid electrical tape.

      Спросите у FixBot

      Добавить комментарий

    4. JBL Charge Button Membrane Replacement: шаг 4, изображение 1 из 2 JBL Charge Button Membrane Replacement: шаг 4, изображение 2 из 2
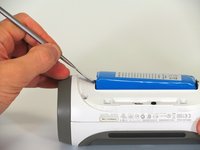
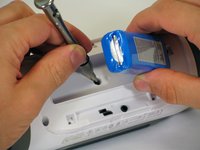
      • Use a spudger to lift the battery out of the device.

      • Lift the end of the battery that does not have the wire connection and remove the 16 mm PH2 screw underneath the battery.

      • Notice the wire that is connecting the battery to the device. Attempting to remove the battery completely could cause damage to the wire. Do not use a metal spudger to remove the battery, this could cause damage.

      Спросите у FixBot

      Добавить комментарий

    5. JBL Charge Button Membrane Replacement: шаг 5, изображение 1 из 2 JBL Charge Button Membrane Replacement: шаг 5, изображение 2 из 2
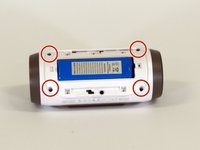
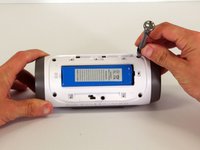
      • Remove the four 16 mm screws from the white plastic casing using the PH2 screwdriver.

      Спросите у FixBot

      Добавить комментарий

    6. JBL Charge Button Membrane Replacement: шаг 6, изображение 1 из 2 JBL Charge Button Membrane Replacement: шаг 6, изображение 2 из 2
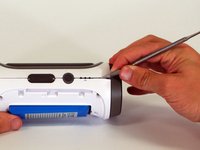
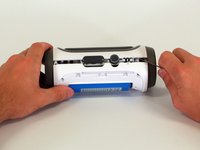
      • Starting in a corner of the device where the casing and the side meet, use a pointed metal spudger to pry the back casing off the speaker and the glue holding the seam together.

      • Slide the metal spudger along the seam to separate the back casing from the rest of the speaker.

      Спросите у FixBot

      Добавить комментарий

    7. JBL Charge Button Membrane Replacement: шаг 7, изображение 1 из 2 JBL Charge Button Membrane Replacement: шаг 7, изображение 2 из 2
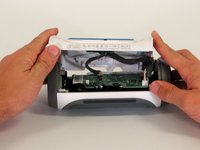
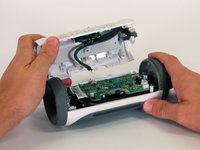
      • Once the back casing is open, disconnect the three white connectors from the motherboard.

      • Remove the upper casing.

      Спросите у FixBot

      Добавить комментарий

    1. JBL Charge Button Membrane Replacement, Motherboard: шаг 8, изображение 1 из 1
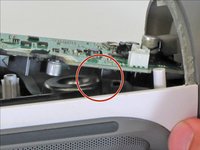
      • Remove the 9 mm Phillips screw in the corner of the motherboard.

      Спросите у FixBot

      Добавить комментарий

    2. JBL Charge Button Membrane Replacement: шаг 9, изображение 1 из 2 JBL Charge Button Membrane Replacement: шаг 9, изображение 2 из 2
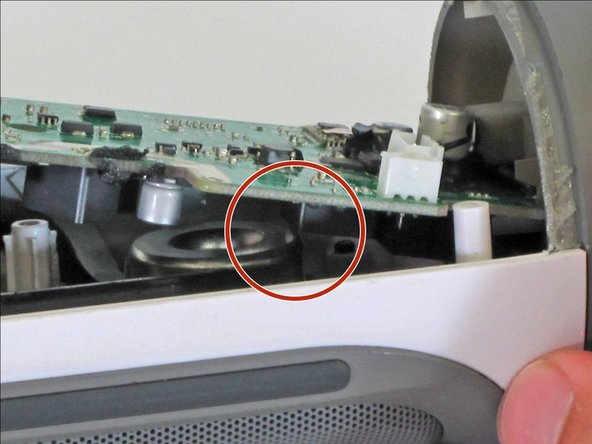
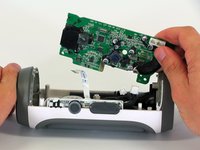
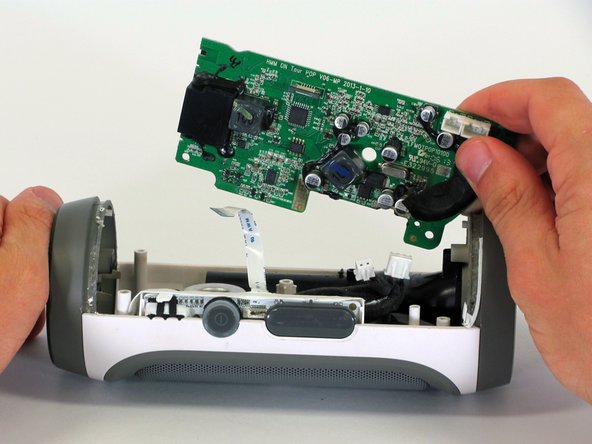
      • Remove the motherboard from the casing by lifting the corner of the board out of the device.

      • If the motherboard won't budge, be sure that the square component on the bottom of the motherboard clears the edge of the speaker.

      • During reassembly, make sure the motherboard is fully installed and not sticking up past its original position, as this could damage the motherboard.

      Спросите у FixBot

      Добавить комментарий

    3. JBL Charge Button Membrane Replacement: шаг 10, изображение 1 из 1
      • Disconnect the two white connectors from the bottom of the motherboard.

      Спросите у FixBot

      Добавить комментарий

    4. JBL Charge Button Membrane Replacement: шаг 11, изображение 1 из 2 JBL Charge Button Membrane Replacement: шаг 11, изображение 2 из 2
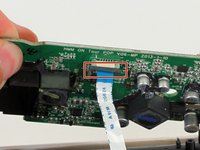
      • Pull down on the black clip holding the ribbon cable in place.

      • Pull the ribbon cable from the connector using the blue tab.

      • Remove the motherboard from the device.

      Спросите у FixBot

      Добавить комментарий

    1. JBL Charge Button Membrane Replacement, Button Membrane: шаг 12, изображение 1 из 1
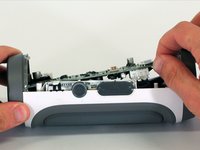
      • Locate the buttons on top of the device. Peel the white piece of tape located along the side of this button membrane.

      Спросите у FixBot

      Добавить комментарий

    2. JBL Charge Button Membrane Replacement: шаг 13, изображение 1 из 1
      • Gently pull out the button membrane. You should not expect much resistance.

      Спросите у FixBot

      Добавить комментарий

Заключение

To reassemble your device, follow these instructions in reverse order.

Отменить: Я не выполнил это руководство.

4 человек успешно провели ремонт по этому руководству.

Jake Bertholf

Участник с: 04/01/15

378 Репутация

Автор 2 руководств

Команда

Cal Poly, Team 12-1, Lancaster Spring 2015 Участник Cal Poly, Team 12-1, Lancaster Spring 2015

CPSU-LANCASTER-S15S12G1

5 членов

Автор 19 руководств

2 Комментарии к руководству

conseguiste el boton de repuesto?

Mario A Vargas S - Ответить Поделиться
Por favor, disculpe mis errores:

"No puedo encontrar un nuevo reemplazo. Compra uno roto. Utilice el botón de la que se rompe."

Joe Durand - Ответить Поделиться

Добавить комментарий

Статистика просмотров:

За последние 24 часов: 1

За последние 7 дней: 8

За последние 30 дней: 45

За всё время: 10,683