Перейти к основному содержанию
Присоединяйся к сообществу ремонтников - Создай аккаунт

Jam Voice Battery Replacement

Выберете то, что вам нужно

    1. Jam Voice Battery Replacement, Hard Mesh Cover: шаг 1, изображение 1 из 2 Jam Voice Battery Replacement, Hard Mesh Cover: шаг 1, изображение 2 из 2
      • Insert the plastic opening tool underneath the mesh top.

      • Pry the cover open.

      • To reattach the cover, simply align the round posts on the bottom of the cover into the holes.

      Спросите у FixBot

      Добавить комментарий

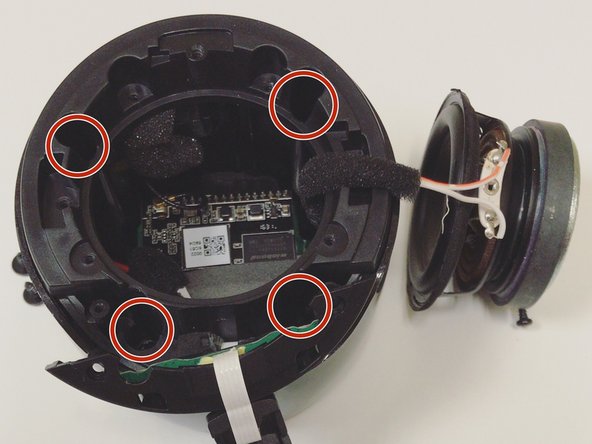
    1. Jam Voice Battery Replacement, Motherboard: шаг 2, изображение 1 из 1
      • Remove the four 7mm Phillips screws from the plastic cover.

      Спросите у FixBot

      Добавить комментарий

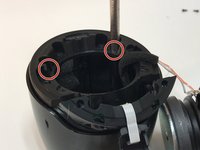
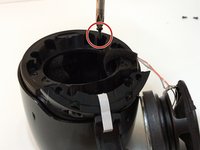
    2. Jam Voice Battery Replacement: шаг 3, изображение 1 из 2 Jam Voice Battery Replacement: шаг 3, изображение 2 из 2
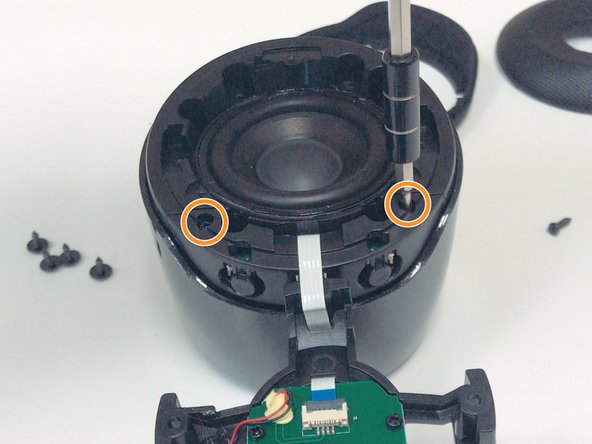
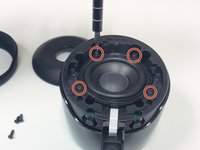
      • Remove the four 5mm Phillips screws that hold down the speaker in place.

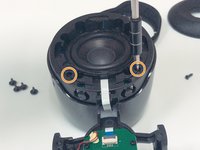
      • Remove the two 6mm Phillips screws that hold down the plastic casing.

      Спросите у FixBot

      Добавить комментарий

    3. Jam Voice Battery Replacement: шаг 4, изображение 1 из 1
      Инструмент, используемый на этом этапе:
      Halberd Spudger
      $2.99
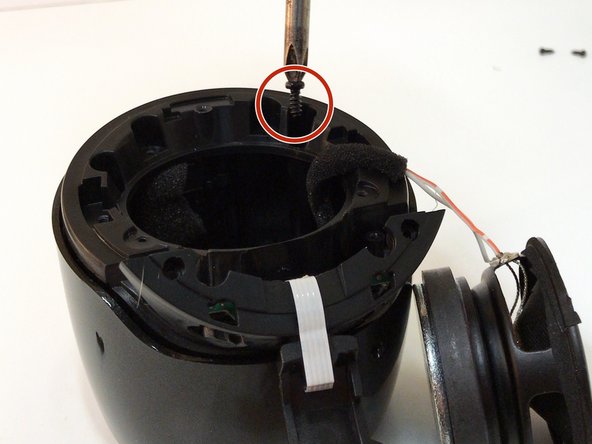
      • Once all six screws are removed, use a Halberd Spudger or similar tool to lift up the speaker.

      • Pull the speaker up and out.

      Спросите у FixBot

      Добавить комментарий

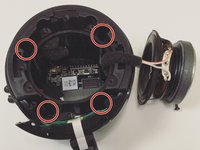
    4. Jam Voice Battery Replacement: шаг 5, изображение 1 из 3 Jam Voice Battery Replacement: шаг 5, изображение 2 из 3 Jam Voice Battery Replacement: шаг 5, изображение 3 из 3
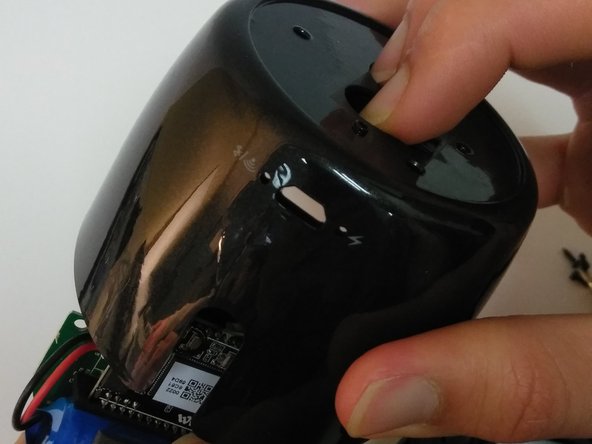
      • Remove the four 7mm Phillips screws to expose the motherboard.

      Спросите у FixBot

      Добавить комментарий

    5. Jam Voice Battery Replacement: шаг 6, изображение 1 из 1
      • After removing all of the screws from the plastic cover, remove it by pulling up and out.

      • Be careful not to pull and damage any of the wires.

      Спросите у FixBot

      Добавить комментарий

    6. Jam Voice Battery Replacement: шаг 7, изображение 1 из 2 Jam Voice Battery Replacement: шаг 7, изображение 2 из 2
      • Remove the three 5mm Phillips screws that hold the motherboard in place.

      • After the screws are removed, place two fingers on the power button and Bluetooth button to push the motherboard out.

      Спросите у FixBot

      Добавить комментарий

    1. Jam Voice Battery Replacement, Battery: шаг 8, изображение 1 из 3 Jam Voice Battery Replacement, Battery: шаг 8, изображение 2 из 3 Jam Voice Battery Replacement, Battery: шаг 8, изображение 3 из 3
      Инструмент, используемый на этом этапе:
      Tweezers
      $4.99
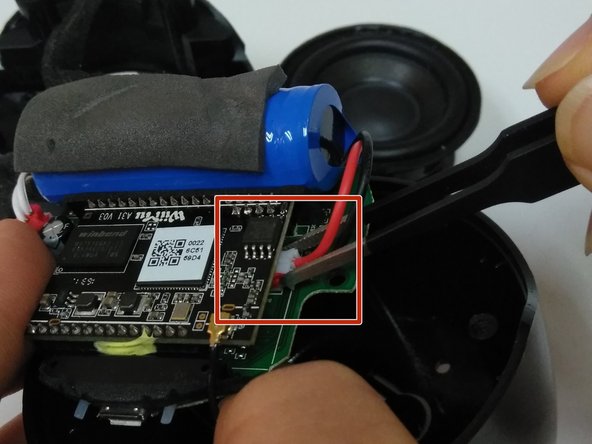
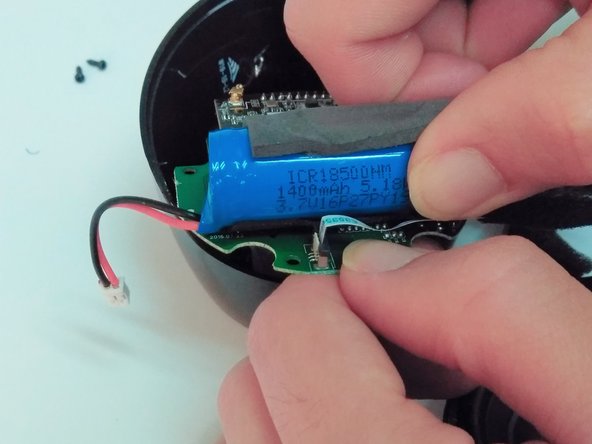
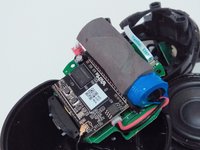
      • Expose the motherboard and battery and place in a position that will be easy to access and work with.

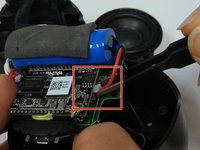
      • Use tweezers to remove the battery's wire from the motherboard at the connection point.

      • The battery's connection point is opposite the speaker's connection point.

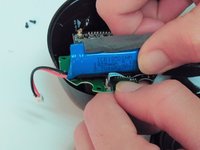
      • Pull the battery from the motherboard.

      Спросите у FixBot

      Добавить комментарий

Заключение

To reassemble your device, follow these instructions in reverse order.

Отменить: Я не выполнил это руководство.

Еще один человек закончил это руководство.

Hope Bukhamseen

Участник с: 04/05/18

298 Репутация

Автор 3 руководств

Команда

Linn Benton Community College, Team S1-G1, Johnson Spring 2018 Участник Linn Benton Community College, Team S1-G1, Johnson Spring 2018

LBCC-JOHNSON-S18S1G1

4 членов

Автор 9 руководств

0 Комментарии к руководству

Добавить комментарий

Статистика просмотров:

За последние 24 часов: 2

За последние 7 дней: 11

За последние 30 дней: 33

За всё время: 1,070