Введение
This guide outlines the steps to remove and replace the battery in Big Jambox. Guide includes gaining access to the auxiliary board to unplug battery.
Выберете то, что вам нужно
-
-
-
Remove both end caps by putting a plastic opening tool in the center of the seam. Work around the edges to pry the end caps off completely.
 Спросите у FixBot
-
-
-
Turn the Jambox upside down. Peel the indicated rubber tabs off, using a plastic opening tool if necessary.
-
Remove the three T6, 7.0 mm screws under each rubber tab.
-
-
-
With the Jawbone logo facing towards you and with correct orientation, place the Jambox with the left end cap facing upward.
-
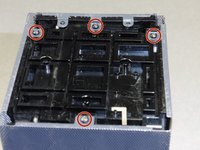
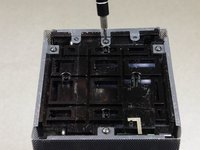
Unscrew indicated T6 9.7 mm screws.
-
Gently loosen the tabs from their anchor points so the bottom may be removed.
-
Flip the Jambox so the other end cap is facing up. The USB cable is on this side (metal grounding clip, indicated in orange). Repeat the above two steps.
-
-
-
Pry up the bottom panel by lifting from the device.
-
Pull the bottom up. This may take a bit of force as the bottom is glued to device.
-
Once removed, the battery will now be visible.
-
-
-
-
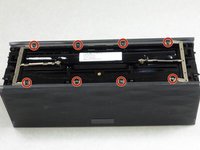
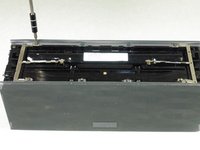
Unscrew the eight indicated T6 9.8 mm screws. Remove metal grounding plates.
-
-
-
Once all eight screws are removed, pry the sides of the Jambox to lift the body from it's shell.
-
-
-
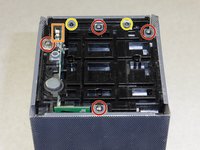
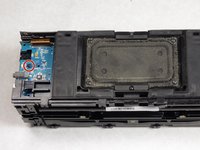
With the battery facing forward, remove the three indicated T6 9.5 mm screws.
-
Once the screws are removed, lift up the small plastic plate, revealing the auxiliary board underneath.
-
-
-
-
-
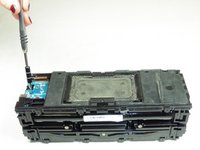
Remove the indicated T6, 7.4mm screw holding the auxiliary board in place.
-
Carefully lift the circuit board up and off to the side.
-
-
-
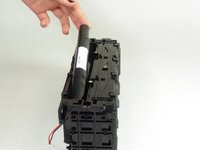
Pull on the red and black cables under the auxiliary board to disconnect the battery.
-
-
-
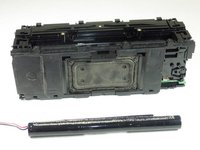
The battery is connected to the Jambox with double-sided sticky tape. Use your finger to pry out the battery.
-
Place a new battery in the old battery’s place. Reverse these steps to connect the new battery.
-
-








To reassemble your device, follow these instructions in reverse order.
Отменить: Я не выполнил это руководство.
69 человек успешно провели ремонт по этому руководству.

Команда

Cal Poly, Team 24-5, Lancaster Spring 2015 Участник Cal Poly, Team 24-5, Lancaster Spring 2015
CPSU-LANCASTER-S15S24G5
4 членов
Автор 18 руководств
33 Комментарии к руководству
Where do I buy the battery.
http://www.ebay.com/itm/322588700358?ul_... :Here is someone who made and sell the battery for Jambox and Big Jambox, i hope this could be helpful
да где аккумулятор купить то?
на рынке покупаются стандартные 18650 и меняются на старые акку из колонки. что б пошла зарядка нужно дать больше ток.
цена вопроса ~ 1200₽ с работой
Where do I go to purchase a battery?
