Перейти к основному содержанию
Присоединяйся к сообществу ремонтников - Создай аккаунт

Jawbone MINI JAMBOX Side Button Assembly Replacement

Выберете то, что вам нужно

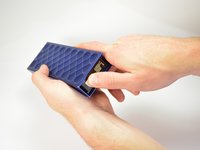
    1. Jawbone MINI JAMBOX Side Button Assembly Replacement, Outer Case: шаг 1, изображение 1 из 2 Jawbone MINI JAMBOX Side Button Assembly Replacement, Outer Case: шаг 1, изображение 2 из 2
      • Using the standard metal spudger, begin by prying at the bottom of the plain rubber end cap (the end without the USB or auxiliary input).

      Спросите у FixBot

      Добавить комментарий

    2. Jawbone MINI JAMBOX Side Button Assembly Replacement: шаг 2, изображение 1 из 1
      • Continue prying around the end panel, prying at different points until the entire panel is out of its seating.

      • Carefully remove the end panel.

      • The tabs which connect the panel are on the short sides.

      • WARNING: you will likely cause cosmetic damage to the end cap.

      Спросите у FixBot

      Добавить комментарий

    3. Jawbone MINI JAMBOX Side Button Assembly Replacement: шаг 3, изображение 1 из 1
      • Slide out the rubber foot located on the bottom of the case.

      Спросите у FixBot

      Добавить комментарий

    4. Jawbone MINI JAMBOX Side Button Assembly Replacement: шаг 4, изображение 1 из 1
      • Using a T6 bit, remove the flat topped 5mm screw located on the bottom of the casing, underneath the rubber foot.

      • This is the only flat topped screw in the speaker, so keep track of which one it is.

      Спросите у FixBot

      Добавить комментарий

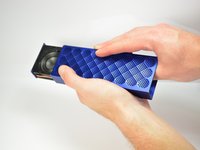
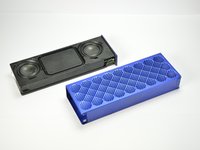
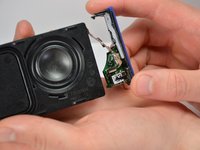
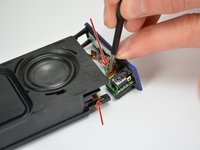
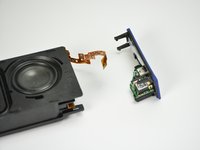
    5. Jawbone MINI JAMBOX Side Button Assembly Replacement: шаг 5, изображение 1 из 3 Jawbone MINI JAMBOX Side Button Assembly Replacement: шаг 5, изображение 2 из 3 Jawbone MINI JAMBOX Side Button Assembly Replacement: шаг 5, изображение 3 из 3
      • Push against the side without end cap to slide the internal components out of the case.

      • While holding the metal outset casing with one hand, press on the black inner plastic casing with your thumb.

      • It will be very difficult the first time. There is a rubber seal on the outside of the plastic inner case that creates a lot of friction with the metal outer case.

      Спросите у FixBot

      Добавить комментарий

    1. Jawbone MINI JAMBOX Side Button Assembly Replacement, Side Buttons Assembly: шаг 6, изображение 1 из 2 Jawbone MINI JAMBOX Side Button Assembly Replacement, Side Buttons Assembly: шаг 6, изображение 2 из 2
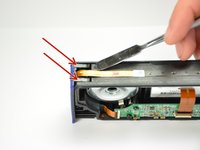
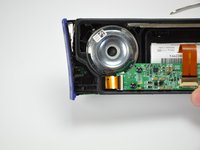
      • Using the standard metal spudger, carefully pry up the top 2 plastic tabs which hold the exterior button and port cover onto the interior plastic frame.

      Спросите у FixBot

      Добавить комментарий

    2. Jawbone MINI JAMBOX Side Button Assembly Replacement: шаг 7, изображение 1 из 1
      • Using the standard metal spudger, pry up the bottom 2 tabs attaching the other side of the button panel.

      • It should come off after prying up the first tab.

      Спросите у FixBot

      Добавить комментарий

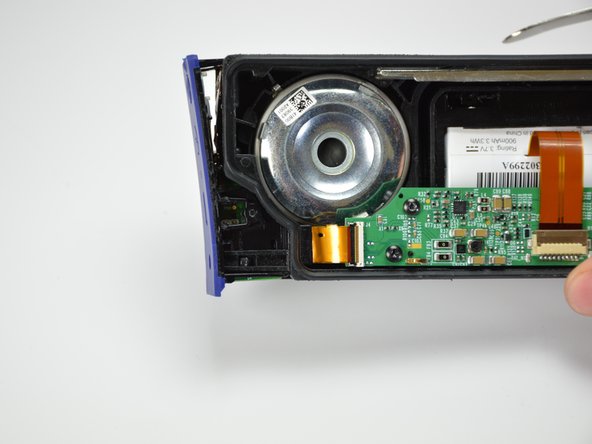
    3. Jawbone MINI JAMBOX Side Button Assembly Replacement: шаг 8, изображение 1 из 3 Jawbone MINI JAMBOX Side Button Assembly Replacement: шаг 8, изображение 2 из 3 Jawbone MINI JAMBOX Side Button Assembly Replacement: шаг 8, изображение 3 из 3
      Инструмент, используемый на этом этапе:
      Tweezers
      $4.99
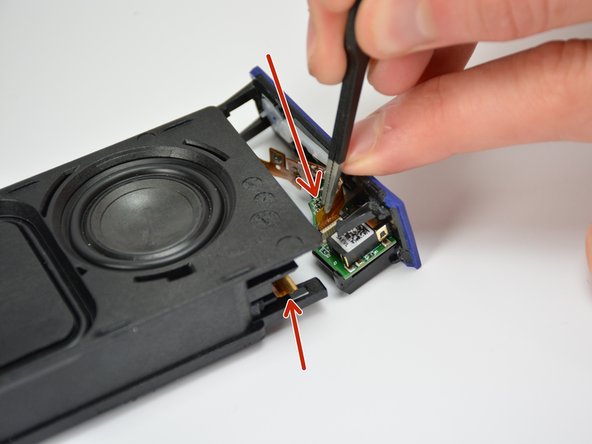
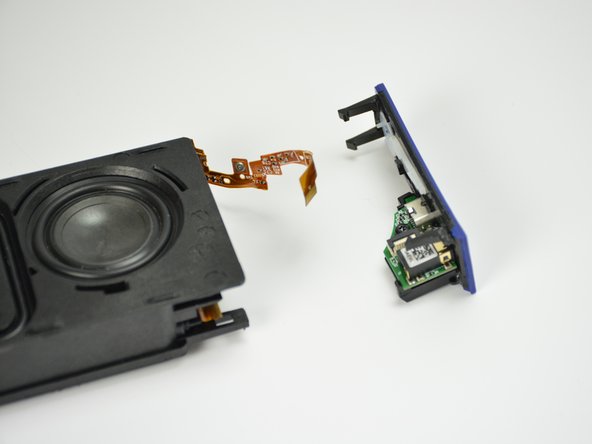
      • Carefully lift out the end panel.

      • Unplug both the connection ribbon and the ZIF or "zero insertion force" ribbon using tweezers or your hands.

      • There is a bit of glue to hold the connection ribbon down.

      Спросите у FixBot

      Добавить комментарий

    4. Jawbone MINI JAMBOX Side Button Assembly Replacement: шаг 9, изображение 1 из 1
      • Using the spudger, push the button in and create a small gap between the outside structure and the button.

      Спросите у FixBot

      Добавить комментарий

    5. Jawbone MINI JAMBOX Side Button Assembly Replacement: шаг 10, изображение 1 из 1
      • Using a computer duster, blow any contaminants out from the button junction.

      • Using a q-tip and cleaner, wipe off any stickiness from the buttons, ensuring to prevent excessive moisture.

      • Alternate Reassembly required, read on.

      Спросите у FixBot

      Добавить комментарий

Заключение

To reassemble your device, follow steps 1 through 5 in reverse order.

Отменить: Я не выполнил это руководство.

Liam McDonnell

Участник с: 04/01/15

559 Репутация

Автор 3 руководств

Команда

Cal Poly, Team 12-1, Lancaster Spring 2015 Участник Cal Poly, Team 12-1, Lancaster Spring 2015

CPSU-LANCASTER-S15S12G1

5 членов

Автор 19 руководств

0 Комментарии к руководству

Добавить комментарий

Статистика просмотров:

За последние 24 часов: 1

За последние 7 дней: 4

За последние 30 дней: 23

За всё время: 1,195