Выберете то, что вам нужно
-
-
-
Open up the device by using a plastic opening tool in order to avoid damaging the device.
-
To do so, find the seam along the outer edge of the device and use the plastic tool to pry the back panel up. Doing so may take some force and patience.
 Спросите у FixBot
-
-
-
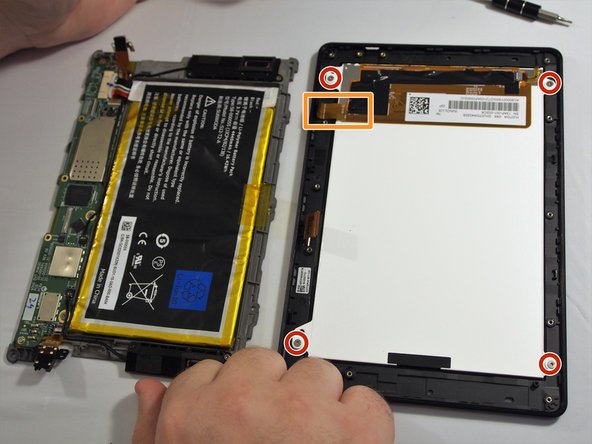
Before we can reach the screen, we must remove the plate that holds the rest of the components.
-
To do so, locate and remove the (10) 3mm T4 Torx screws highlighted.
-
There are also two ribbons connected the main device to the screen. To remove these, follow the ribbon to where they connect and use the spudger or a finger nail to lift the tab. Once open, gently pull the ribbon out.
-
-
-
-
After locating the USB port at the top of the device, remove the (2) 3mm T4 Torx screws.
-
-
-
After locating the Aux port at the bottom of the device, remove the (2) 3mm T4 Torx screws.
-
-
-
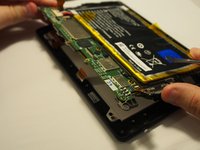
Once the screws and ribbons are removed, use the nylon spudger to gently remove the plate holding the rest of the components and set to the side.
-
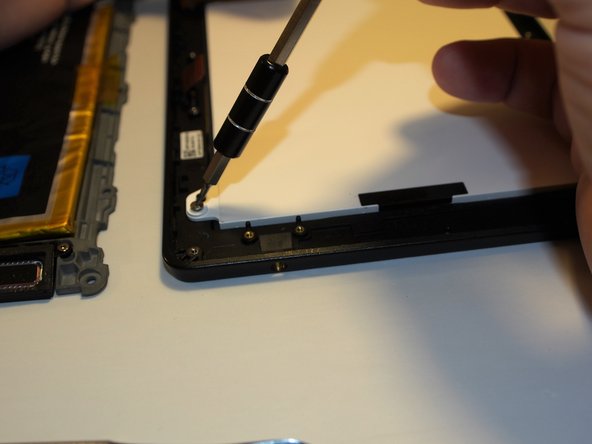
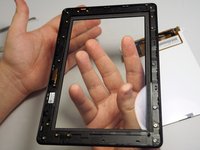
Once the plate has been removed, located the (4) 3mm T4 Torx screws and remove them.
-
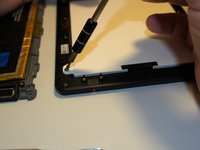
There is a single ribbon here that has to be removed as well. Follow the ribbon to where it connects. Gently lift the tab using the spudger or a fingernail. Once the tab is open, gently pull the ribbon out and away.
-
-
-
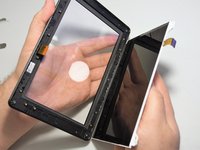
Once the ribbon and screws are removed, pick the part up and tilt it into your other hand. The touch screen component and the clear cover should now be disconnected completely.
-
-


To reassemble your device, follow these instructions in reverse order.
Отменить: Я не выполнил это руководство.
8 человек успешно провели ремонт по этому руководству.
Команда

USF Tampa, Team 2-3, Sullivan Fall 2016 Участник USF Tampa, Team 2-3, Sullivan Fall 2016
USFT-SULLIVAN-F16S2G3
4 членов
Автор 6 руководств
1 Комментарий к руководству
HI CAN U HELP WHERE TO BUY THE LCD AND DIGITIZER FOR THIS MODEL THANK YOU PLS EMAIL me
robert.vanderas@gmail.com