Введение
The screen is very fragile, and often becomes cracked. In this guide, you will learn how to remove it, so that it can easily be replaced.
Выберете то, что вам нужно
-
-
-
First, press in and slide forward the battery latch as indicated by the arrow.
 Спросите у FixBot
-
-
-
Press down on battery until you hear a click and release it. Battery should easily slide out.
-
-
-
-
-
Remove the 3.9 mm frame screws using a Phillips #00 screwdriver.
-
-
-
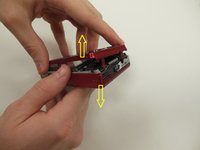
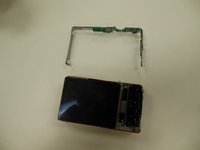
Using both hands, carefully pull the frame apart from the camera.
-
-
-
-
-
-
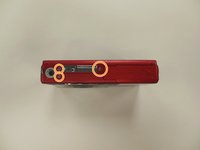
Remove the two 3.85 mm screws on the bottom right of the camera, as indicated.
-
-
-
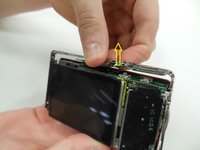
Remove dial button located on top of camera, by gently pulling up.
-
-
-
Starting at one side, carefully work the chrome frame off of the camera itself.
-
-
-
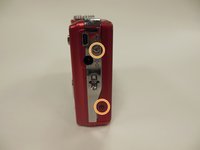
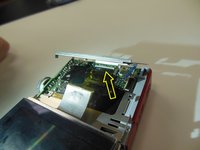
On the right side of the camera, locate and remove the two 3.25 mm screws as highlighted.
-
-
-
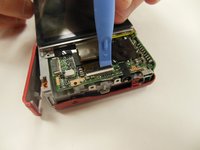
Carefully lift the motherboard panel up, pulling towards the left. Make sure you do not rip the blue ribbon.
-
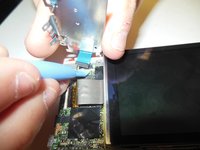
Using a plastic opening tool, gently lift up on the ribbon fastener until it is in an upright position.
-
Slide panel away from camera.
-
-
-
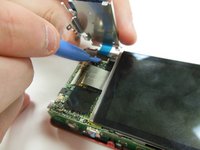
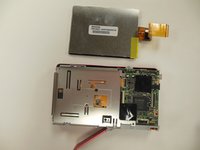
Using a plastic opening tool, gently lift ribbon clamp as indicated to remove the screen ribbon from the motherboard.
-
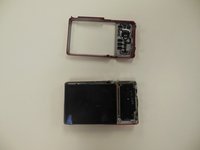
Screen should now be detached. Gently lift it away from the base of the camera.
-
-


To reassemble your device, follow these instructions in reverse order.
Команда

University of Kentucky Louisville, Team 1-4, Rountree Winter 2015 Участник University of Kentucky Louisville, Team 1-4, Rountree Winter 2015
LOUISVILLE-ROUNTREE-W15S1G4
4 членов
Автор 14 руководств