Перейти к основному содержанию
Присоединяйся к сообществу ремонтников - Создай аккаунт
LG G3 LCD and Digitizer Replacement

Выберете то, что вам нужно

  1. LG G3 LCD and Digitizer Replacement, Back Cover: шаг 1, изображение 1 из 2 LG G3 LCD and Digitizer Replacement, Back Cover: шаг 1, изображение 2 из 2
    • Power off your phone before beginning disassembly.

    • Insert a thumbnail, or a prying tool like a spudger, into the notch at the bottom left of the back cover.

    • Pry the back cover up to separate its plastic clips.

    Спросите у FixBot
  2. LG G3 LCD and Digitizer Replacement: шаг 2, изображение 1 из 2 LG G3 LCD and Digitizer Replacement: шаг 2, изображение 2 из 2
    • Lift the back cover to release the rest of the plastic clips and remove it.

    • In case you can't lift the back cover completely, slide your fingernail or your prying tool around the midframe to release the remaining clips.

    • To reinstall the back cover, press it firmly into place until you hear a snap from the plastic clips to form a seamless connection with the rear side of the phone.

    Спросите у FixBot
  3. LG G3 LCD and Digitizer Replacement, Battery: шаг 3, изображение 1 из 2 LG G3 LCD and Digitizer Replacement, Battery: шаг 3, изображение 2 из 2
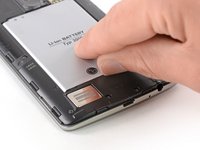
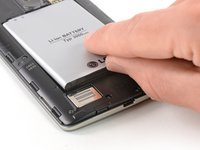
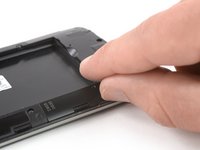
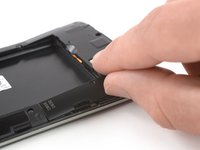
    • Use a fingernail or a prying tool at the marked notch to lever the battery out of its recess.

    Спросите у FixBot
  4. LG G3 LCD and Digitizer Replacement: шаг 4, изображение 1 из 2 LG G3 LCD and Digitizer Replacement: шаг 4, изображение 2 из 2
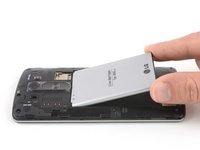
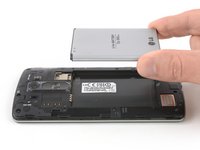
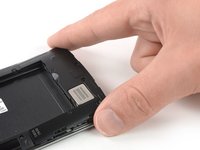
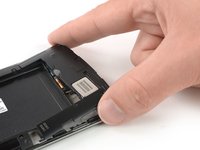
    • Lift the battery out of its recess and remove it.

    Спросите у FixBot
  5. LG G3 LCD and Digitizer Replacement, Loudspeaker: шаг 5, изображение 1 из 1
    • Remove the four Phillips #00 screws (4 mm length).

    Спросите у FixBot
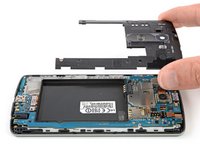
  6. LG G3 LCD and Digitizer Replacement: шаг 6, изображение 1 из 2 LG G3 LCD and Digitizer Replacement: шаг 6, изображение 2 из 2
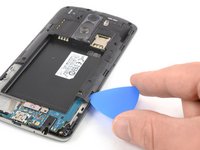
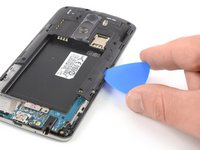
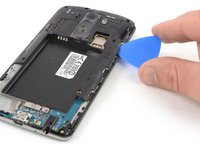
    • Insert a thumbnail, or a prying tool like a spudger, into the notch at the bottom left of the back cover you used earlier to remove the back cover.

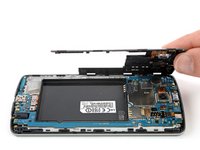
    • Pry up the plastic panel, including the loudspeaker, until you can get a good grip.

    Спросите у FixBot
  7. LG G3 LCD and Digitizer Replacement: шаг 7, изображение 1 из 3 LG G3 LCD and Digitizer Replacement: шаг 7, изображение 2 из 3 LG G3 LCD and Digitizer Replacement: шаг 7, изображение 3 из 3
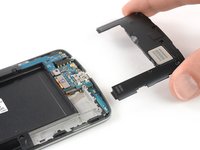
    • Carefully remove the plastic panel including the loudspeaker by gently pulling it away from the phone assembly.

    Спросите у FixBot
  8. LG G3 LCD and Digitizer Replacement, Motherboard Cover Assembly: шаг 8, изображение 1 из 1
    • Remove the eight Phillips #00 screws (4 mm length).

    Спросите у FixBot
  9. LG G3 LCD and Digitizer Replacement: шаг 9, изображение 1 из 3 LG G3 LCD and Digitizer Replacement: шаг 9, изображение 2 из 3 LG G3 LCD and Digitizer Replacement: шаг 9, изображение 3 из 3
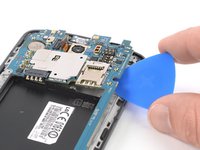
    • Insert an opening pick between the bottom right corner of the motherboard cover and the motherboard.

    • Pry up the motherboard cover to open the plastic clips which hold the cover in its place.

    • The clips can be a bit resistive. If you're having trouble prying up the motherboard cover, slightly rotate the opening pick sideways to make the process easier.

    • Work your way along the right edge.

    Спросите у FixBot
  10. LG G3 LCD and Digitizer Replacement: шаг 10, изображение 1 из 3 LG G3 LCD and Digitizer Replacement: шаг 10, изображение 2 из 3 LG G3 LCD and Digitizer Replacement: шаг 10, изображение 3 из 3
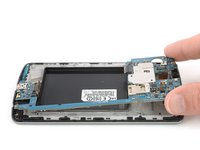
    • Carefully lift the right edge of the motherboard cover.

    • The remaining plastic clips should open during this process or can be unhinged easily by hand.

    • Remove the motherboard assembly.

    Спросите у FixBot
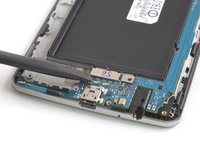
  11. LG G3 LCD and Digitizer Replacement, Motherboard: шаг 11, изображение 1 из 2 LG G3 LCD and Digitizer Replacement, Motherboard: шаг 11, изображение 2 из 2
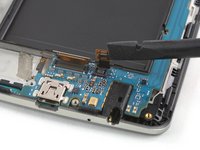
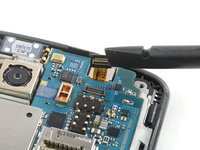
    • Use a spudger to pry up and disconnect the display flex cable.

    Спросите у FixBot
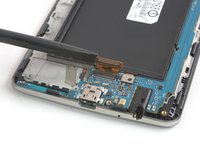
  12. LG G3 LCD and Digitizer Replacement: шаг 12, изображение 1 из 2 LG G3 LCD and Digitizer Replacement: шаг 12, изображение 2 из 2
    • Use a spudger to pry up and disconnect the digitizer flex cable.

    Спросите у FixBot
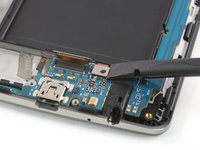
  13. LG G3 LCD and Digitizer Replacement: шаг 13, изображение 1 из 2 LG G3 LCD and Digitizer Replacement: шаг 13, изображение 2 из 2
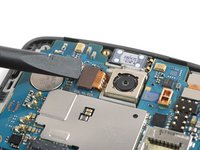
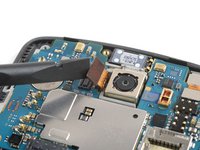
    • Use a spudger to pry up and disconnect the rear camera flex cable.

    Спросите у FixBot
  14. LG G3 LCD and Digitizer Replacement: шаг 14, изображение 1 из 2 LG G3 LCD and Digitizer Replacement: шаг 14, изображение 2 из 2
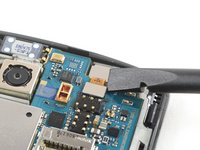
    • Use a spudger to pry up and disconnect the front camera flex cable.

    Спросите у FixBot
  15. LG G3 LCD and Digitizer Replacement: шаг 15, изображение 1 из 2 LG G3 LCD and Digitizer Replacement: шаг 15, изображение 2 из 2
    • During these next few steps, make sure to avoid damaging the flex cables you disconnected.

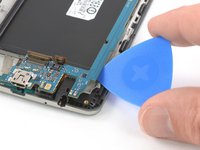
    • Slide an opening pick under the bottom right corner of the motherboard and slowly pry it out of its recess by rotating the opening pick sideways.

    Спросите у FixBot
  16. LG G3 LCD and Digitizer Replacement: шаг 16, изображение 1 из 2 LG G3 LCD and Digitizer Replacement: шаг 16, изображение 2 из 2
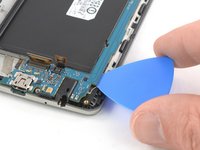
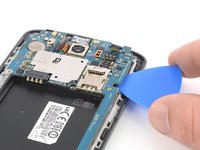
    • Slide the opening pick under the right edge of the motherboard where the SIM card slot is located and pry it up by rotating the opening pick sideways.

    Спросите у FixBot
  17. LG G3 LCD and Digitizer Replacement: шаг 17, изображение 1 из 2 LG G3 LCD and Digitizer Replacement: шаг 17, изображение 2 из 2
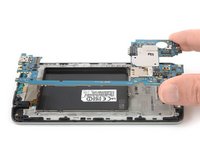
    • Grab the top section of the motherboard and carefully lift it out of the phone.

    Спросите у FixBot
  18. LG G3 LCD and Digitizer Replacement, LCD and Digitizer: шаг 18, изображение 1 из 3 LG G3 LCD and Digitizer Replacement, LCD and Digitizer: шаг 18, изображение 2 из 3 LG G3 LCD and Digitizer Replacement, LCD and Digitizer: шаг 18, изображение 3 из 3
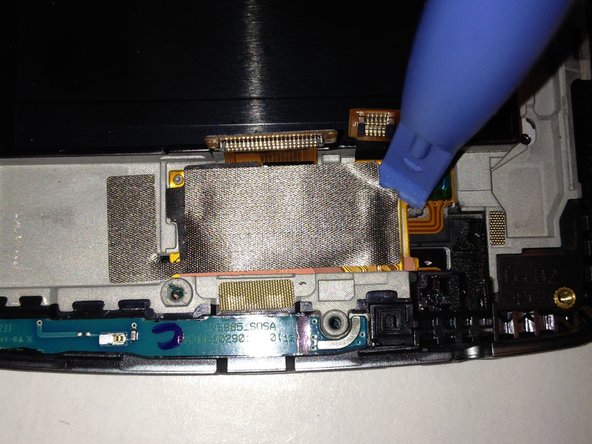
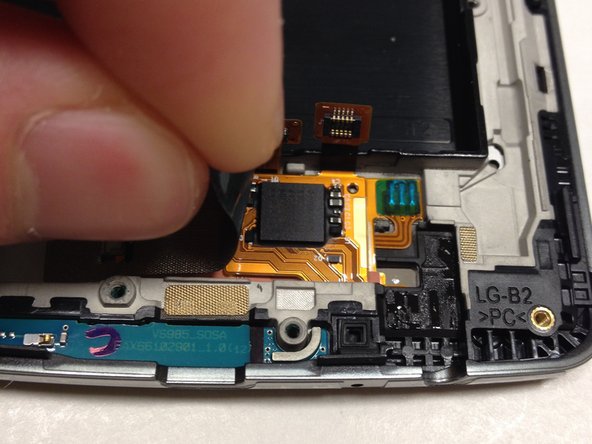
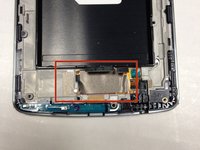
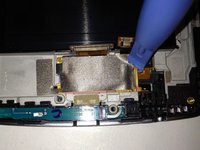
    • Remove the metal tape to reveal the ribbon cables connected to the screen

    • The metal tape is stuck on there pretty well. Get the plastic opening tool under the right-hand side and corners and slowly work your way to getting it off

    • Be careful when removing the metal tape. We can reuse it after we replace the screen

    Спросите у FixBot
  19. LG G3 LCD and Digitizer Replacement: шаг 19, изображение 1 из 2 LG G3 LCD and Digitizer Replacement: шаг 19, изображение 2 из 2
    • If you wish to preserve the LCD screen for whatever reason, it is recommended you use a heat gun around the sides in order to weaken the adhesive that keeps the screen in place

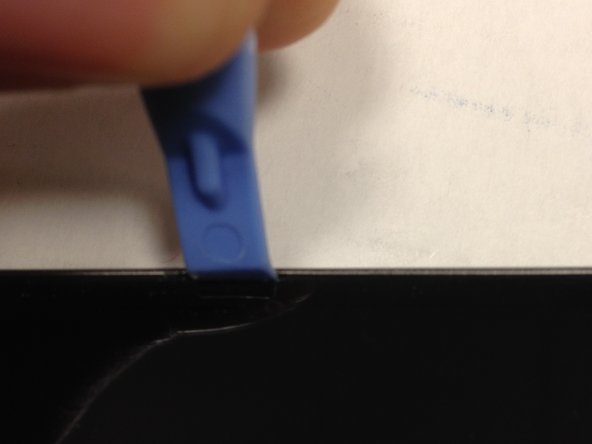
    • Take something thin, such as a knife, and wedge it between the screen and the body of the phone

    • One you have created some space, wedge your plastic opening tool into the space and remove the knife

    • Move your plastic opening tool up and down the side of the phone while lightly pulling up. Repeat this for all sides until the screen comes out

    • If you wish to preserve the LCD screen, be careful how deep you wedge the plastic opening tool in and how hard you pull up to get the screen out. Depending on the depth of the plastic opening tool and strength used, there is a high risk of damaging the LCD screen

    • Remove the old adhesive from the body and replace with new adhesive so the new screen will stay in place

    Спросите у FixBot
  20. LG G3 LCD and Digitizer Replacement: шаг 20, изображение 1 из 1
    • Before reassembly, be sure to transfer the front speaker grille if it is not included with the new screen. If not, carefully push the grille out from the old screen, then reinsert it on the new LCD.

    Спросите у FixBot
Заключение

To reassemble your device, follow these instructions in reverse order.

5 человек успешно провели ремонт по этому руководству.

Sam Goldheart

Участник с: 10/18/12

477 281 Репутация

Автор 538 руководств

Команда

iFixit Участник iFixit

Staff

123 членов

Автор 25 718 руководств

1 Комментарий к руководству

I have a working LG G3 screen (44 pin connector) that I'm trying to jumper wire to a LG Zone 4/Aristo 2/Phoenix 4 (Same phone 210) with no screen (40 pin connector). I have the connector pin outs for both but I want to know is this possible to do?? Scenario: I'm on a deserted island and can't buy a replacement screen for my Zone 4. I know it's going to be a long and tedious task but are the voltages even compatible enough to attempt this?

Please contact me at s.e.davis8304@gmail.com or amebrizee@gmail.com if you know anyone who can help me with this information. Thank you.

Stephanie - Ответить Поделиться
Добавить комментарий

Статистика просмотров:

За последние 24 часов: 2

За последние 7 дней: 12

За последние 30 дней: 107

За всё время: 2,708