Перейти к основному содержанию
Присоединяйся к сообществу ремонтников - Создай аккаунт

LG GW910 Camera Replacement

Выберете то, что вам нужно

    1. LG GW910 Camera Replacement, Motherboard: шаг 1, изображение 1 из 2 LG GW910 Camera Replacement, Motherboard: шаг 1, изображение 2 из 2
      • Remove the back cover by firmly pressing the triangle and push upwards.

      • Lift the bottom section to remove the cover.

      Спросите у FixBot

      Добавить комментарий

    2. LG GW910 Camera Replacement: шаг 2, изображение 1 из 2 LG GW910 Camera Replacement: шаг 2, изображение 2 из 2
      • Remove the battery by lifting from the bottom.

      Спросите у FixBot

      Добавить комментарий

    3. LG GW910 Camera Replacement: шаг 3, изображение 1 из 1
      • Remove six 3mm PH000 screws.

      Спросите у FixBot

      Добавить комментарий

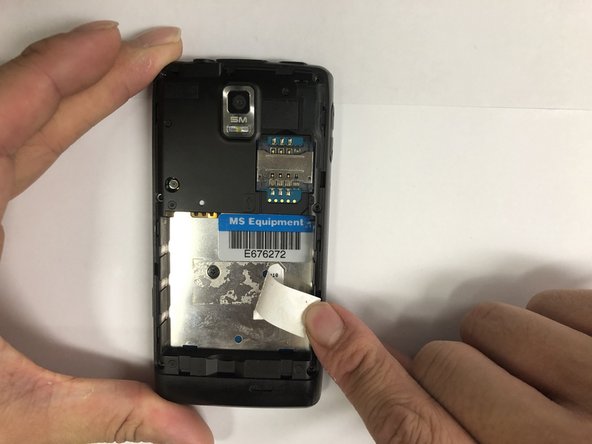
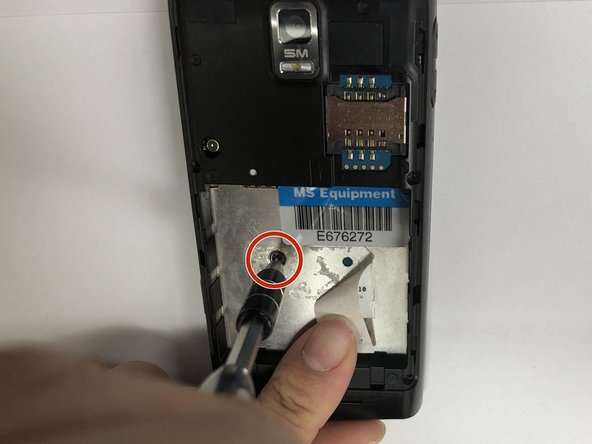
    4. LG GW910 Camera Replacement: шаг 4, изображение 1 из 3 LG GW910 Camera Replacement: шаг 4, изображение 2 из 3 LG GW910 Camera Replacement: шаг 4, изображение 3 из 3
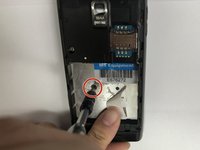
      • Peel off the sticker with the metal spudger.

      • Remove one 1mm PH000 screw.

      Спросите у FixBot

      Добавить комментарий

    5. LG GW910 Camera Replacement: шаг 5, изображение 1 из 1
      • Pry open all four sides of the back-frame gently, using the metal spudger.

      • The back-frame should come out easily.

      • Volume button and shutter button may fall out during the process.

      Спросите у FixBot

      Добавить комментарий

    6. LG GW910 Camera Replacement: шаг 6, изображение 1 из 1
      • Pry off the connector using the iFixit opening tool to remove the communication board.

      Спросите у FixBot

      Добавить комментарий

    7. LG GW910 Camera Replacement: шаг 7, изображение 1 из 3 LG GW910 Camera Replacement: шаг 7, изображение 2 из 3 LG GW910 Camera Replacement: шаг 7, изображение 3 из 3
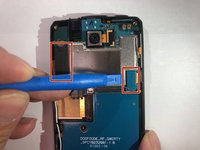
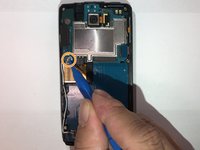
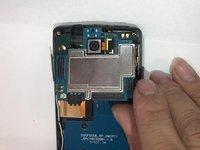
      • Pry off the connectors using the iFixit opening tool.

      • Disconnect the antenna using the iFixit opening tool.

      • The motherboard should be able to be removed easily.

      Спросите у FixBot

      Добавить комментарий

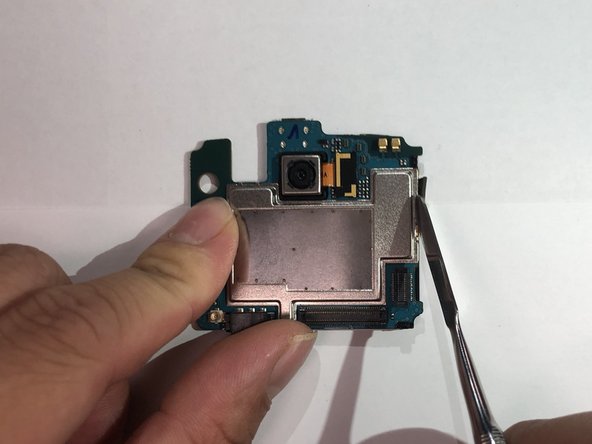
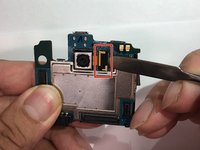
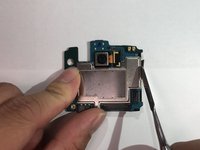
    1. LG GW910 Camera Replacement, Camera: шаг 8, изображение 1 из 2 LG GW910 Camera Replacement, Camera: шаг 8, изображение 2 из 2
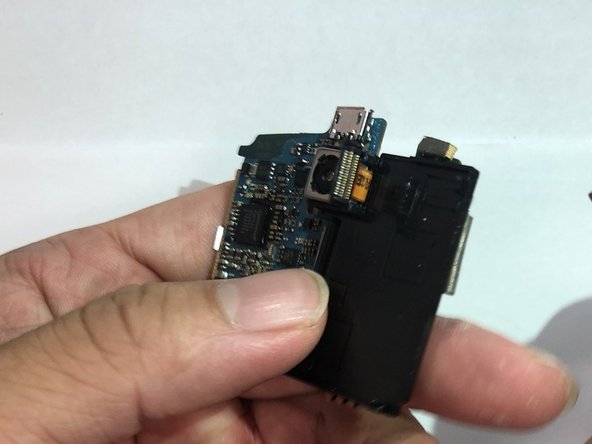
      • Disconnect the connector using the metal spudger.

      • Peel back the tape on the side.

      • Replacement tape might be needed.

      Спросите у FixBot

      Добавить комментарий

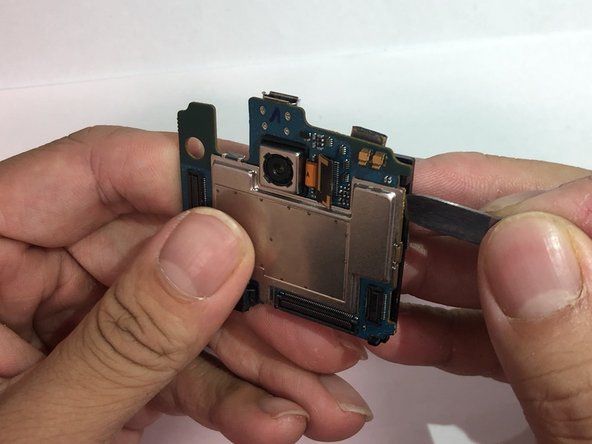
    2. LG GW910 Camera Replacement: шаг 9, изображение 1 из 3 LG GW910 Camera Replacement: шаг 9, изображение 2 из 3 LG GW910 Camera Replacement: шаг 9, изображение 3 из 3
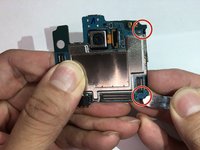
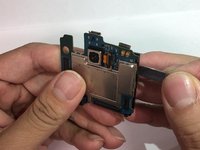
      • Pry open the two plastic hooks using the metal spudger tool.

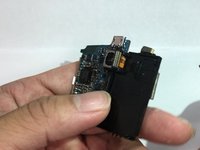
      • Crack open the black plastic cover using the metal spudger tool. The cover should be easily turned over.

      • The connector might get stuck in the opening while turning over the cover. Twist the connector if needed.

      Спросите у FixBot

      Добавить комментарий

    3. LG GW910 Camera Replacement: шаг 10, изображение 1 из 2 LG GW910 Camera Replacement: шаг 10, изображение 2 из 2
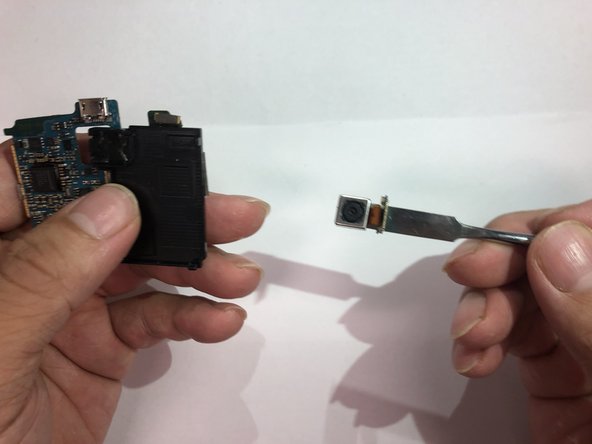
      • Remove the camera unit by prying on it.

      • Adhesive will be needed for reassembly.

      Спросите у FixBot

      Добавить комментарий

Заключение

To reassemble your device, follow these instructions in reverse order.

Отменить: Я не выполнил это руководство.

2 человек успешно провели ремонт по этому руководству.

Jonas Ke

Участник с: 11/06/18

492 Репутация

Автор 3 руководств

Команда

IUPUI, Team S1-G6, Hovde Fall 2018 Участник IUPUI, Team S1-G6, Hovde Fall 2018

IUPUI-HOVDE-F18S1G6

3 членов

Автор 30 руководств

0 Комментарии к руководству

Добавить комментарий

Статистика просмотров:

За последние 24 часов: 1

За последние 7 дней: 4

За последние 30 дней: 22

За всё время: 519