Введение
If you need to replace the front facing camera of your LG Stylo 2 Plus, follow this guide. When the phone is unable to capture photographs due to damage a replacement will be necessary. This an intermediate task that will involve handling small, delicate parts of the device (e.g. ribbon cable).
Выберете то, что вам нужно
-
-
-
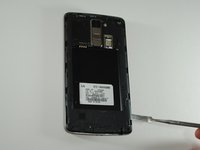
To remove the rear case of the phone, insert the spudger into the opening on the back of the case.
-
With the spudger parallel to the frame of the phone, slide it along the edge, forcing the casing to pop off.
 Спросите у FixBot
-
-
-
-
-
To remove the battery, insert your fingernail or the flat end of the spudger into the dimple at the bottom of the battery and lift upwards.
-
Firmly grasp the battery and remove from the phone.
-
-
-
-
-
-
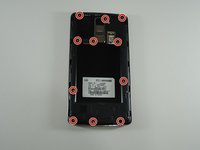
Using the JIS #000 screwdriver, remove the eleven 4mm screws around the mid-frame.
-
-
-
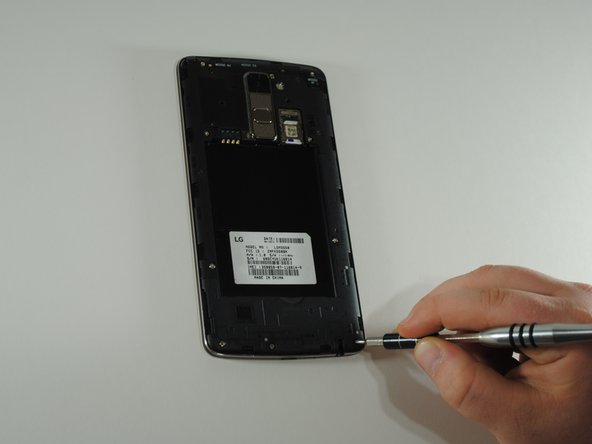
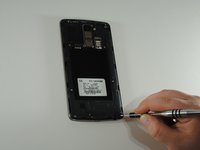
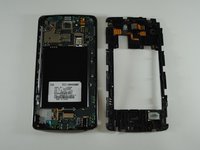
Insert the metal spudger in the dimple at the base of the cover.
-
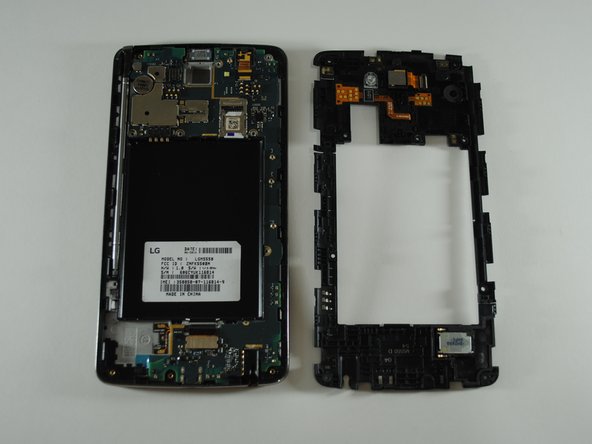
Pry upward, removing the mid-frame from the phone.
-
-
-
-
Инструмент, используемый на этом этапе:Tweezers$4.99
-
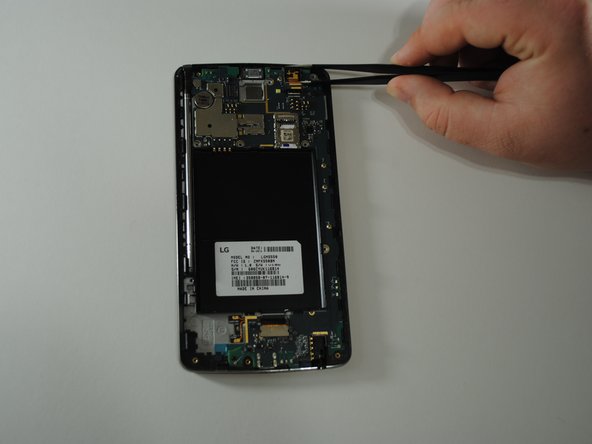
Using a pair of tweezers, carefully detach the ribbon cable connecting the camera to the motherboard.
-
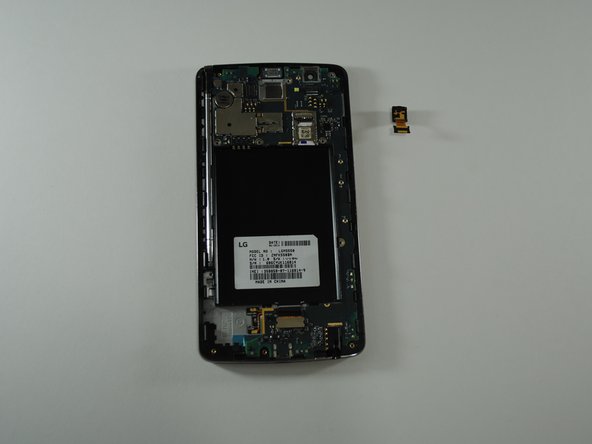
Still using the tweezers, firmly pull up to remove the camera from the phone.
-
-





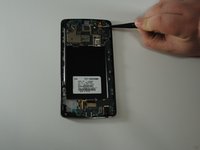
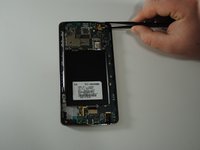
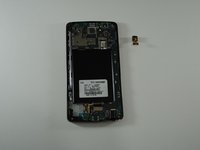
To reassemble your device, follow these instructions in reverse order.

Команда

UW Tacoma, Team S1-G3, Cardinal Spring 2019 Участник UW Tacoma, Team S1-G3, Cardinal Spring 2019
UWT-CARDINAL-S19S1G3
4 членов
Автор 49 руководств
