Перейти к основному содержанию
Присоединяйся к сообществу ремонтников - Создай аккаунт

LG Thrill 4G SIM/Micro SD Card Replacement

Выберете то, что вам нужно

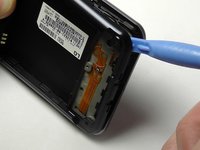
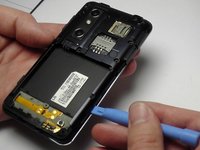
  1. LG Thrill 4G SIM/Micro SD Card Replacement, Back Cover Removal: шаг 1, изображение 1 из 2 LG Thrill 4G SIM/Micro SD Card Replacement, Back Cover Removal: шаг 1, изображение 2 из 2
    • Pry open the back cover by using a fingernail or a plastic opening tool.

    • There is a small notch at the bottom of the cover for easy removal.

    Спросите у FixBot

    Добавить комментарий

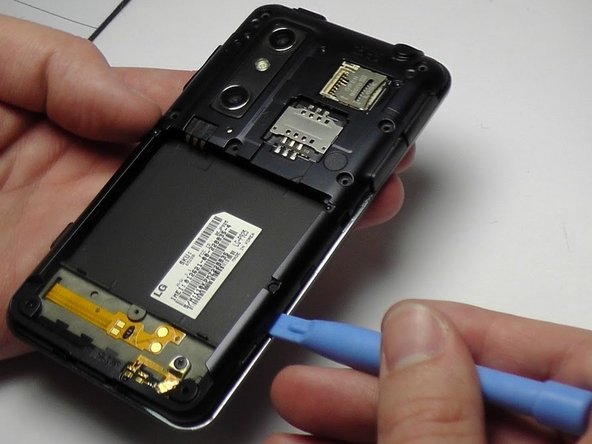
  2. LG Thrill 4G SIM/Micro SD Card Replacement, Battery Removal: шаг 2, изображение 1 из 2 LG Thrill 4G SIM/Micro SD Card Replacement, Battery Removal: шаг 2, изображение 2 из 2
    • Remove the battery from the phone.

    • There is a small ledge located at the bottom of the battery for easy removal.

    Спросите у FixBot

    Добавить комментарий

  3. LG Thrill 4G SIM/Micro SD Card Replacement, Screw Removal: шаг 3, изображение 1 из 1
    • Remove the three Philips #00 screws from the bottom of the phone.

    • Two 5.5 mm screws

    • One 4 mm screw

    Спросите у FixBot

    Добавить комментарий

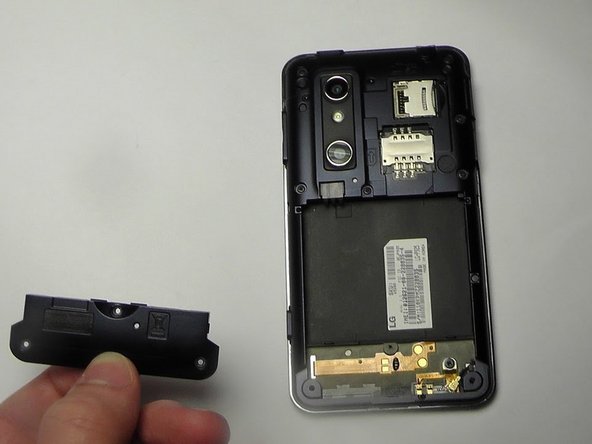
  4. LG Thrill 4G SIM/Micro SD Card Replacement, Speaker Removal: шаг 4, изображение 1 из 2 LG Thrill 4G SIM/Micro SD Card Replacement, Speaker Removal: шаг 4, изображение 2 из 2
    • Use your finger or opening tool to wedge the speaker out starting at the small notch at the bottom of the phone.

    Спросите у FixBot

    Добавить комментарий

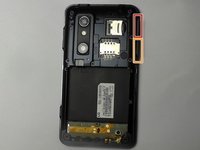
  5. LG Thrill 4G SIM/Micro SD Card Replacement, Buttons: шаг 5, изображение 1 из 1
    • Remove the three buttons from the side and the top of the phone.

    • Power button

    • Volume button

    • 3D camera button

    Спросите у FixBot

    Добавить комментарий

  6. LG Thrill 4G SIM/Micro SD Card Replacement: шаг 6, изображение 1 из 3 LG Thrill 4G SIM/Micro SD Card Replacement: шаг 6, изображение 2 из 3 LG Thrill 4G SIM/Micro SD Card Replacement: шаг 6, изображение 3 из 3
    • Place the plastic opening tool under the bezel at either bottom corner of the HDMI cover.

    • This loosens both the HDMI and USB covers for easy removal.

    • USB Cover

    • HDMI Cover

    Спросите у FixBot

    Добавить комментарий

  7. LG Thrill 4G SIM/Micro SD Card Replacement: шаг 7, изображение 1 из 1
    • Remove the six Phillips #00 screws within the mid-cover bezel.

    Спросите у FixBot

    Добавить комментарий

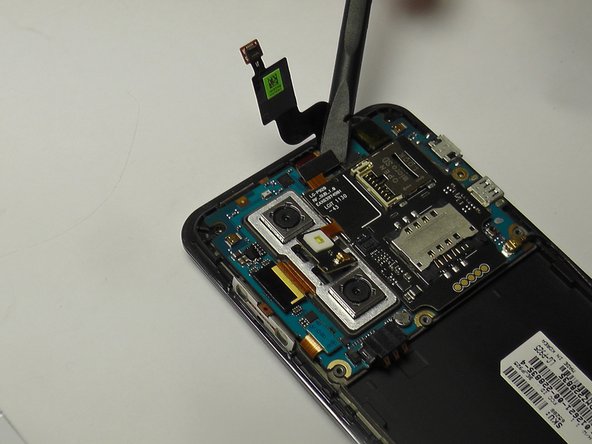
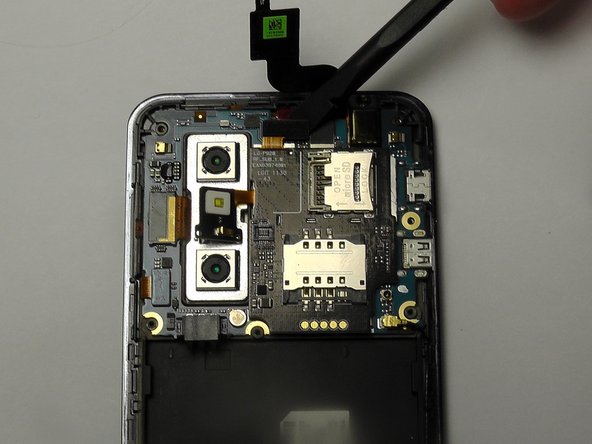
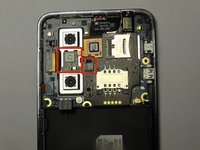
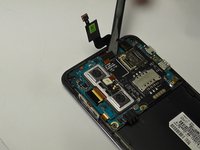
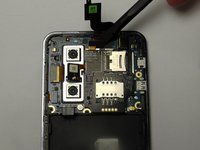
  8. LG Thrill 4G SIM/Micro SD Card Replacement, Ribbon Cable Disconnection: шаг 8, изображение 1 из 3 LG Thrill 4G SIM/Micro SD Card Replacement, Ribbon Cable Disconnection: шаг 8, изображение 2 из 3 LG Thrill 4G SIM/Micro SD Card Replacement, Ribbon Cable Disconnection: шаг 8, изображение 3 из 3
    • Utilize a spudger or plastic opening tool and gently disconnect the ribbon cable that is attached to the black micro-SIM card board.

    Спросите у FixBot

    Добавить комментарий

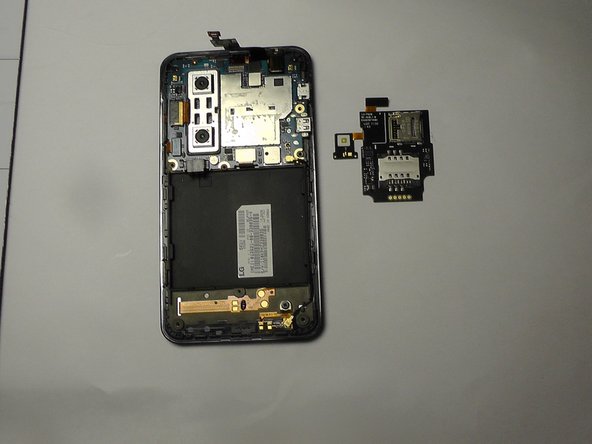
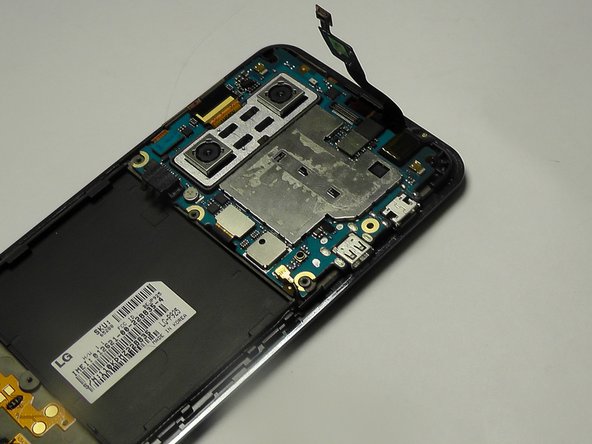
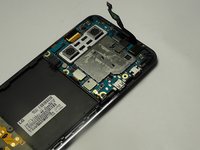
  9. LG Thrill 4G SIM/Micro SD Card Replacement, SD/SIM Card Board Removal: шаг 9, изображение 1 из 3 LG Thrill 4G SIM/Micro SD Card Replacement, SD/SIM Card Board Removal: шаг 9, изображение 2 из 3 LG Thrill 4G SIM/Micro SD Card Replacement, SD/SIM Card Board Removal: шаг 9, изображение 3 из 3
    • Carefully pry the board up to detach it from its place in the phone.

    • Make sure to pry off the small tab connected to the camera unit as well.

    Спросите у FixBot

    Добавить комментарий

Заключение

To reassemble your device, follow these instructions in reverse order.

Отменить: Я не выполнил это руководство.

Еще один человек закончил это руководство.

Khbero Baker

Участник с: 01/19/15

128 Репутация

1 руководство автора

Команда

USF Tampa, Team 1-6, Blackwell Winter 2015 Участник USF Tampa, Team 1-6, Blackwell Winter 2015

USFT-BLACKWELL-W15S1G6

3 членов

Автор 10 руководств

0 Комментарии к руководству

Добавить комментарий

Статистика просмотров:

За последние 24 часов: 0

За последние 7 дней: 7

За последние 30 дней: 22

За всё время: 906