Перейти к основному содержанию
Присоединяйся к сообществу ремонтников - Создай аккаунт

LG Vu CU920 Motherboard Replacement

Выберете то, что вам нужно

    1. LG Vu CU920 Motherboard Replacement, Battery: шаг 1, изображение 1 из 3 LG Vu CU920 Motherboard Replacement, Battery: шаг 1, изображение 2 из 3 LG Vu CU920 Motherboard Replacement, Battery: шаг 1, изображение 3 из 3
      • Remove the back cover by firmly pressing against the indent on the back panel. Slide the cover downward and off the phone.

      Спросите у FixBot

      Добавить комментарий

    2. LG Vu CU920 Motherboard Replacement: шаг 2, изображение 1 из 2 LG Vu CU920 Motherboard Replacement: шаг 2, изображение 2 из 2
      • Remove the battery by placing your fingernail or an opening tool at the bottom edge of the battery and lift it out.

      Спросите у FixBot

      Добавить комментарий

    1. LG Vu CU920 Motherboard Replacement, Motherboard: шаг 3, изображение 1 из 1
      • Remove the two 3.5 mm screws above the battery port with a Phillips #00 screwdriver.

      Спросите у FixBot

      Добавить комментарий

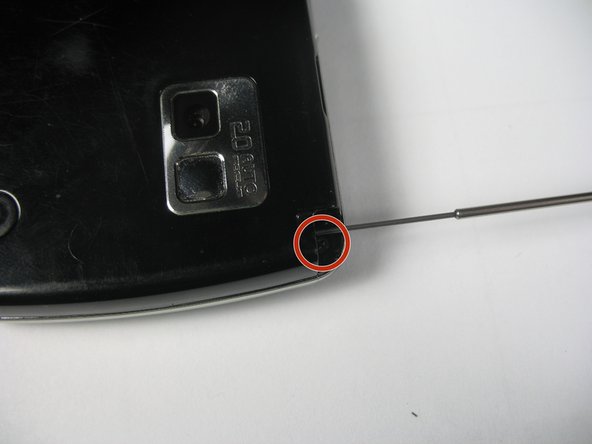
    2. LG Vu CU920 Motherboard Replacement: шаг 4, изображение 1 из 2 LG Vu CU920 Motherboard Replacement: шаг 4, изображение 2 из 2
      • Pull out the antenna to reveal a third screw.

      • Remove the 3.5 mm screw with a Phillips #00 screwdriver.

      Спросите у FixBot

      Добавить комментарий

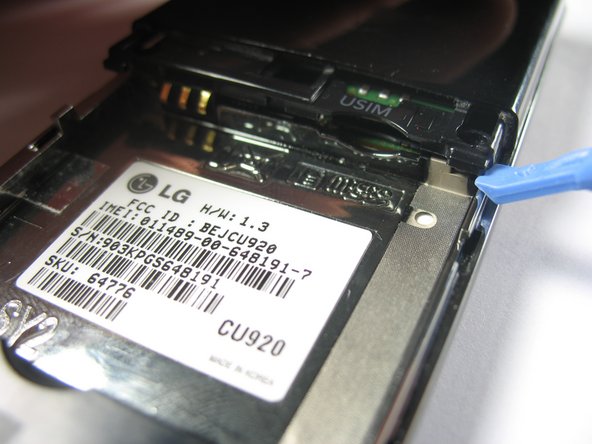
    3. LG Vu CU920 Motherboard Replacement: шаг 5, изображение 1 из 3 LG Vu CU920 Motherboard Replacement: шаг 5, изображение 2 из 3 LG Vu CU920 Motherboard Replacement: шаг 5, изображение 3 из 3
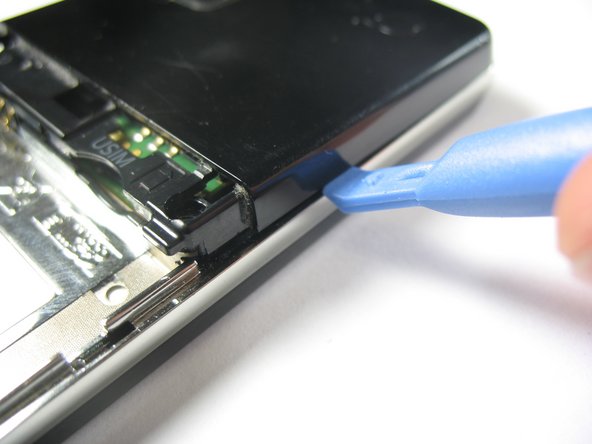
      • Using a plastic opening tool, gently pop up the plastic tab.

      • Use the plastic opening tool to pry up the edges of the plastic casing. You will then be able to slide it around the edge to dislodge it.

      Спросите у FixBot

      Добавить комментарий

    4. LG Vu CU920 Motherboard Replacement: шаг 6, изображение 1 из 2 LG Vu CU920 Motherboard Replacement: шаг 6, изображение 2 из 2
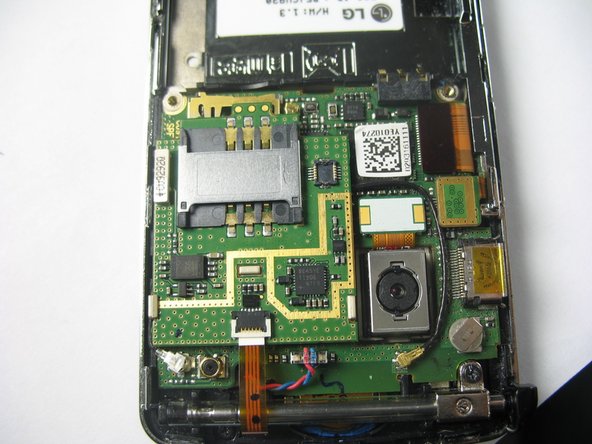
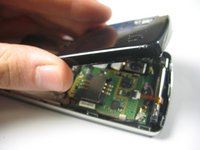
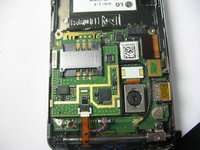
      • Remove the plastic case to reveal the motherboard.

      Спросите у FixBot

      Добавить комментарий

    5. LG Vu CU920 Motherboard Replacement: шаг 7, изображение 1 из 1
      • Use a spudger to disconnect the cables from the motherboard.

      • The following steps will detail how to detach the cables from the connectors.

      Спросите у FixBot

      Добавить комментарий

    6. LG Vu CU920 Motherboard Replacement: шаг 8, изображение 1 из 3 LG Vu CU920 Motherboard Replacement: шаг 8, изображение 2 из 3 LG Vu CU920 Motherboard Replacement: шаг 8, изображение 3 из 3
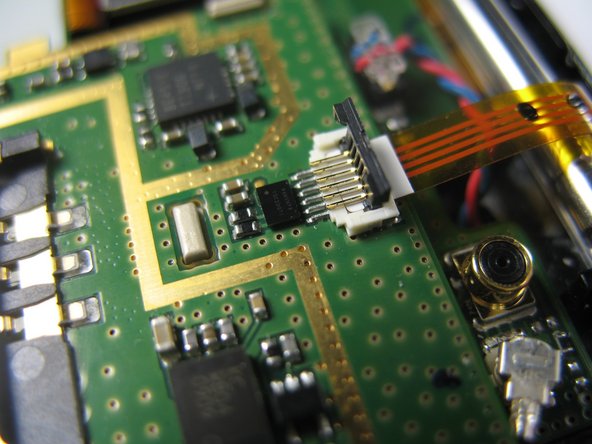
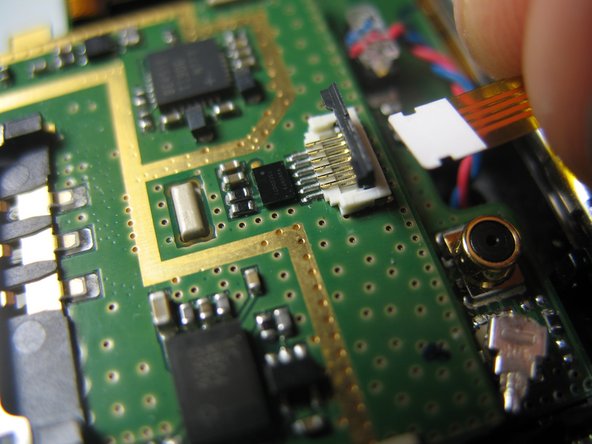
      • Gently lift the ZIF connector (black tab) holding the ribbon cable in place. When it is in the upright position, remove the cable from the back side.

      Спросите у FixBot

      Добавить комментарий

    7. LG Vu CU920 Motherboard Replacement: шаг 9, изображение 1 из 1
      • Remove the jack attached to the red and blue wires by carefully pulling it upward from the motherboard.

      Спросите у FixBot

      Добавить комментарий

    8. LG Vu CU920 Motherboard Replacement: шаг 10, изображение 1 из 1
      • Remove the round jack connected to the black cabel by carefully prying it up from beneath with a spudger or plastic opening tool.

      • This jack snaps on, so there will be more resistance than there was with the previous jack.

      Спросите у FixBot

      Добавить комментарий

    9. LG Vu CU920 Motherboard Replacement: шаг 11, изображение 1 из 2 LG Vu CU920 Motherboard Replacement: шаг 11, изображение 2 из 2
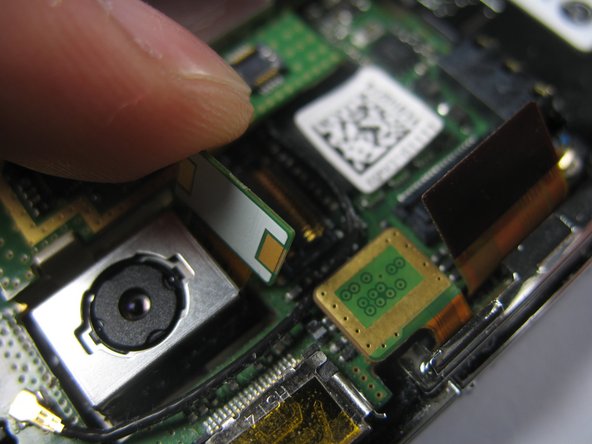
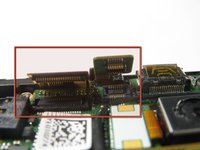
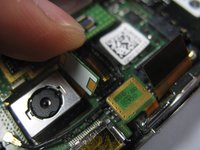
      • Remove the remaining three ribbon cables by gently lifting them by the ends, opposite of the cables, with a plastic opening tool or spudger until they pop out.

      Спросите у FixBot

      Добавить комментарий

    10. LG Vu CU920 Motherboard Replacement: шаг 12, изображение 1 из 3 LG Vu CU920 Motherboard Replacement: шаг 12, изображение 2 из 3 LG Vu CU920 Motherboard Replacement: шаг 12, изображение 3 из 3
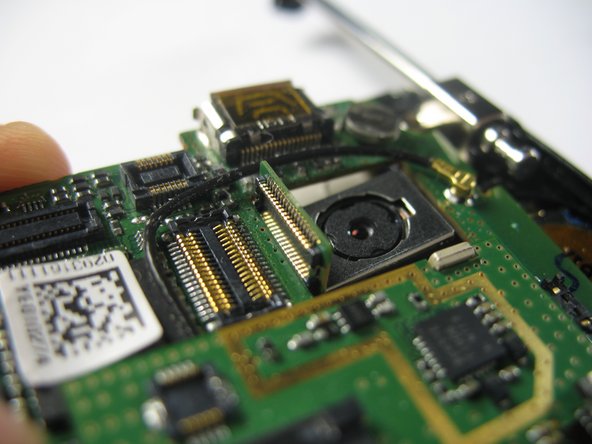
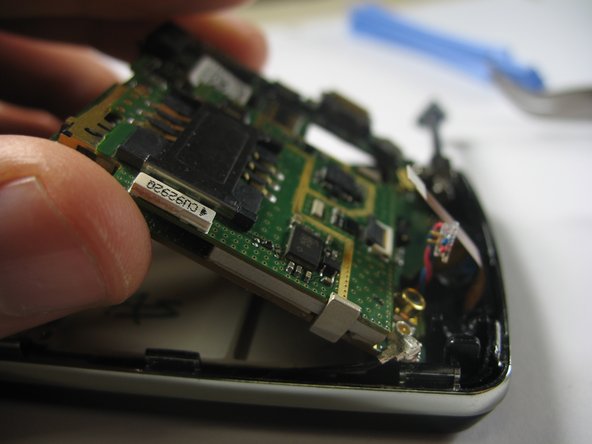
      • Remove the motherboard by gently prying it up with a spudger from the charging port.

      • Be careful not to yank the camera's ribbon cable as you lift the board. Make sure that it is in line with its hole in the motherboard.

      • Once the board has been lifted, remove it by pulling it away from the connected edge.

      Спросите у FixBot

      Добавить комментарий

Заключение

To reassemble your device, follow these instructions in reverse order.

Отменить: Я не выполнил это руководство.

Еще один человек закончил это руководство.

Gregory Davis

Участник с: 04/17/13

51 Репутация

Автор 5 руководств

Команда

Cal Poly, Team 8-57, Johann Spring 2013 Участник Cal Poly, Team 8-57, Johann Spring 2013

CPSU-JOHANN-S13S8G57

4 членов

Автор 63 руководств

0 Комментарии к руководству

Добавить комментарий

Статистика просмотров:

За последние 24 часов: 1

За последние 7 дней: 5

За последние 30 дней: 14

За всё время: 759