Перейти к основному содержанию
Присоединяйся к сообществу ремонтников - Создай аккаунт

Le Pan II Camera Replacement

Выберете то, что вам нужно

    1. Le Pan II Camera Replacement, Screen: шаг 1, изображение 1 из 2 Le Pan II Camera Replacement, Screen: шаг 1, изображение 2 из 2
      • Insert metal spudger between front and back panel to pry apart.

      • Continue to pry while moving the metal spudger along the crevice to completely separate two panels.

      • Avoid using metal when opening devices, as it can damage or crack the screen.

      Спросите у FixBot

      Добавить комментарий

    2. Le Pan II Camera Replacement: шаг 2, изображение 1 из 2 Le Pan II Camera Replacement: шаг 2, изображение 2 из 2
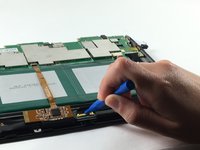
      • Use the plastic opening tool to disconnect the flat ribbon cable from the motherboard connector.

      • Disconnect the flat ribbon by gently pulling it out from its connecting port.

      Спросите у FixBot

      Добавить комментарий

    3. Le Pan II Camera Replacement: шаг 3, изображение 1 из 2 Le Pan II Camera Replacement: шаг 3, изображение 2 из 2
      • Use the plastic opening tool to disconnect the display cable from its motherboard connector.

      • Disconnect the display cable by gently pulling it out from its connecting port.

      Спросите у FixBot

      Добавить комментарий

    4. Le Pan II Camera Replacement: шаг 4, изображение 1 из 1
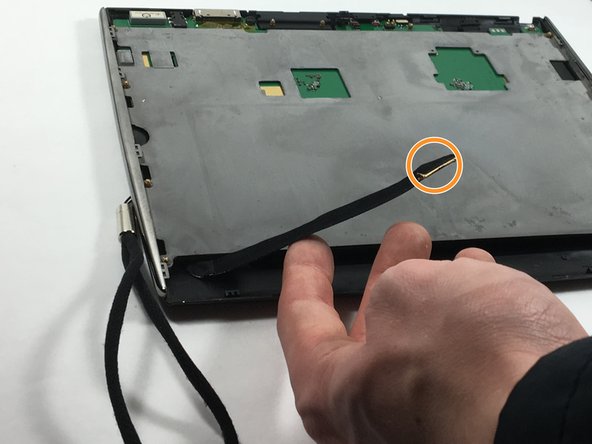
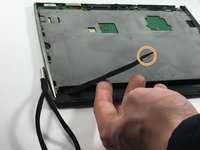
      • Remove grey metal backing from screen.

      Спросите у FixBot

      Добавить комментарий

    5. Le Pan II Camera Replacement: шаг 5, изображение 1 из 1
      • Flip the tablet so the screen is facing upward, and use the metal spudger to pry apart the screen from the side pieces.

      Спросите у FixBot

      Добавить комментарий

    6. Le Pan II Camera Replacement: шаг 6, изображение 1 из 1
      • Lift and carefully remove the LCD display from the front cover.

      Спросите у FixBot

      Добавить комментарий

    1. Le Pan II Camera Replacement, Camera: шаг 7, изображение 1 из 1
      • Use the plastic opening tool to lift the connector up and remove the camera.

      Спросите у FixBot

      Добавить комментарий

Заключение

To reassemble your device, follow these instructions in reverse order.

Отменить: Я не выполнил это руководство.

Kelly Moniz

Участник с: 10/20/16

525 Репутация

Автор 5 руководств

Команда

UMass Dartmouth, Team 6-3, Martin Fall 2016 Участник UMass Dartmouth, Team 6-3, Martin Fall 2016

UMASSD-MARTIN-F16S6G3

3 членов

Автор 10 руководств

0 Комментарии к руководству

Добавить комментарий

Статистика просмотров:

За последние 24 часов: 2

За последние 7 дней: 7

За последние 30 дней: 19

За всё время: 275