Введение
If your Lenovo V14-ADA (model 82C60072UE) has some dead pixels on the screen or the screen just wont work, you can use this guide to replace the LCD panel (screen). Dead pixels on the laptop are often displayed as a small black or white dot that can be caused by manufacturing defects or physical damage.
Before beginning, make sure the laptop is unplugged and turned off because the steps require disassembling parts of the laptop. Proceed with caution while completing the process in this guide.
Выберете то, что вам нужно
-
-
-
Turn off the laptop.
-
Disconnect the charging cable from the laptop.
-
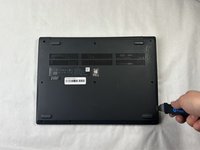
Flip the laptop upside down.
 Спросите у FixBot
-
-
-
Remove all ten 5 mm screws from the back panel using a JIS #0 screwdriver.
-
-
-
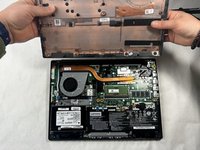
Place the Jimmy in the small crack between the back panel and the keyboard and push down.
-
Repeat this until the panel pops off.
-
-
-
-
-
-
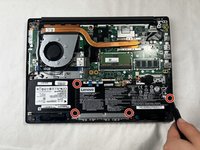
Remove the four 3 mm screws surrounding the battery using a JIS #0 screwdriver.
-
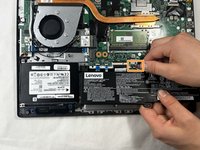
Slightly pull on the black wire connector to unplug the battery.
-
Lift up the battery to remove it from the laptop.
-
-
-
-
-
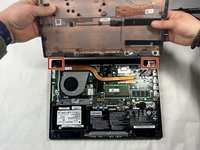
Remove the four 3 mm screws on the hinges on both sides of the back of the laptop.
-
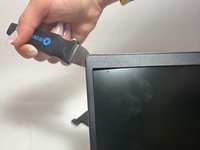
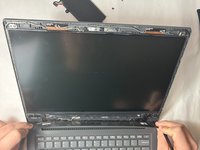
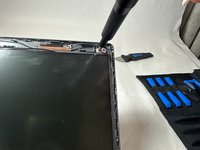
Use the Jimmy to pop the surrounding screen bezel off.
-
-
-
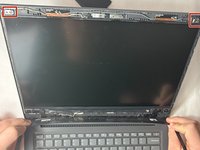
Remove the two 3 mm screws at the top two corners of the screen using a JIS #0 screwdriver.
-
-









To reassemble your device, follow these instructions in reverse order.
Отменить: Я не выполнил это руководство.
Еще один человек закончил это руководство.

Команда

UMass Dartmouth, Team 4-2, Shaddix Spring 2024 Участник UMass Dartmouth, Team 4-2, Shaddix Spring 2024
UMASSD-SHADDIX-S24S4G2
5 членов
Автор 27 руководств
