Перейти к основному содержанию
Присоединяйся к сообществу ремонтников - Создай аккаунт

MacBook Pro 13" Retina Display Mid 2014 MagSafe DC-In Board Replacement

Выберете то, что вам нужно

  1. MacBook Pro 13" Retina Display Mid 2014 MagSafe DC-In Board Replacement, Lower Case: шаг 1, изображение 1 из 1
    Инструмент, используемый на этом этапе:
    Magnetic Project Mat
    $19.95
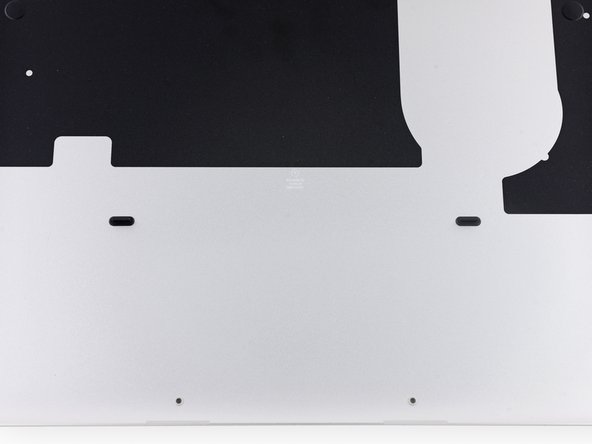
    • Remove the following ten screws securing the lower case to the upper case:

    • Two 2.3 mm P5 Pentalobe screws

    • Eight 3.0 mm P5 Pentalobe screws

    • Throughout this repair, keep track of each screw and make sure it goes back exactly where it came from to avoid damaging your device.

    Спросите у FixBot
  2. MacBook Pro 13" Retina Display Mid 2014 MagSafe DC-In Board Replacement: шаг 2, изображение 1 из 1
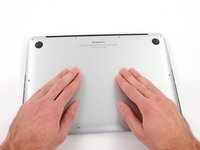
    • Wedge your fingers between the upper case and the lower case.

    • Gently pull the lower case away from the upper case to remove it.

    Спросите у FixBot
  3. MacBook Pro 13" Retina Display Mid 2014 MagSafe DC-In Board Replacement: шаг 3, изображение 1 из 2 MacBook Pro 13" Retina Display Mid 2014 MagSafe DC-In Board Replacement: шаг 3, изображение 2 из 2
    • The lower case is connected to the upper case with two plastic clips near its center.

    • During reassembly, gently push down the center of the lower case to reattach the two plastic clips.

    Спросите у FixBot
  4. MacBook Pro 13" Retina Display Mid 2014 MagSafe DC-In Board Replacement, Battery Connector: шаг 4, изображение 1 из 1
    • If necessary, remove the plastic cover adhered to the battery contact board.

    Спросите у FixBot
  5. MacBook Pro 13" Retina Display Mid 2014 MagSafe DC-In Board Replacement: шаг 5, изображение 1 из 2 MacBook Pro 13" Retina Display Mid 2014 MagSafe DC-In Board Replacement: шаг 5, изображение 2 из 2
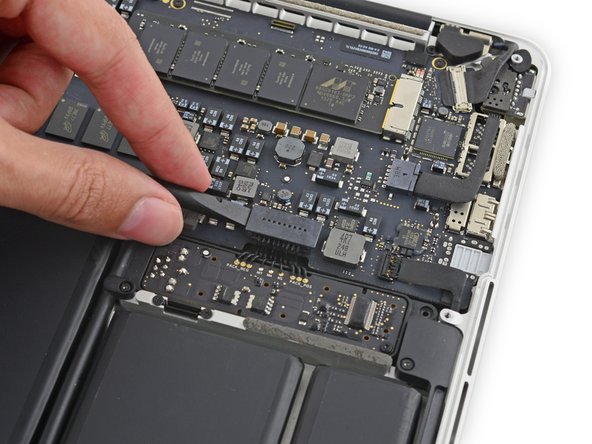
    • Use the flat end of a spudger to lift the battery connector straight up out of its socket on the logic board.

    • Be sure you lift up only on the connector itself, not the socket, or you risk permanent damage to the logic board.

    Спросите у FixBot
  6. MacBook Pro 13" Retina Display Mid 2014 MagSafe DC-In Board Replacement: шаг 6, изображение 1 из 1
    • Bend the battery connector up out of the way to prevent accidental contact with its socket during your repair.

    Спросите у FixBot
  7. MacBook Pro 13" Retina Display Mid 2014 MagSafe DC-In Board Replacement, MagSafe DC-In Board: шаг 7, изображение 1 из 3 MacBook Pro 13" Retina Display Mid 2014 MagSafe DC-In Board Replacement, MagSafe DC-In Board: шаг 7, изображение 2 из 3 MacBook Pro 13" Retina Display Mid 2014 MagSafe DC-In Board Replacement, MagSafe DC-In Board: шаг 7, изображение 3 из 3
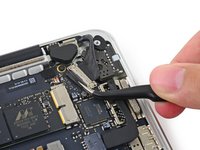
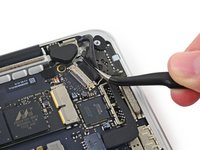
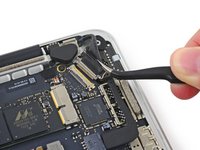
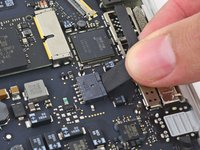
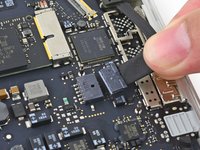
    • Grab the black plastic tab to flip the display cable connector open and pull it straight out of its socket on the logic board.

    • Pull in the direction of the cable, parallel to the logic board. Do not pull up.

    Спросите у FixBot
  8. MacBook Pro 13" Retina Display Mid 2014 MagSafe DC-In Board Replacement: шаг 8, изображение 1 из 2 MacBook Pro 13" Retina Display Mid 2014 MagSafe DC-In Board Replacement: шаг 8, изображение 2 из 2
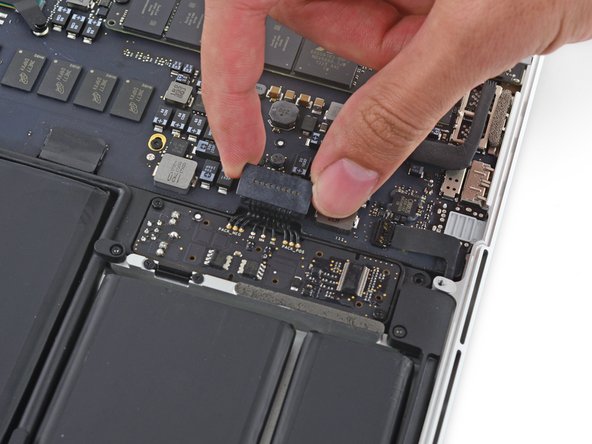
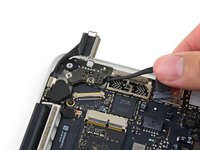
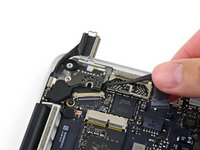
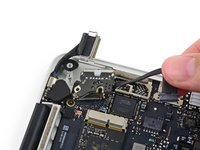
    • Pull the DC-In board connector straight out of its socket on the logic board.

    Спросите у FixBot
  9. MacBook Pro 13" Retina Display Mid 2014 MagSafe DC-In Board Replacement: шаг 9, изображение 1 из 1
    • Remove the two 3.5 mm T5 Torx screws securing the MagSafe DC-In board to the upper case.

    • You may need to gently push the display cable out of the way to expose the screws.

    Спросите у FixBot
  10. MacBook Pro 13" Retina Display Mid 2014 MagSafe DC-In Board Replacement: шаг 10, изображение 1 из 3 MacBook Pro 13" Retina Display Mid 2014 MagSafe DC-In Board Replacement: шаг 10, изображение 2 из 3 MacBook Pro 13" Retina Display Mid 2014 MagSafe DC-In Board Replacement: шаг 10, изображение 3 из 3
    • Use the MagSafe DC-In board cable to pull the board out and up from the upper case to remove it.

    Спросите у FixBot
Заключение

To reassemble your device, follow these instructions in reverse order.

30 человек успешно провели ремонт по этому руководству.

Sam Goldheart

Участник с: 10/18/12

477 269 Репутация

Автор 538 руководств

Команда

iFixit Участник iFixit

Staff

123 членов

Автор 25 705 руководств

7 Комментарии к руководству

Thanks very much, took me 10 mins, A nice cheap and fast repair for my damaged MagSafe socket

lewismacqueen - Ответить Поделиться

Thank you for your guidance! Spent $30 on tools as opposed to hundreds and made a simple repair

Brian Smithson - Ответить Поделиться

Thank you ...just what we need !..

Mark White - Ответить Поделиться

Did anyone else lose the display to their MacBook Pro mid 2014 after following this repair?

Vance - Ответить Поделиться

yes I just did and wonder what you did to solve this?

Kaleem - Ответить Поделиться

Добавить комментарий

Статистика просмотров:

За последние 24 часов: 6

За последние 7 дней: 21

За последние 30 дней: 130

За всё время: 18,741