Введение
The magic of the Magic Trackpad is its ability to physically click - while appearing to not have any moving parts.
The secret to the Magic Trackpad's clicking ability is in those innocuous looking round rubber feet on the bottom. They're not just there to be normal old rubber feet that merely provide grip to keep it from sliding around on your desk. And they're not entirely rubber, either. The rubber you see and feel protruding from the bottom is only a very thin and fragile sheath covering a hard plastic foot.
The feet need to be rigid. When you click the surface by pressing down on it these rubber/plastic feet are the only parts of the trackpad that ****don't move****.
This guide will explain how to re-insert one (or both) of the Magic Trackpad's rubber feet.
Выберете то, что вам нужно
-
-
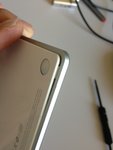
Unscrew the battery door by turning the screw counter-clockwise with a flat edge screwdriver, coin, plastic opening tool, or fingernail.
-
-
-
-
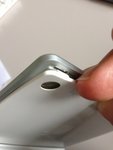
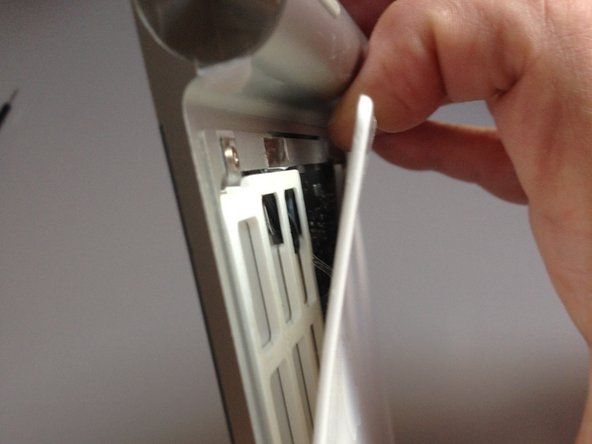
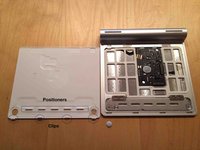
Using a spudger or small flathead screwdriver, gently break the seal between the white plastic backing and the metal top near the missing foot opening.
-
Pry up the corner slightly to allow the foot to be replaced.
-
Place the rubber foot back in place.
-
Squeeze closed the backing and metal top (it will snap into place).
-
Click on trackpad to test.
-
Insert the battery and screw the battery cover closed.
-
-
-
If you want to remove the plastic cover completely, it is better to open it starting from the top.
-
Take your time to slowly open the plastic cover from the top side.
-


Отменить: Я не выполнил это руководство.
179 человек успешно провели ремонт по этому руководству.
67 Комментарии к руководству
where can i buy the plastic feet?????
Yes. Where can I buy the rubber feet?
I bought mine off Ali Express. There’s quite a few stores on there that sell them. Here’s the one I bought from.
Found this guide confusing. Here's what worked for me:
1. Place the tip of a butter knife inside the hole and gently lift the plastic high enough to place the tip of another butter knife on the side and hold the plastic up.
2. Remove the first butter knife from the hole. Gently raise the plastic with the second butter knife high enough to slide the foot underneath.
3. Use the first butter knife to slide/rotate the foot into place
The butter knife technique worked for me! I just cracked open the bottom edge of where my little rubber foot had fallen out. (Somehow the plastic was still in there so I was able to stick the foot back in and it works!)