Перейти к основному содержанию

Makerbot Digitizer stepper bracket Replacement

Выберете то, что вам нужно

  1. Makerbot Digitizer stepper bracket Replacement, Removing the turntable cap: шаг 1, изображение 1 из 2 Makerbot Digitizer stepper bracket Replacement, Removing the turntable cap: шаг 1, изображение 2 из 2
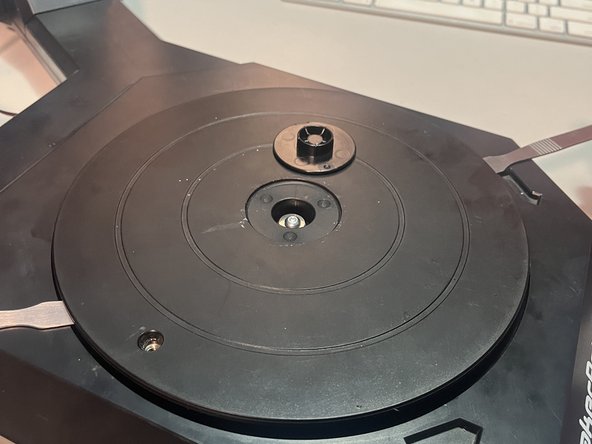
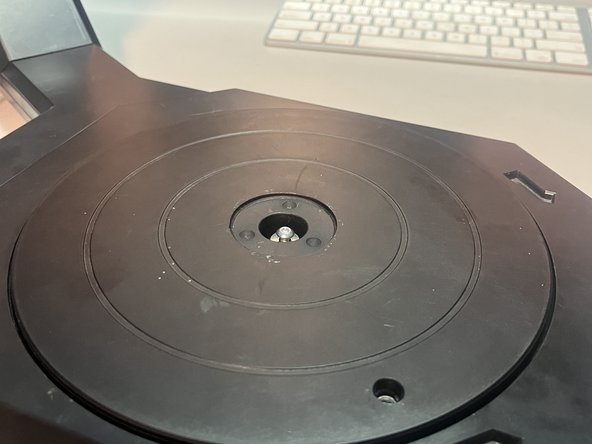
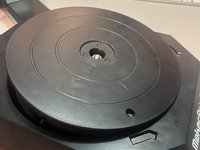
    • Use a flat spudger or screwdriver to remove the 1-1/2" cap from the turntable center.

    • There is a small indentation on the underside of one side of the cap.

  2. Makerbot Digitizer stepper bracket Replacement, Loosen the turntable screw: шаг 2, изображение 1 из 1
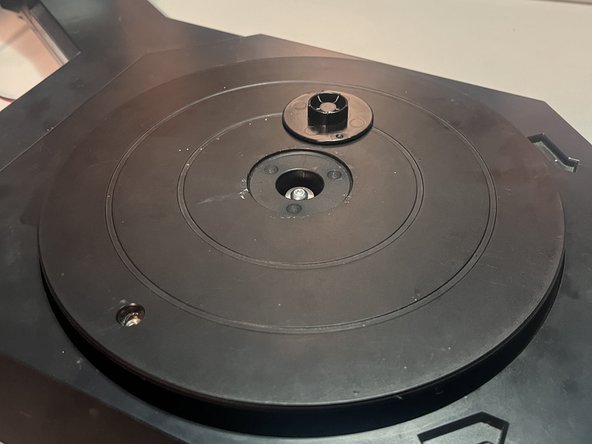
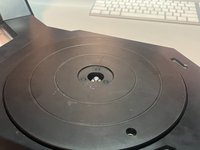
    • Loosen the exposed T15 screw.

    • You do not need to remove it from the turntable, but it must be completely loosened.

    • It has a series of metal-rubber-metal washers, and if you leave the screw in the turntable, you don't need to mess with the washers.

  3. Makerbot Digitizer stepper bracket Replacement, Remove turntable: шаг 3, изображение 1 из 3 Makerbot Digitizer stepper bracket Replacement, Remove turntable: шаг 3, изображение 2 из 3 Makerbot Digitizer stepper bracket Replacement, Remove turntable: шаг 3, изображение 3 из 3
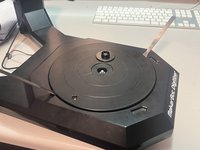
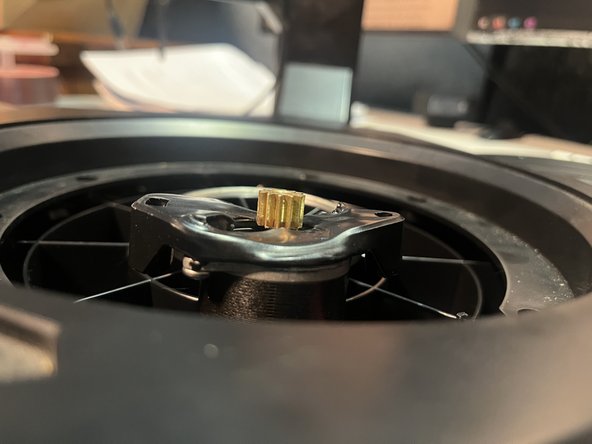
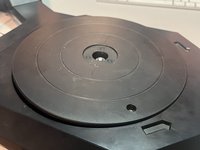
    • Use two flat tools under both sides of the turntable to to pop it out.

    • The turntable slides down onto the bearing with some friction, but I've taken mine on and off 10 times and it still fits snugly.

  4. Makerbot Digitizer stepper bracket Replacement, Remove stepper screws: шаг 4, изображение 1 из 3 Makerbot Digitizer stepper bracket Replacement, Remove stepper screws: шаг 4, изображение 2 из 3 Makerbot Digitizer stepper bracket Replacement, Remove stepper screws: шаг 4, изображение 3 из 3
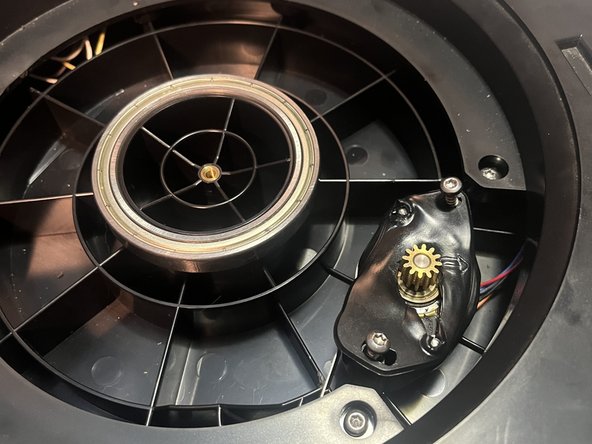
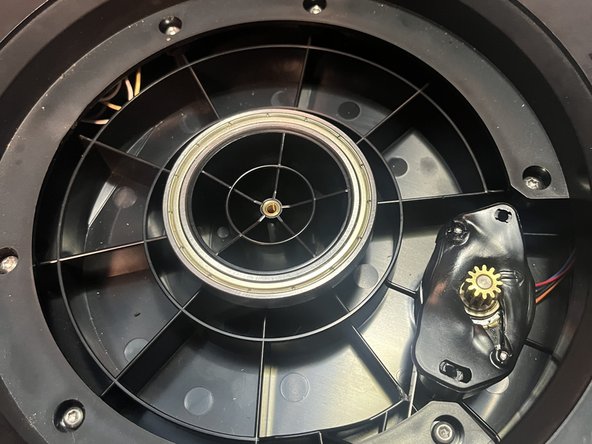
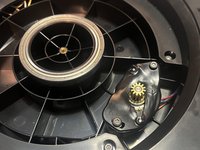
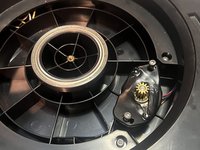
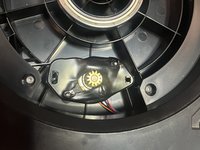
    • Remove two T15 screws that hold the stepper bracket in place.

  5. Makerbot Digitizer stepper bracket Replacement, Snap some pictures: шаг 5, изображение 1 из 3 Makerbot Digitizer stepper bracket Replacement, Snap some pictures: шаг 5, изображение 2 из 3 Makerbot Digitizer stepper bracket Replacement, Snap some pictures: шаг 5, изображение 3 из 3
    • That's basically it. My stepper has enough slack to maneuver it around without further disassembly.

  6. Makerbot Digitizer stepper bracket Replacement, Reinstall the turntable: шаг 6, изображение 1 из 3 Makerbot Digitizer stepper bracket Replacement, Reinstall the turntable: шаг 6, изображение 2 из 3 Makerbot Digitizer stepper bracket Replacement, Reinstall the turntable: шаг 6, изображение 3 из 3
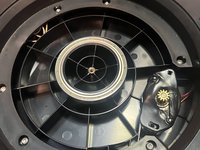
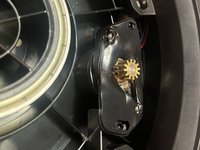
    • To reinstall the turntable, the stepper side must go in first, in order for the turntable gears to align with the stepper gears.

    • Otherwise, the turntable will sit too high and not contact the stepper gear.

Заключение

To reassemble, just follow these instructions in reverse.

Job McKee

Участник с: 10/07/12

241 Репутация

Автор 2 руководств

0 Комментарии к руководству

Добавить комментарий

Статистика просмотров:

За последние 24 часов: 1

За последние 7 дней: 1

За последние 30 дней: 6

За всё время: 66