Перейти к основному содержанию
Присоединяйся к сообществу ремонтников - Создай аккаунт

Merch Source Projector Entertainment II Outer Lens Replacement

Выберете то, что вам нужно

  1. Merch Source Projector Entertainment II Outer Lens Replacement, Outer Casing: шаг 1, изображение 1 из 2 Merch Source Projector Entertainment II Outer Lens Replacement, Outer Casing: шаг 1, изображение 2 из 2
    • Flip the projector onto its back and unscrew the nine 15mm screws using the Phillips #0 screw driver.

    Спросите у FixBot
  2. Merch Source Projector Entertainment II Outer Lens Replacement: шаг 2, изображение 1 из 1
    • Flip the projector right side up and unscrew the two 12mm screws on the light bulb panel located at the rear of the projector with a Phillips #0 screw head.

    • The bottom right panel screw does not come completely out the panel door.

    Спросите у FixBot
  3. Merch Source Projector Entertainment II Outer Lens Replacement: шаг 3, изображение 1 из 2 Merch Source Projector Entertainment II Outer Lens Replacement: шаг 3, изображение 2 из 2
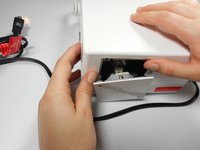
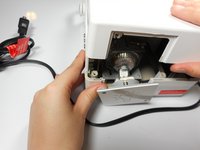
    • Using your hands, gently pry the top and bottom of the projector casing apart.

    Спросите у FixBot
  4. Merch Source Projector Entertainment II Outer Lens Replacement, Ribbon Cable Detachment: шаг 4, изображение 1 из 2 Merch Source Projector Entertainment II Outer Lens Replacement, Ribbon Cable Detachment: шаг 4, изображение 2 из 2
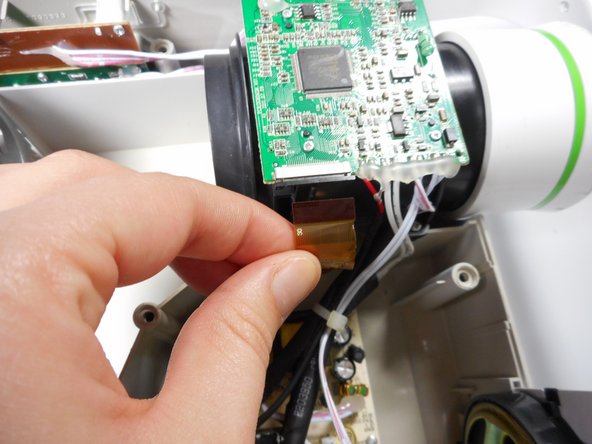
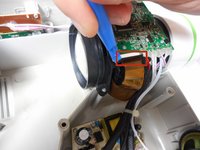
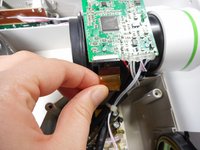
    • Use the plastic opening tool to gently disengage the black clip housing from the ribbon cable.

    • Once the ribbon cable is disengaged gently pull the cable off the motherboard.

    • Once the housing is disengaged, the ribbon cable should slide out easily. Do not pull too hard on the ribbon cable as it is very fragile.

    Спросите у FixBot
  5. Merch Source Projector Entertainment II Outer Lens Replacement, Motherboard Detachment: шаг 5, изображение 1 из 3 Merch Source Projector Entertainment II Outer Lens Replacement, Motherboard Detachment: шаг 5, изображение 2 из 3 Merch Source Projector Entertainment II Outer Lens Replacement, Motherboard Detachment: шаг 5, изображение 3 из 3
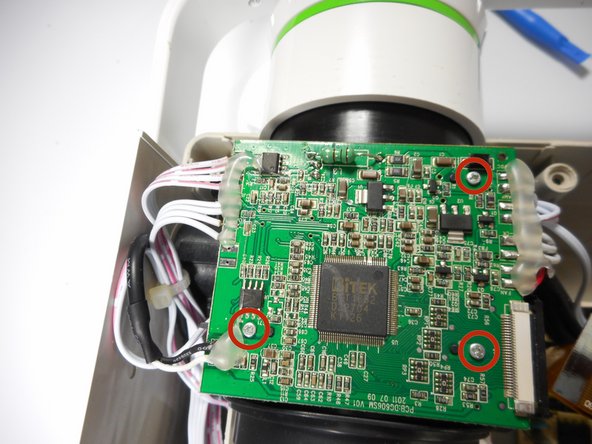
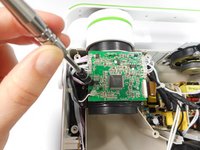
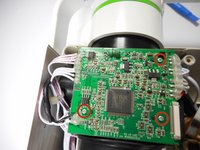
    • Unscrew the three 7 mm screws from the motherboard with the Phillips #0 screw driver.

    • Once loose, lift the motherboard off of the lens casing, and move it away from the workspace.

    • Be sure not to damage any of the wires atached to the motherboard.

    Спросите у FixBot
  6. Merch Source Projector Entertainment II Outer Lens Replacement, Lens Casing Detachment: шаг 6, изображение 1 из 3 Merch Source Projector Entertainment II Outer Lens Replacement, Lens Casing Detachment: шаг 6, изображение 2 из 3 Merch Source Projector Entertainment II Outer Lens Replacement, Lens Casing Detachment: шаг 6, изображение 3 из 3
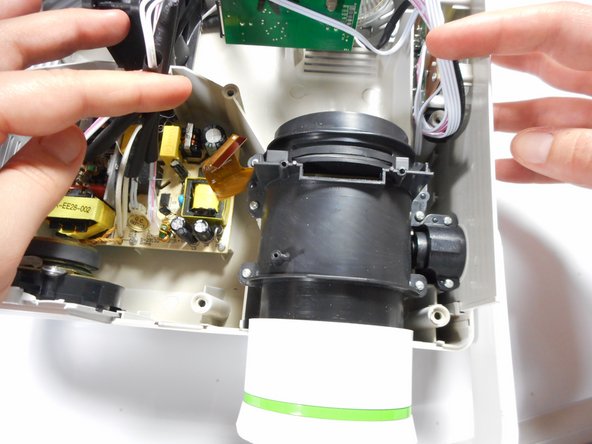
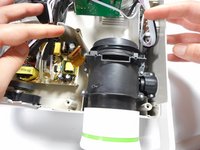
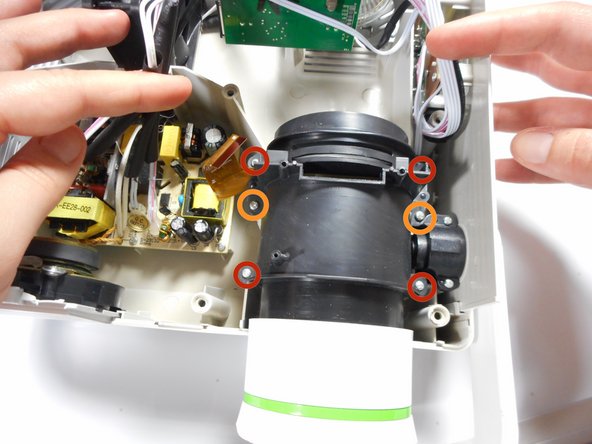
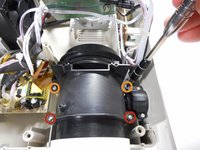
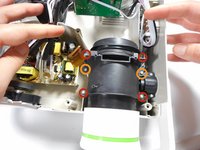
    • Unscrew the four 15mm Phillips screws using the Phillips #0 screw driver.

    • Unscrew the two 12mm Phillips screws using the Phillips #0 screw driver.

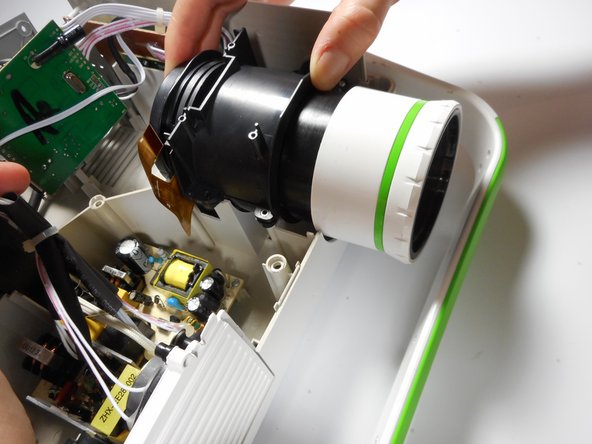
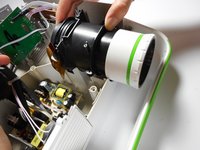
    • Gently remove the entire lens casing from its position.

    Спросите у FixBot
  7. Merch Source Projector Entertainment II Outer Lens Replacement, Lens Casing Seperation: шаг 7, изображение 1 из 3 Merch Source Projector Entertainment II Outer Lens Replacement, Lens Casing Seperation: шаг 7, изображение 2 из 3 Merch Source Projector Entertainment II Outer Lens Replacement, Lens Casing Seperation: шаг 7, изображение 3 из 3
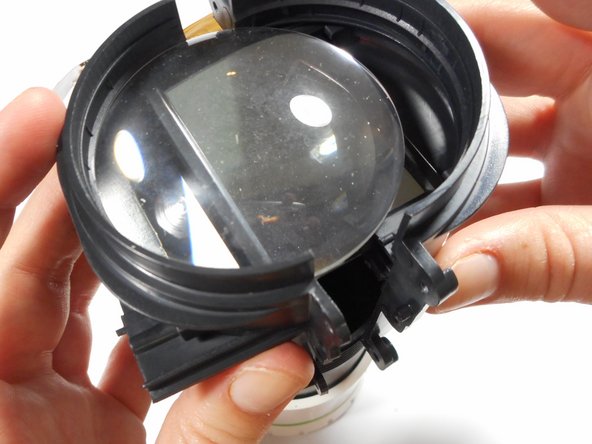
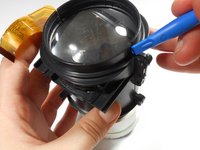
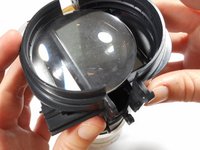
    • Using the plastic opening tool, slightly separate the casing holding the large lens in place.

    • Separate the casing completely from the inner lens using your hands.

    • This should release the outer lens and it's immediate casing.

    • As you separate the outer casing, the lens and digital display box may fall out of their encasement.

    • Although there are threads connecting the outer lens casing and the inner lens casing, do not be fooled. The outer lens casing cannot be disconnected by unscrewing it.

    Спросите у FixBot
  8. Merch Source Projector Entertainment II Outer Lens Replacement, Outer Lens Casing Seperation: шаг 8, изображение 1 из 3 Merch Source Projector Entertainment II Outer Lens Replacement, Outer Lens Casing Seperation: шаг 8, изображение 2 из 3 Merch Source Projector Entertainment II Outer Lens Replacement, Outer Lens Casing Seperation: шаг 8, изображение 3 из 3
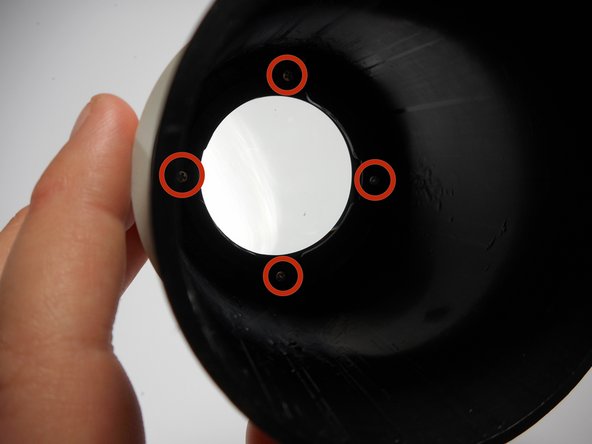
    • Unscrew the four 8mm Phillips screws at the base of the outer lens casing using the Phillips #0 screw driver.

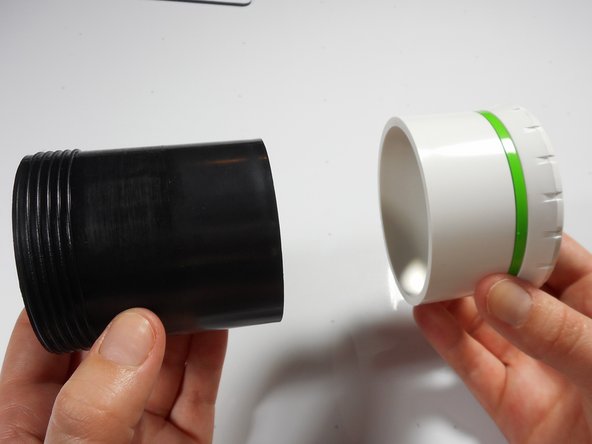
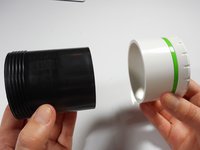
    • Separate the white outer casing from the black outer casing.

    Спросите у FixBot
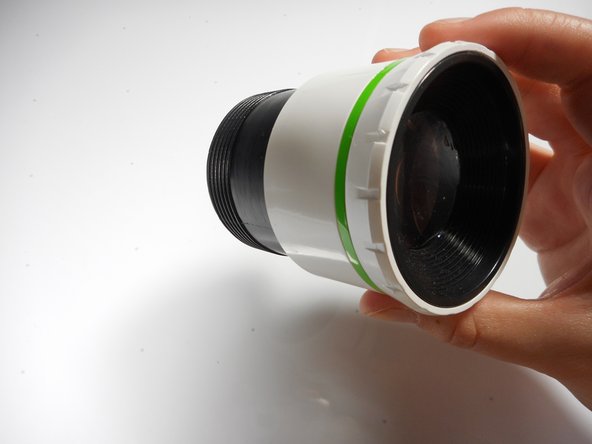
  9. Merch Source Projector Entertainment II Outer Lens Replacement, Final Outer Lens Removal: шаг 9, изображение 1 из 2 Merch Source Projector Entertainment II Outer Lens Replacement, Final Outer Lens Removal: шаг 9, изображение 2 из 2
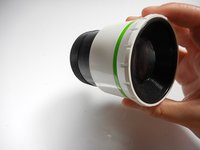
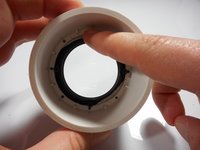
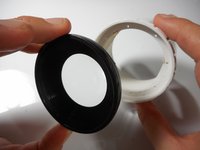
    • Using your finger, gently push the lens out of its white encasement.

    • The outer lens is now free and ready for replacement.

    Спросите у FixBot
Заключение

To reassemble your device, follow these instructions in reverse order.

2 человек успешно провели ремонт по этому руководству.

Stephanie

Участник с: 01/08/15

282 Репутация

Автор 3 руководств

Команда

Cal Poly, Team 18-3, Maness Winter 2015 Участник Cal Poly, Team 18-3, Maness Winter 2015

CPSU-MANESS-W15S18G3

3 членов

Автор 4 руководств

0 Комментарии к руководству

Добавить комментарий

Статистика просмотров:

За последние 24 часов: 0

За последние 7 дней: 11

За последние 30 дней: 50

За всё время: 3,514