Введение
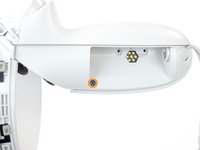
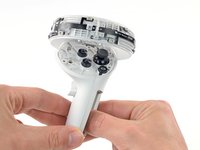
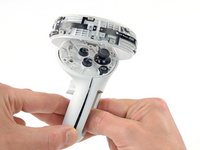
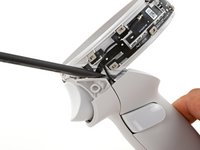
Prereq guide steps to remove the controller side shell for the Meta Quest 2.
Выберете то, что вам нужно
-
-
Use your fingers to slide the battery cover down towards the strap end of the controller.
-
Remove the battery cover.
-
-
-
Use your fingers to grasp the wrist strap near the anchor peg.
-
Lift the wrist strap anchor peg straight out of its recess.
-
Remove the wrist strap.
-
-
-
Heat an iOpener and apply it to the bottom edge of the controller faceplate for a minute.
-
-
-
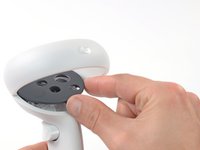
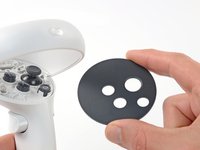
The controller faceplate is secured with adhesive and three friction pegs.
-
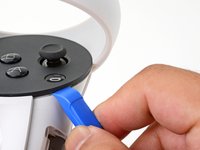
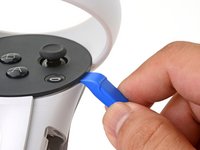
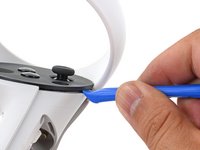
Press the edge of an opening tool into the seam between the controller faceplate and shell, near the Oculus button.
-
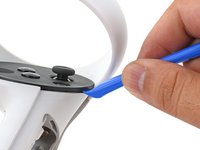
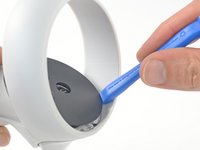
Slide the opening tool to the base of the ring shell to loosen the adhesive.
-
-
-
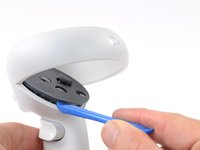
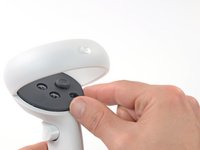
Continue prying around the entire faceplate to separate the remaining friction pegs and adhesive.
-
-
-
-
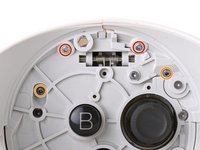
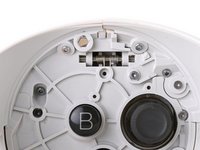
Use a Torx T5 driver to remove the four screws securing the controller ring shell to the controller:
-
Two 4.7 mm‑long screws
-
Two 5.9 mm‑long screws
-
-
-
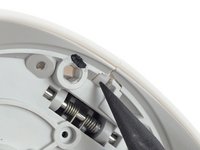
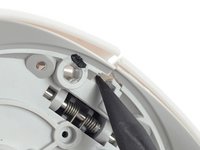
Press the point of a spudger firmly against the white alignment square to release the ring shell.
-
-
-
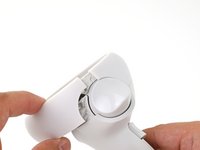
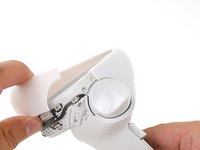
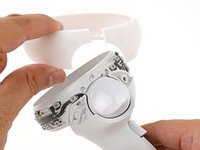
Use your fingers to grab the end of the ring shell that doesn’t have the white alignment square.
-
Gently lift the ring shell up and away from the controller to unclip it from the controller.
-
Remove the controller ring shell.
-
-
-
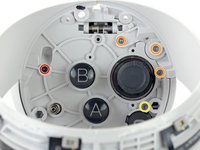
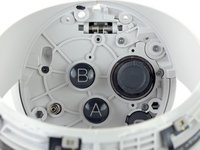
Use a Torx T5 driver to remove the five screws:
-
One 11.5 mm‑long screw
-
Three 5.9 mm‑long screws
-
One 18.2 mm‑long screw
-
-
Инструмент, используемый на этом этапе:Tweezers$4.99
-
Use tweezers and your fingers to peel the battery information label out from the battery compartment.
-
-
-
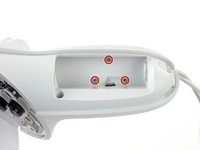
Use a Torx T5 driver to remove the four 5.9 mm‑long screws securing the side shell to the controller:
-
Three screws inside the battery compartment
-
One screw near the corner of the battery compartment
-
-
-
Pull the bottom of the side shell slightly away from the controller to loosen the shell.
-
-
-
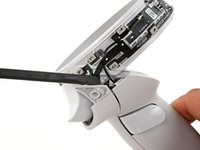
Insert the flat end of a spudger into the gap between the controller ring and the front shell.
-
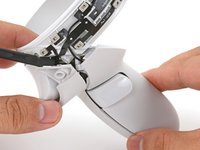
Twist the spudger to widen the gap between the front shell and the controller.
-
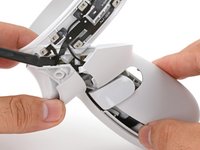
Position the spudger so that it can stay in place without you holding the tool.
-
-
-
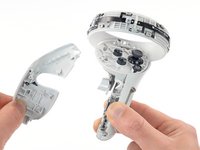
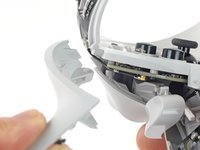
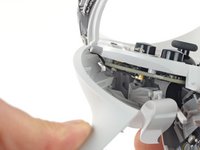
Guide the looped part of the side shell through the screw post gap.
-
Remove the side shell.
-
-
-
Spread the screw post wide enough to loop the side shell back around it.
-
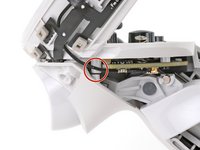
Be careful not to pinch the antenna cable or the tracking flex cable as you reposition the side shell.
-
To reassemble your device, follow these instructions in reverse order.
Take your e-waste to an R2 or e-Stewards certified recycler.
Repair didn’t go as planned? Try some basic troubleshooting, or ask our Answers community for help.


