Перейти к основному содержанию
Присоединяйся к сообществу ремонтников - Создай аккаунт

Motorola Cliq Camera Replacement

Выберете то, что вам нужно

    1. Motorola Cliq Camera Replacement, Battery: шаг 1, изображение 1 из 2 Motorola Cliq Camera Replacement, Battery: шаг 1, изображение 2 из 2
      • Turning over your phone, place two fingers on the back cover and apply pressure away from the camera to slide the back cover off.

      Спросите у FixBot

      Добавить комментарий

    2. Motorola Cliq Camera Replacement: шаг 2, изображение 1 из 2 Motorola Cliq Camera Replacement: шаг 2, изображение 2 из 2
      • Pinch the battery pull tab located below the camera, pull it upwards, and remove the battery.

      • The pull tab may be tucked under the battery.

      Спросите у FixBot

      Добавить комментарий

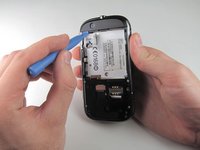
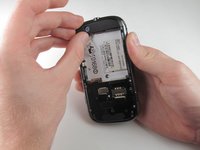
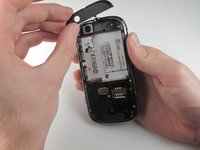
    1. Motorola Cliq Camera Replacement, Rear Casing: шаг 3, изображение 1 из 3 Motorola Cliq Camera Replacement, Rear Casing: шаг 3, изображение 2 из 3 Motorola Cliq Camera Replacement, Rear Casing: шаг 3, изображение 3 из 3
      • Wedge a plastic opening tool behind the panel covering the camera, pry it up, and remove it using your fingers.

      • The panel is held down by adhesive and may require you to wedge and pry the right side of the panel before it can be easily removed.

      Спросите у FixBot

      Добавить комментарий

    2. Motorola Cliq Camera Replacement: шаг 4, изображение 1 из 1
      • Remove the six 4.0 mm T4 Torx screws which line the edge of the back of the phone.

      Спросите у FixBot

      Добавить комментарий

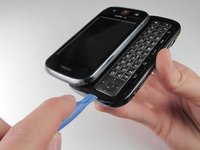
    3. Motorola Cliq Camera Replacement: шаг 5, изображение 1 из 3 Motorola Cliq Camera Replacement: шаг 5, изображение 2 из 3 Motorola Cliq Camera Replacement: шаг 5, изображение 3 из 3
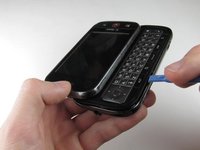
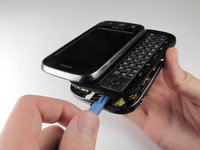
      • Turn the phone over and slide out the keyboard.

      • Wedge a plastic opening tool where the keyboard meets the back casing of the phone next to the headphone jack.

      • Carefully pry open the back casing along the keyboard's edge until at least two corners of the back casing are separated from the keyboard.

      • Do not fully separate the rear panel from the phone. A cable is connecting the two parts together.

      Спросите у FixBot

      Добавить комментарий

    4. Motorola Cliq Camera Replacement: шаг 6, изображение 1 из 1
      • Carefully separate the back casing from the rest of the phone.

      Спросите у FixBot

      Добавить комментарий

    5. Motorola Cliq Camera Replacement: шаг 7, изображение 1 из 2 Motorola Cliq Camera Replacement: шаг 7, изображение 2 из 2
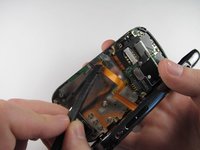
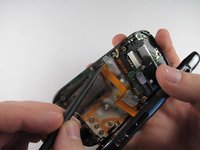
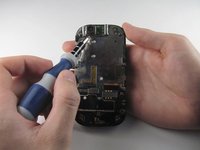
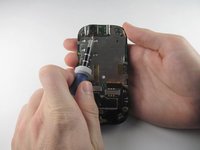
      • Gently pry ZIF connector upwards using the flat end of a spudger tool.

      • The ZIF connector is glued down. Be gentle! Ripping it off or breaking it will make your phone inoperable.

      • You may need adhesive to keep your power cable in place when reassembling your phone.

      Спросите у FixBot

      Добавить комментарий

    6. Motorola Cliq Camera Replacement: шаг 8, изображение 1 из 3 Motorola Cliq Camera Replacement: шаг 8, изображение 2 из 3 Motorola Cliq Camera Replacement: шаг 8, изображение 3 из 3
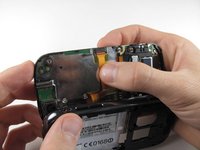
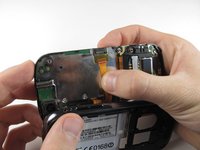
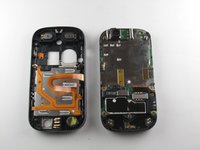
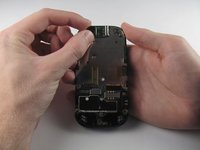
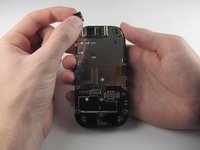
      • Press your thumb against the orange power cable and pull it down slowly to disconnect the power cable from the bottom of the keyboard.

      • The rear casing and the rest of the phone should now be completely separated.

      Спросите у FixBot

      Добавить комментарий

    1. Motorola Cliq Camera Replacement, Camera: шаг 9, изображение 1 из 3 Motorola Cliq Camera Replacement, Camera: шаг 9, изображение 2 из 3 Motorola Cliq Camera Replacement, Camera: шаг 9, изображение 3 из 3
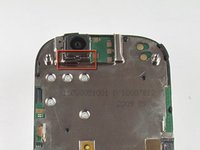
      • Insert a 1.5mm flat head screw in the slit in between the camera housing and the bottom of the camera.

      • Lightly pry upwards and the camera should come loose from the housing.

      Спросите у FixBot

      Добавить комментарий

    2. Motorola Cliq Camera Replacement: шаг 10, изображение 1 из 3 Motorola Cliq Camera Replacement: шаг 10, изображение 2 из 3 Motorola Cliq Camera Replacement: шаг 10, изображение 3 из 3
      • Carefully grab the sides of the camera with your fingers and remove the camera.

      • The foam cover on the top of the camera deforms and tears easily, so handle it with care.

      Спросите у FixBot

      Добавить комментарий

Заключение

To reassemble your device, follow these instructions in reverse order.

Отменить: Я не выполнил это руководство.

2 человек успешно провели ремонт по этому руководству.

Tony Tran

Участник с: 04/14/13

84 Репутация

Автор 8 руководств

Команда

Cal Poly, Team 10-42, Amido Spring 2013 Участник Cal Poly, Team 10-42, Amido Spring 2013

CPSU-AMIDO-S13S10G42

4 членов

Автор 70 руководств

0 Комментарии к руководству

Добавить комментарий

Статистика просмотров:

За последние 24 часов: 3

За последние 7 дней: 6

За последние 30 дней: 34

За всё время: 742