Введение
Motorola Cliq (or Motorola Dext) smartphones use LCD (Liquid Crystal Display) screens, which are popular for their high-contrast visuals and touch sensitivity. However, LCD screens can become damaged or broken, either due to physical trauma or gradually over time. Symptoms of a broken LCD screen include rainbow patterns, black spots that do not change with new images or video frames, flickering images, or total black screens; becoming unresponsive is also a common effect of damaged LCD screens.
Before starting repairs, ensure that the damage to your screen is indeed the LCD screen, not simply the tempered glass or phone screen. If your screen is cracked but still responsive to your touch and not discolored, then an LCD screen replacement is unnecessary.
This tutorial is meant to guide you through the process of replacing your Motorola Cliq LCD screen. LCD screen replacement requires opening the device and working from within its contents. It’s important that you do not fully separate certain parts, such as in Steps 5 and 13. Step 9 involves gently prying a glued-down ZIF connector down without ripping it off altogether. Failure to treat these parts with the appropriate care will lead to an outright unusable device. As such, please proceed with patience and gentle movements as you remove and replace the damaged LCD screen.
Always power off your smartphone beforehand to reduce the risk of batteries short-circuiting and electrocuting you during repair.
Выберете то, что вам нужно
-
-
Turning over your phone, place two fingers on the back cover and apply pressure away from the camera to slide the back cover off.
 Спросите у FixBot
-
-
-
Pinch the battery pull tab located below the camera, pull it upwards, and remove the battery.
-
-
-
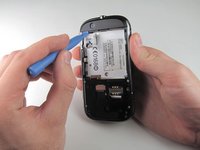
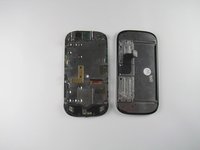
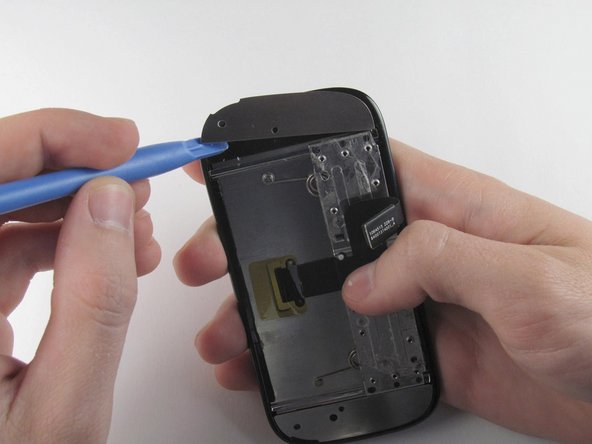
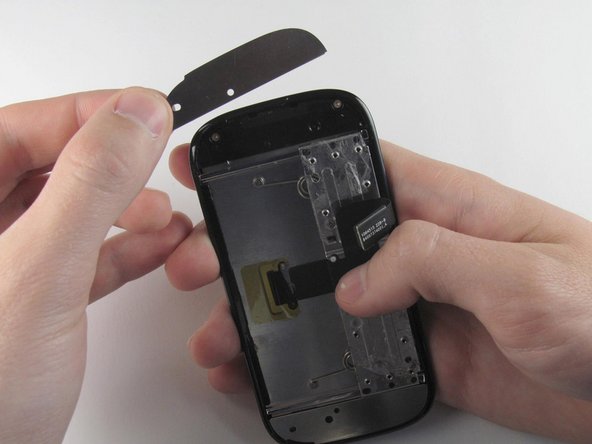
Wedge a plastic opening tool behind the panel covering the camera, pry it up, and remove it using your fingers.
-
-
-
Remove the six 4.0 mm T4 Torx screws which line the edge of the back of the phone.
-
-
-
Turn the phone over and slide out the keyboard.
-
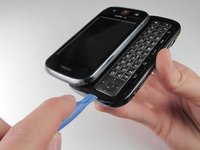
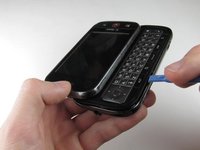
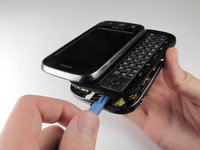
Wedge a plastic opening tool where the keyboard meets the back casing of the phone next to the headphone jack.
-
Carefully pry open the back casing along the keyboard's edge until at least two corners of the back casing are separated from the keyboard.
-
-
-
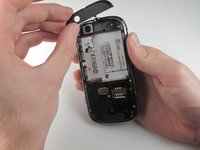
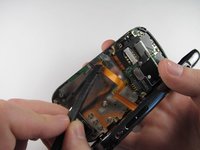
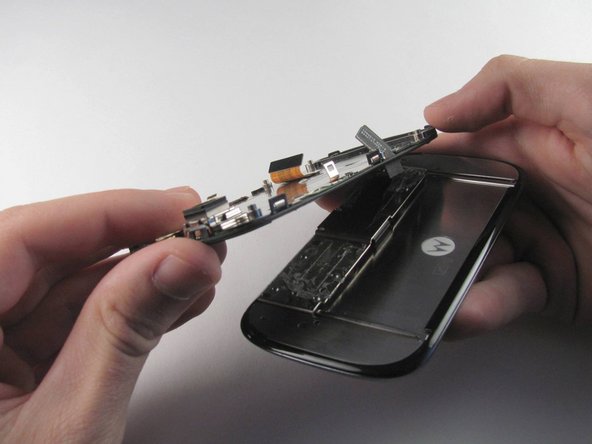
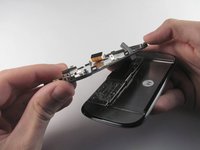
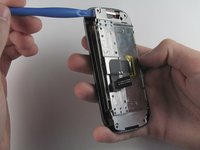
Carefully separate the back casing from the rest of the phone.
-
-
-
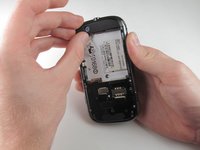
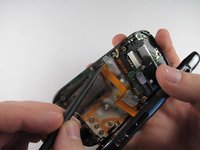
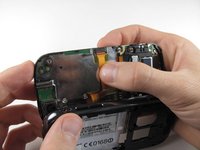
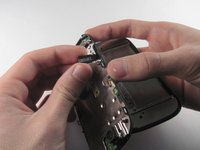
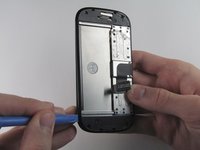
Gently pry ZIF connector upwards using the flat end of a spudger tool.
-
-
-
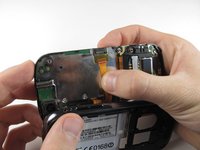
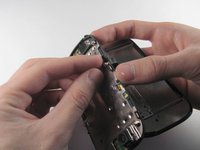
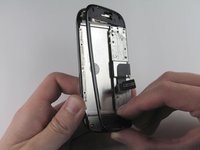
Press your thumb against the orange power cable and pull it down slowly to disconnect the power cable from the bottom of the keyboard.
-
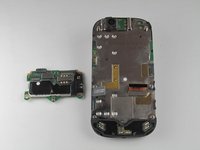
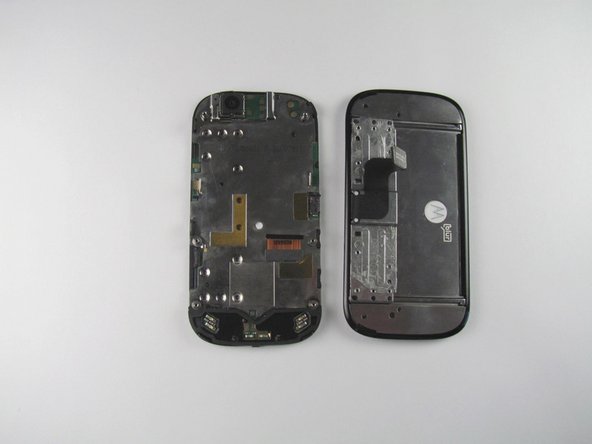
The rear casing and the rest of the phone should now be completely separated.
-
-
-
-
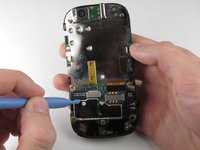
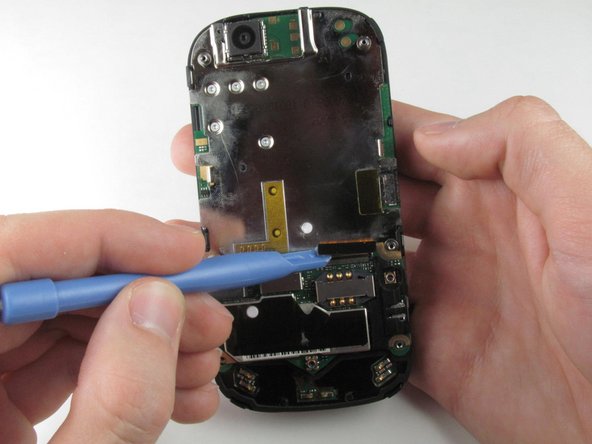
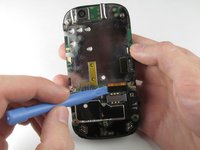
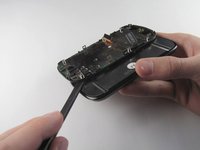
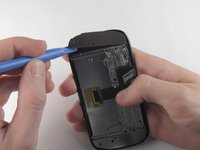
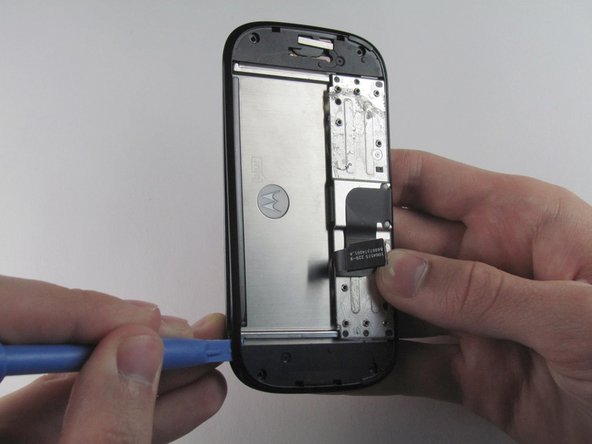
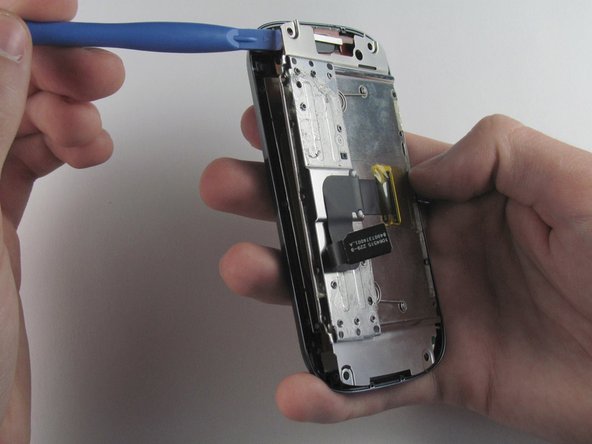
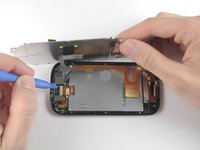
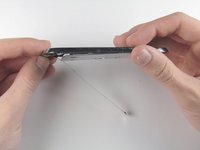
Wedge the plastic opening tool underneath the black display connector and pry it off its socket on the motherboard.
-
-
-
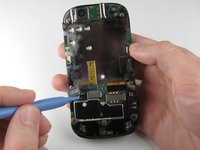
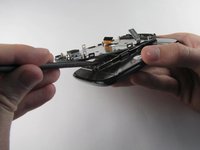
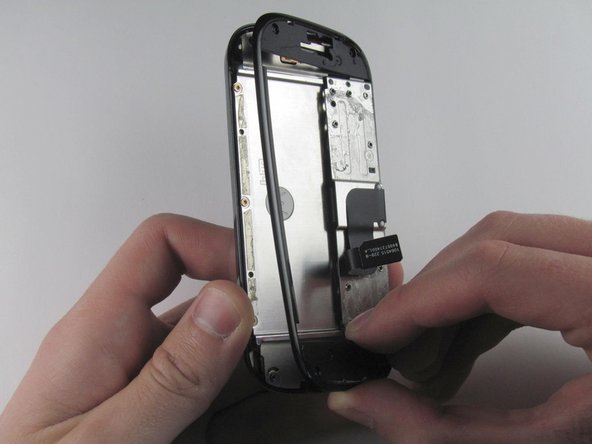
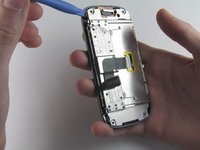
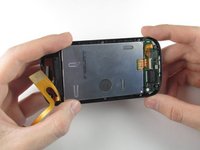
Pry the orange keyboard connector from its socket on the motherboard using the edge of the plastic opening tool.
-
-
-
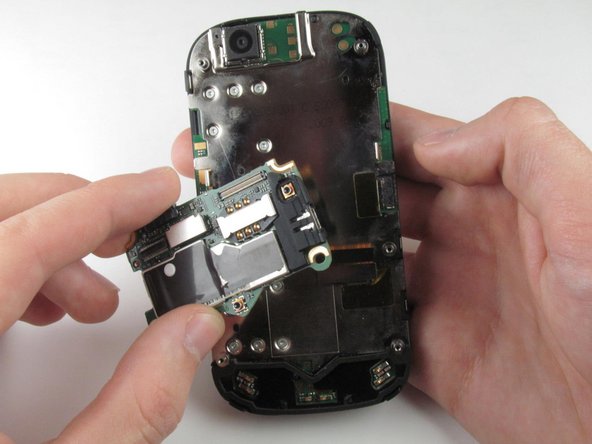
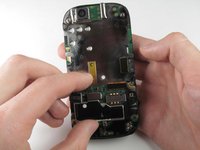
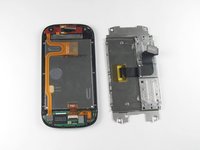
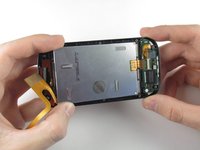
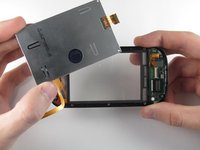
Carefully grab the sides of the motherboard with your fingers and remove it from the phone.
-
-
-
Remove the ten 3.0 mm T4 Torx screws near the black display cable.
-
-
-
Orient the phone so that the edge closest to the camera points towards you and slide out the keyboard.
-
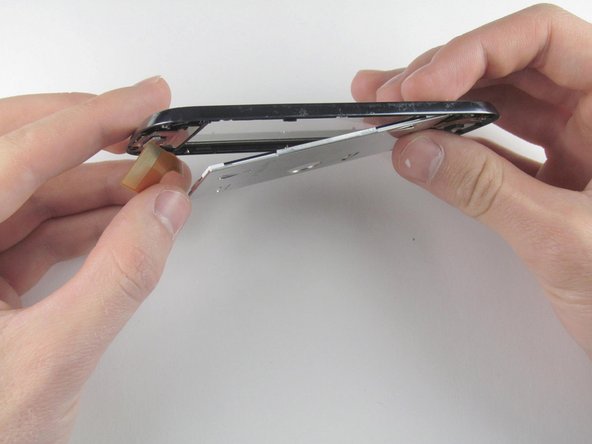
Wedge the tip of a spudger between the keyboard and the display assembly below the camera.
-
With steady pressure, pry the keyboard away from the display assembly.
-
-
-
Grab the display flex cable and gently push it through the notch it is coming out of.
-
-
-
Wedge a plastic opening tool underneath one of the metal panels on the underside of the display assembly.
-
Pry upwards and remove the metal panel.
-
Repeat this step for the second metal panel located on the opposite side of the phone.
-
-
-
Remove the four 3.0 mm T4 Torx screws at the corners of the phone.
-
-
-
Wedge a plastic opening tool between the edge and the black pastic cover on the underside of the display assembly.
-
Run the plastic opening tool along the edges to separate the black plastic cover from the display assembly.
-
Remove the black plastic cover.
-
-
-
Remove the six 3.0 mm T4 Torx screws that align on the phone's sides.
-
-
-
Insert a plastic opening tool between the LCD shield plate and a corner of the keyboard slider plate.
-
Pry apart the keyboard slider plate and LCD shield plate.
-
-
-
Pry the display flex cable from its connector on the LCD shield plate with a plastic opening tool.
-
Separate the display flex cable from the LCD cover plate.
-
-
-
Pry off the flex cable located at the top right of the display assembly using the flat end of a spudger.
-
-
-
Turn the display on its side.
-
Carefully tilt the screen of the display until the digitizer starts to fall out.
-
-
-
With the digitizer held between two fingers, gently pull it away from the bottom of the phone until the digitizer flex cable has been completely removed from its socket.
-
Remove the digitizer.
-


To reassemble your device, follow these instructions in reverse order.
Отменить: Я не выполнил это руководство.
3 человек успешно провели ремонт по этому руководству.

Команда

Cal Poly, Team 10-42, Amido Spring 2013 Участник Cal Poly, Team 10-42, Amido Spring 2013
CPSU-AMIDO-S13S10G42
4 членов
Автор 24 руководств