Введение
The battery is located between the back of the phone and the motherboard, making it necessary to remove the motherboard to access the battery. This guide involves the removal of various screws and parts so make sure you are in a clean and organized environment to avoid the loss of any components.
Выберете то, что вам нужно
-
-
Use the Torx T5 Screwdriver to remove two 5.0 mm screws at the bottom of the phone.
-
-
-
To remove the SIM card, use an unfolded paperclip to press down on the metal plate on the left side of the phone until it pops up.
-
-
-
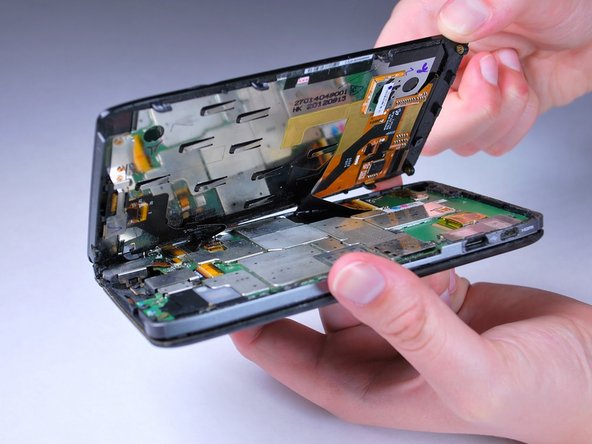
Gently push the screen toward the top edge of the phone and tilt the screen to reveal the black flex cables.
-
-
-
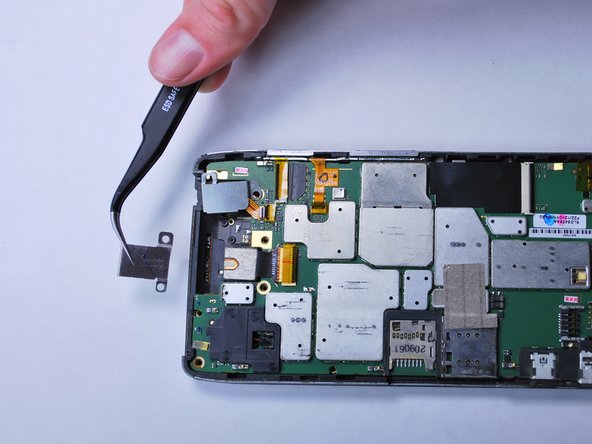
Release the two black ribbon flex cables by gently pulling up on the connection using the spudger. Then lift the screen to remove.
-
-
-
-
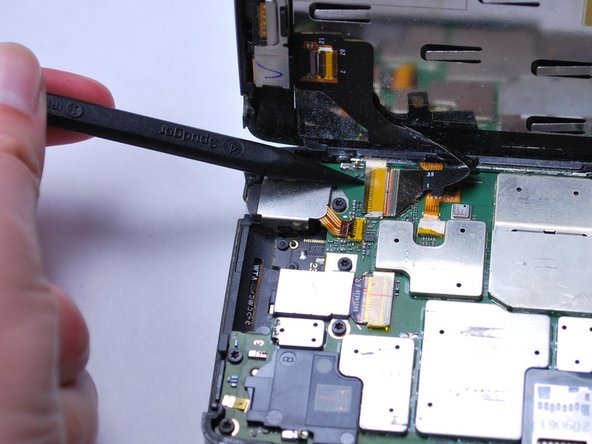
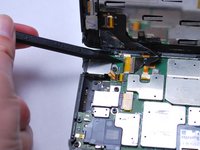
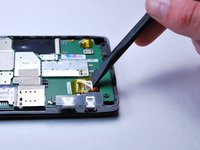
Remove the plastic yellow tape on the battery connector using the spudger.
-
Pry up on the orange connection to release it from the motherboard.
-
-
Инструмент, используемый на этом этапе:Tweezers$4.99
-
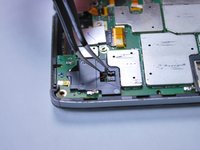
Using tweezers, remove the clear plastic covering on the speaker.
-
Pry open the connection by lifting up on the speaker wire connector.
-
-
-
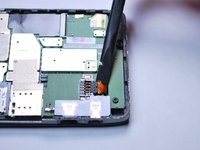
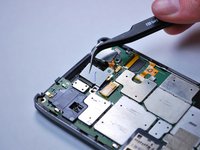
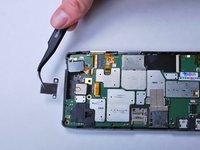
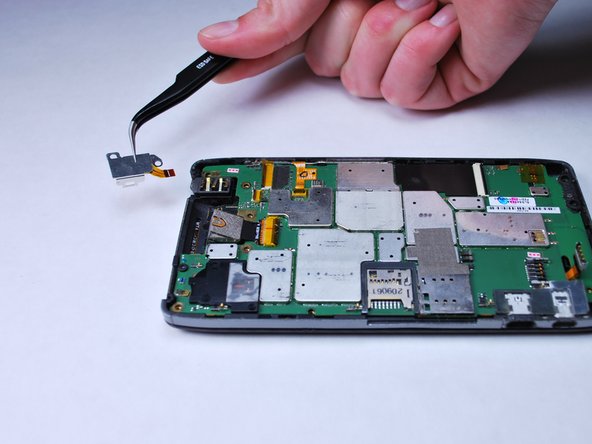
Using the spudger tool, release the yellow ribbon cable on the headphone jack cover by pushing up on the connection.
-
Remove the cover from the motherboard.
-
-
-
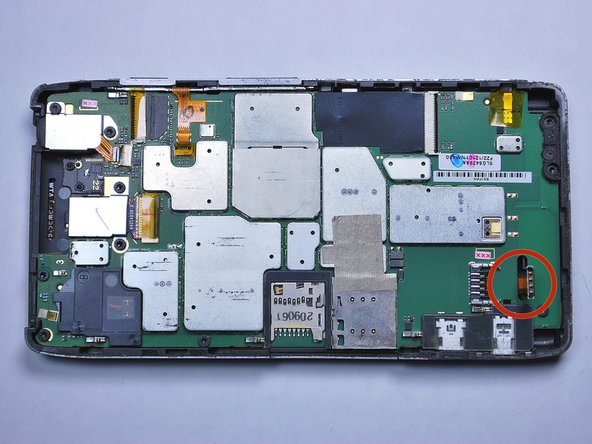
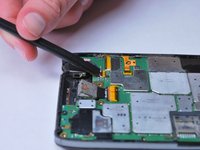
Release the yellow flex cable on the right side of the phone using the spudger by lifting up on the retaining clip.
-
-
-
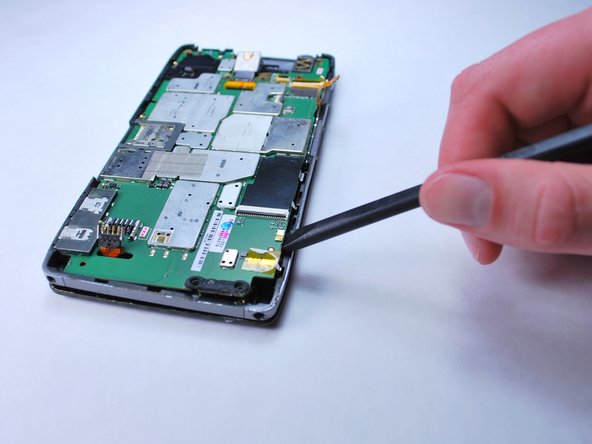
Wedge the spudger between the motherboard and the back case.
-
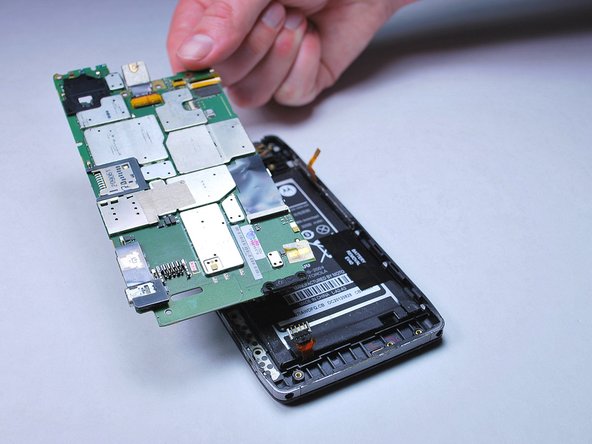
Work your way around the entire edge of the motherboard to release it and remove it from the back of the phone.
-
-
-
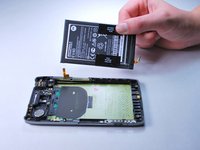
Wedge the spudger tool under the battery to remove it from the back case.
-


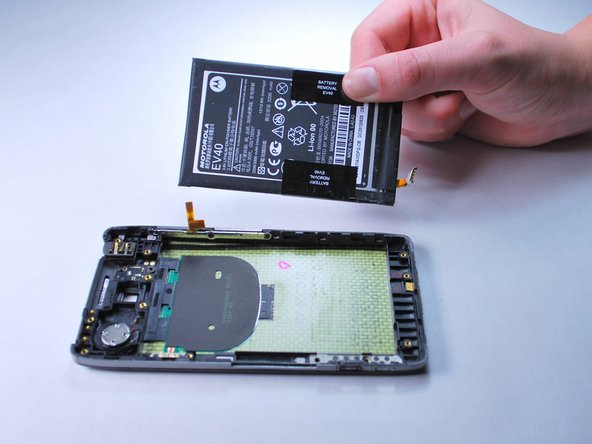

To reassemble your device, follow these instructions in reverse order.
Отменить: Я не выполнил это руководство.
12 человек успешно провели ремонт по этому руководству.
Команда

Cal Poly, Team 8-40, Amido Winter 2015 Участник Cal Poly, Team 8-40, Amido Winter 2015
CPSU-AMIDO-W15S8G40
5 членов
Автор 18 руководств
1 Комментарий к руководству
When putting it all back together, is it recommended to replace the pieces of tape to protect/insulate the connectors, or is that not necessary?