Перейти к основному содержанию
Присоединяйся к сообществу ремонтников - Создай аккаунт

Nabi Jr Screen Replacement

Выберете то, что вам нужно

    1. Nabi Jr Screen Replacement, Rear Case: шаг 1, изображение 1 из 1
      • Remove the red rubber case from the device. This should come off with ease.

      Спросите у FixBot

      Добавить комментарий

    2. Nabi Jr Screen Replacement: шаг 2, изображение 1 из 1
      • Turn the device so the screen is facing away from you.

      • Using a philips head, size #00, screwdriver, remove the screws in each corner of the plastic casing.(total of 4 screws)

      Спросите у FixBot

      Добавить комментарий

    3. Nabi Jr Screen Replacement: шаг 3, изображение 1 из 1
      • Remove the device casing using a small plastic pry bar.

      • This might take a little bit of force to accomplish, don't be afraid to go at it with a little gusto.

      Спросите у FixBot

      Добавить комментарий

    4. Nabi Jr Screen Replacement: шаг 4, изображение 1 из 1
      • After loosening the back cover, remove it from the device so you can get at the innards.

      Спросите у FixBot

      Добавить комментарий

    1. Nabi Jr Screen Replacement, Motherboard: шаг 5, изображение 1 из 1
      • Use the Philips #00 screwdriver to remove the 5 screws from the motherboard

      Спросите у FixBot

      Добавить комментарий

    2. Nabi Jr Screen Replacement: шаг 6, изображение 1 из 1
      • De-solder the grey wire from motherboard

      Спросите у FixBot

      Добавить комментарий

    3. Nabi Jr Screen Replacement: шаг 7, изображение 1 из 1
      Инструмент, используемый на этом этапе:
      Tweezers
      $4.99
      • Use tweezers to peel off all yellow tape from the motherboard

      • Yellow tape is used in all locations where there is ribbon cable present.

      Спросите у FixBot

      Добавить комментарий

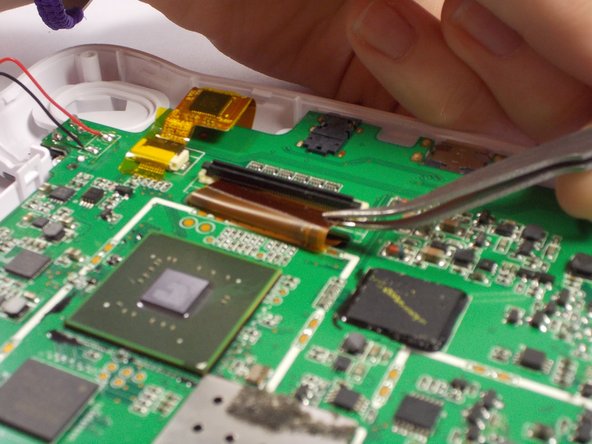
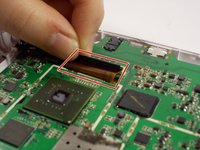
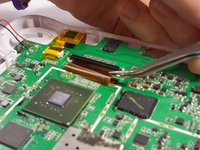
    4. Nabi Jr Screen Replacement: шаг 8, изображение 1 из 2 Nabi Jr Screen Replacement: шаг 8, изображение 2 из 2
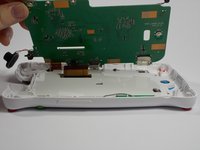
      • Remove all three ribbon cables from the motherboard by lifting up the locking tabs.

      • Pull black locking tabs up in opposite direction of ribbon cable to remove.

      • Use tweezers to pull the ribbon cable out of the locking tab's slot

      Спросите у FixBot

      Добавить комментарий

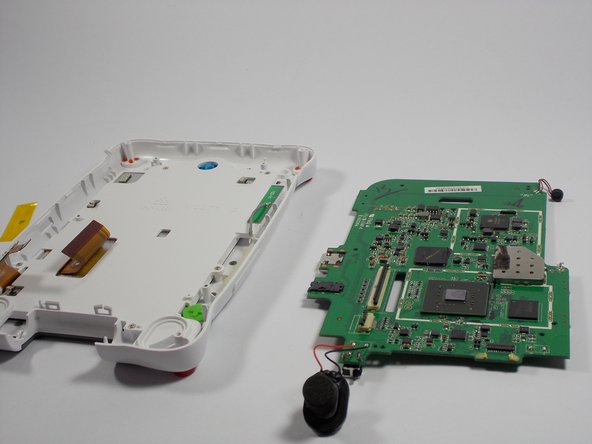
    5. Nabi Jr Screen Replacement: шаг 9, изображение 1 из 2 Nabi Jr Screen Replacement: шаг 9, изображение 2 из 2
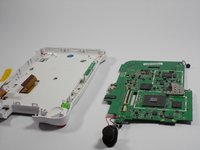
      • Lift motherboard to separate it the from the case shell.

      Спросите у FixBot

      Добавить комментарий

    1. Nabi Jr Screen Replacement, Screen: шаг 10, изображение 1 из 1
      • Remove the 6 screws that hold the screen in place

      Спросите у FixBot

      Добавить комментарий

    2. Nabi Jr Screen Replacement: шаг 11, изображение 1 из 2 Nabi Jr Screen Replacement: шаг 11, изображение 2 из 2
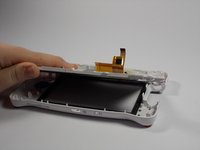
      • Remove the screen from the front casing

      Спросите у FixBot

      Добавить комментарий

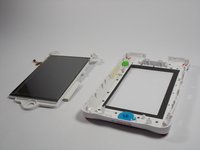
    3. Nabi Jr Screen Replacement: шаг 12, изображение 1 из 1
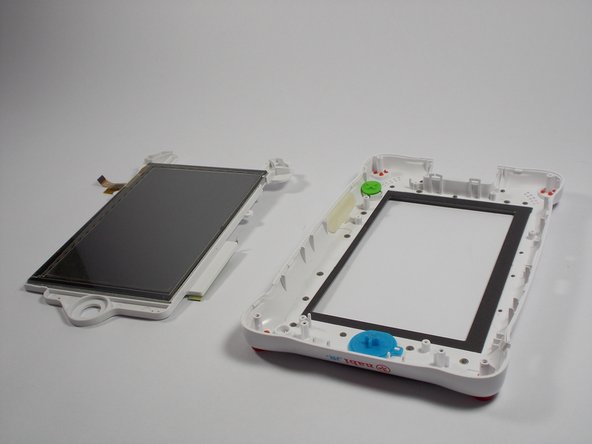
      • Separate the screen from the plastic casing.

      Спросите у FixBot

      Добавить комментарий

    4. Nabi Jr Screen Replacement: шаг 13, изображение 1 из 1
      • Replace the old screen with the new screen

      Спросите у FixBot

      Добавить комментарий

Заключение

To reassemble your device, follow these instructions in reverse order.

Отменить: Я не выполнил это руководство.

Еще один человек закончил это руководство.

Jimmy Nguyen

Участник с: 03/24/15

271 Репутация

Автор 2 руководств

Команда

UMass Dartmouth, Team 4-3, Vijaybhaskar Spring 2015 Участник UMass Dartmouth, Team 4-3, Vijaybhaskar Spring 2015

UMASSD-VIJAYBHASKAR-S15S4G3

3 членов

Автор 12 руководств

3 Комментарии к руководству

Do you know of anywhere I can send a nabi jr to have a cracked screen replaced?

Katie - Ответить Поделиться

Yes thank you for the information but where do we find a screen to replace this?

davemel - Ответить Поделиться

My navi jr is the nick jr edition and looks a bit different inside. I replaced the screen, as mentioned here but has to remove the outter glass-like screen that has the second smaller ribbonattach from the original screen, and put it on my screen because the new screen did not have that part. All buttons work, the screen looks perfect and vibrant, but the EFEN TOUCH Does not work!!! What did I do wrong? I attached all the ribbons properly!!!

vane.lpz - Ответить Поделиться

Добавить комментарий

Статистика просмотров:

За последние 24 часов: 2

За последние 7 дней: 6

За последние 30 дней: 25

За всё время: 5,866