Введение
This guide will explain the process of removing and replacing the internal camera of the device. This is one of 3 guides that will handle electrical connections so it is best to be very gentle when doing so. To best use this guide the Phillips 00 screwdriver is recommended. The Phillips 000 or 0 may work as well, please note that the smaller the screwdriver the higher chances of stripping the screw. It is also recommended to have a plastic opening tool (blue) to gently pull the device apart and a bowl or container to keep the small and easily lost screws in.
Выберете то, что вам нужно
-
-
-
Unscrew the two 3.0 mm Phillips #00 screws on the bottom of the camera.
-
Open the battery compartment on the bottom by pushing the switch marked in orange to the side and pushing the bottom of the camera back, sliding it open.
 Спросите у FixBot
-
-
-
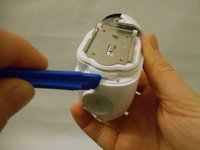
Remove the bottom piece of the case over the battery compartment by placing a plastic opening tool underneath the edge of the case and prying it up.
-
Unscrew the four 3.0 mm Phillips #00 screws on the outside of the battery pocket.
-
-
-
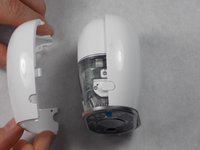
When facing the camera lens, the left panel of the case will be removed first (more steps are needed for the right panel).
-
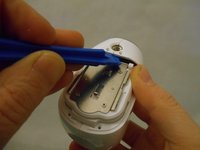
Place the plastic opening tool between the two pieces of the case and pry them apart from the bottom.
-
Gently pull the side of the case off as it comes loose.
-
-
-
-
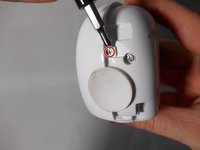
Unscrew the smaller 3.0 mm Phillips #00 screw in the center on the back of the device.
-
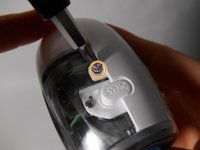
Flip the camera over and unscrew the center 3.0 mm Phillips #00 screw above the SYNC button.
-
-
-
Using the plastic opening tool, gently pry the right panel from the device.
-
Replace either side of the plastic case as needed.
-
-
-
-
-
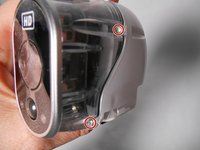
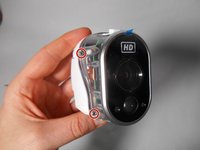
Unscrew the four 4.0 mm Phillips #00 screws on either side of the transparent case.
-
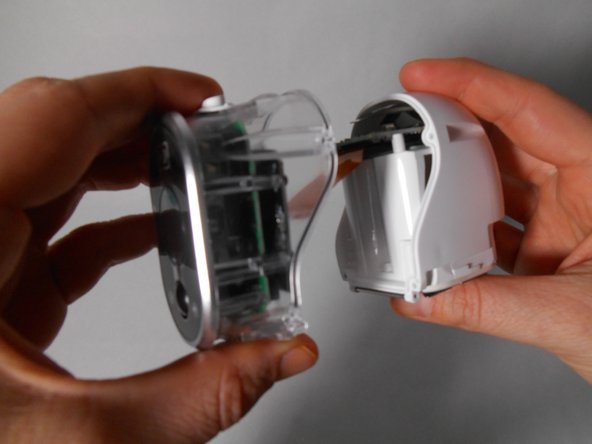
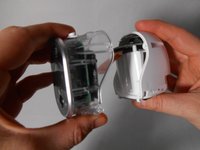
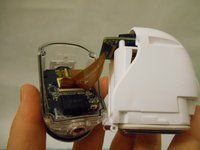
Separate the transparent half of the case from the white half.
-
-
-
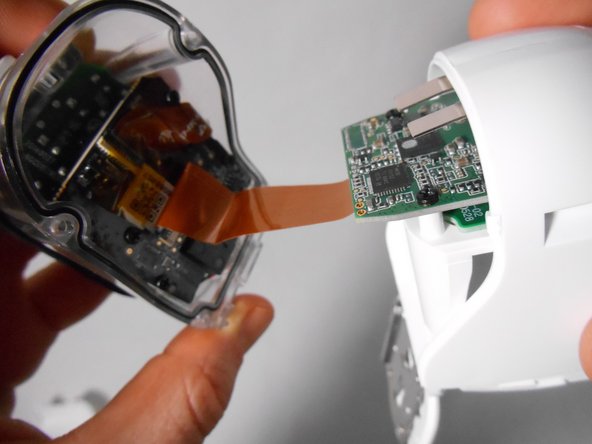
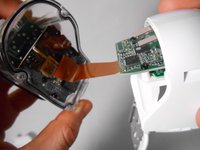
Lift the small thin black rectangular latch that covers the connectors of the flat ribbon cable.
-
With the latch lifted, the cable will pull away freely as you separate the white half from the transparent half.
-
-
-
Repeat the same process as in Step 6 to release the flat ribbon cable from the black rectangular latch
-
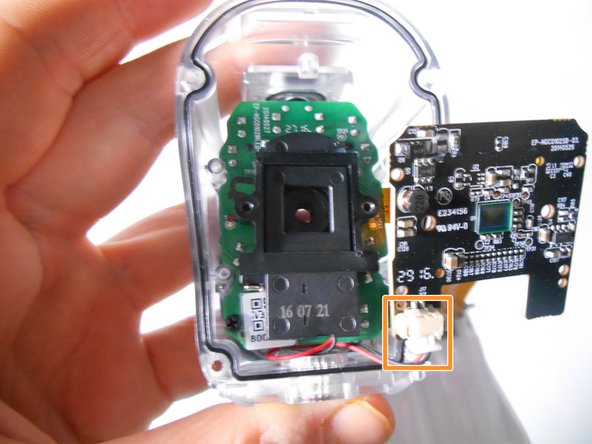
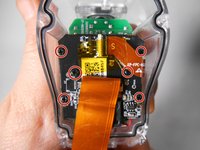
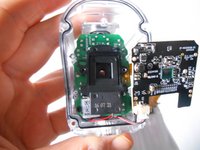
Unscrew the six black 3.0 mm Phillips #00 screws that hold the black motherboard on.
-
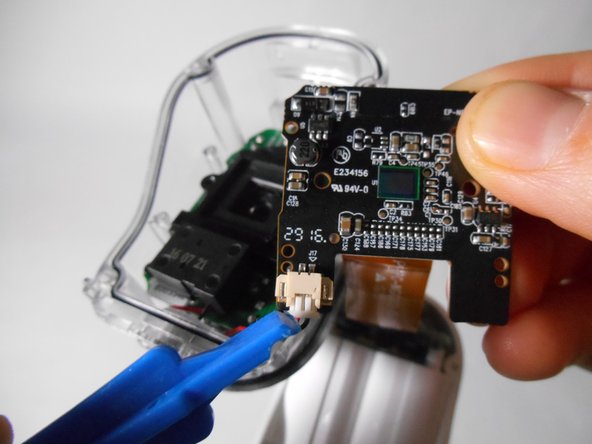
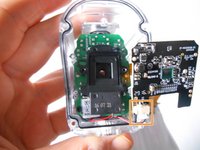
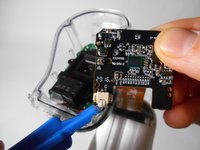
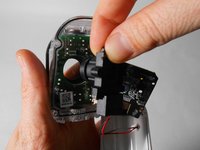
Release the clip at the bottom left corner of the black motherboard by pinching the wings at either side of the clip.
-
-
-
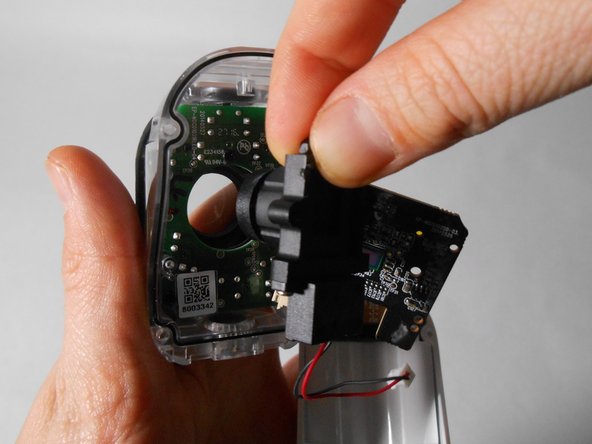
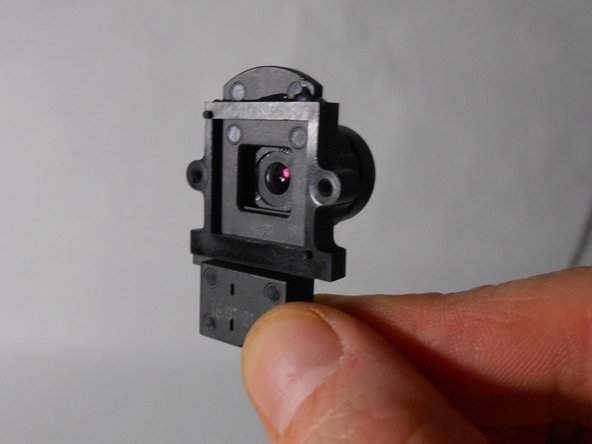
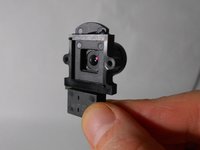
Remove the black plastic that contains the camera from its place.
-
Discard and replace this part as needed.
-
-





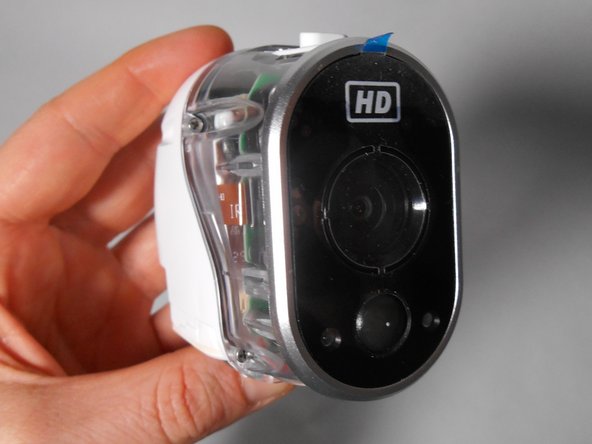
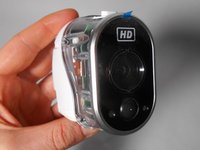





To reassemble your device, follow these instructions in reverse order.

Команда

UMass Dartmouth, Team S2-G4, Peak Fall 2018 Участник UMass Dartmouth, Team S2-G4, Peak Fall 2018
UMASSD-PEAK-F18S2G4
3 членов
Автор 10 руководств
