Перейти к основному содержанию
Присоединяйся к сообществу ремонтников - Создай аккаунт

Nikon Coolpix S4100 External Casing Replacement

Выберете то, что вам нужно

    1. Nikon Coolpix S4100 External Casing Replacement, External Casing: шаг 1, изображение 1 из 3 Nikon Coolpix S4100 External Casing Replacement, External Casing: шаг 1, изображение 2 из 3 Nikon Coolpix S4100 External Casing Replacement, External Casing: шаг 1, изображение 3 из 3
      • Using a Philips #000 head screwdriver, remove the 8 screws (3.30 mm) visible on the external part of the camera.

      • There are 2 on each side, and 4 on the bottom.

      Спросите у FixBot

      Добавить комментарий

    2. Nikon Coolpix S4100 External Casing Replacement: шаг 2, изображение 1 из 1
      • Remove the black casing on the back of the camera that runs around the LCD screen.

      Спросите у FixBot

      Добавить комментарий

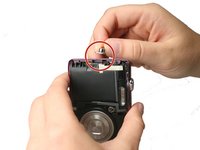
    3. Nikon Coolpix S4100 External Casing Replacement: шаг 3, изображение 1 из 1
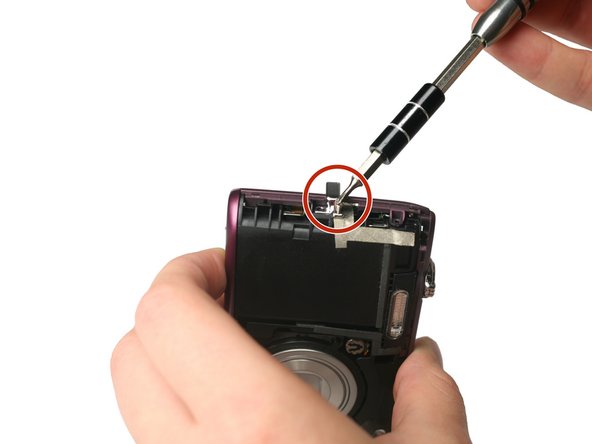
      • Using the Philips #000 head screwdriver, remove the 1.90 mm internal screw located just above the lanyard mount.

      Спросите у FixBot

      Добавить комментарий

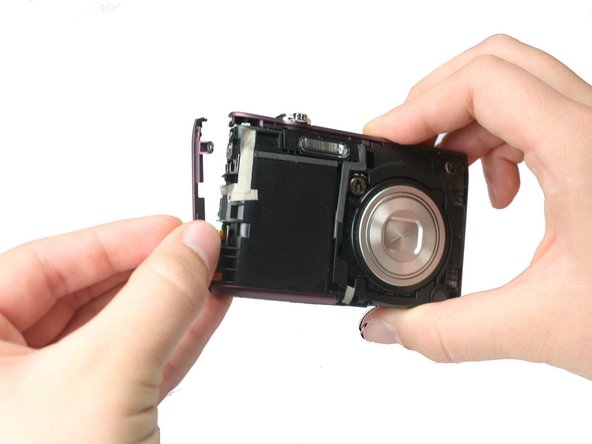
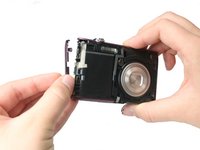
    4. Nikon Coolpix S4100 External Casing Replacement: шаг 4, изображение 1 из 3 Nikon Coolpix S4100 External Casing Replacement: шаг 4, изображение 2 из 3 Nikon Coolpix S4100 External Casing Replacement: шаг 4, изображение 3 из 3
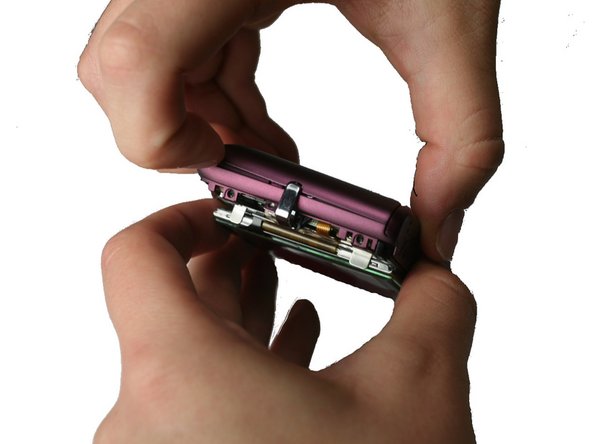
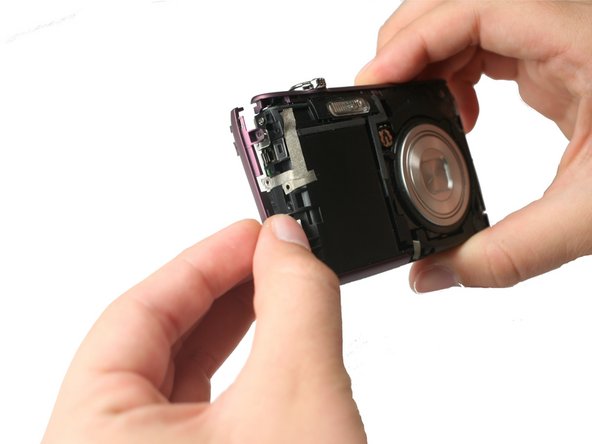
      • Pry off the front shell casing.

      • If you find this difficult, use a prying tool to help gently remove the casing.

      Спросите у FixBot

      Добавить комментарий

    5. Nikon Coolpix S4100 External Casing Replacement: шаг 5, изображение 1 из 1
      • Using the Philips #000 head screwdriver, remove the 3.30 mm screw located on the side of the camera near the lanyard mount.

      Спросите у FixBot

      Добавить комментарий

    6. Nikon Coolpix S4100 External Casing Replacement: шаг 6, изображение 1 из 2 Nikon Coolpix S4100 External Casing Replacement: шаг 6, изображение 2 из 2
      • Using the Philips #000 head screwdriver, remove 2 additional 3.30 mm screws holding the lanyard mount in place.

      Спросите у FixBot

      Добавить комментарий

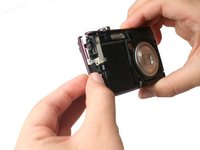
    7. Nikon Coolpix S4100 External Casing Replacement: шаг 7, изображение 1 из 3 Nikon Coolpix S4100 External Casing Replacement: шаг 7, изображение 2 из 3 Nikon Coolpix S4100 External Casing Replacement: шаг 7, изображение 3 из 3
      • Remove the lanyard mount and accompanying side shell casing off of the camera.

      Спросите у FixBot

      Добавить комментарий

    8. Nikon Coolpix S4100 External Casing Replacement: шаг 8, изображение 1 из 1
      • Using the Philips #000 head screwdriver, remove the 3.30 mm screw securing the top shell casing.

      Спросите у FixBot

      Добавить комментарий

    9. Nikon Coolpix S4100 External Casing Replacement: шаг 9, изображение 1 из 1
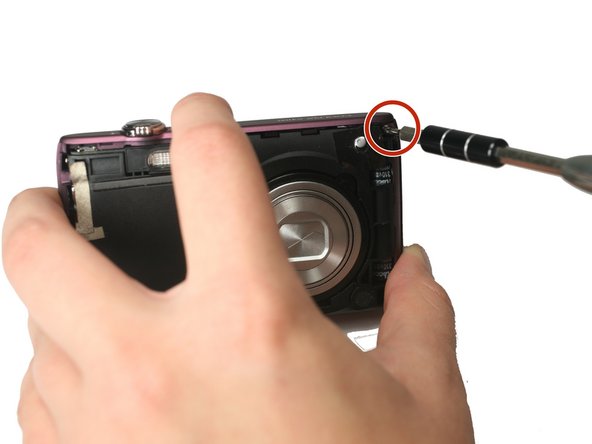
      • Using the Philips #000 head screwdriver, remove the 3.40 mm screw located on the front of the camera in the upper corner by the LED light.

      Спросите у FixBot

      Добавить комментарий

    10. Nikon Coolpix S4100 External Casing Replacement: шаг 10, изображение 1 из 1
      • Remove the remaining side shell casing.

      Спросите у FixBot

      Добавить комментарий

    11. Nikon Coolpix S4100 External Casing Replacement: шаг 11, изображение 1 из 1
      • Remove the top shell casing.

      Спросите у FixBot

      Добавить комментарий

Заключение

To reassemble your device, follow these instructions in reverse order.

Отменить: Я не выполнил это руководство.

2 человек успешно провели ремонт по этому руководству.

Matthew Willis

Участник с: 09/22/15

598 Репутация

Автор 4 руководств

Команда

Baylor, Team 4-2, Williams Fall 2015 Участник Baylor, Team 4-2, Williams Fall 2015

BU-WILLIAMS-F15S4G2

4 членов

Автор 8 руководств

0 Комментарии к руководству

Добавить комментарий

Статистика просмотров:

За последние 24 часов: 3

За последние 7 дней: 8

За последние 30 дней: 38

За всё время: 1,477