Выберете то, что вам нужно
-
-
Remove six 3 mm x 2.5 mm Phillips head screws from the bottom of the camera.
-
Remove three 3 mm x 5.5 mm Phillips head screws from the bottom of the camera near the battery cover.
-
Lift the battery cover and remove two 3 mm x 5.5 mm Phillips head screws as shown.
-
Remove the bottom cover.
 Спросите у FixBot
-
-
-
Remove two 3 mm x 5.5 mm Phillips head screws from either side of the viewfinder.
-
Remove four 3 mm x 5.5 mm Phillips head screws above and below the USB port cover and on either side of the SD card slot cover.
-
Remove two 3 mm x 4 mm Phillips head screws inside the SD card slot cover.
-
-
-
Lift the LCD panel off up to expose a ribbon connector. Then lift the ribbon connector tab as shown and slide the ribbon out.
-
Lift the LCD panel away and off the camera
-
-
-
-
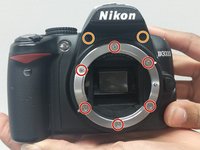
Remove six 3 mm x 5.5 mm Phillips head screws from around the lens ring and remove the lens ring.
-
Remove two 2.5 mm x 4 mm Phillips head screws from above the lens ring to allow the front of the camera to be removed.
-
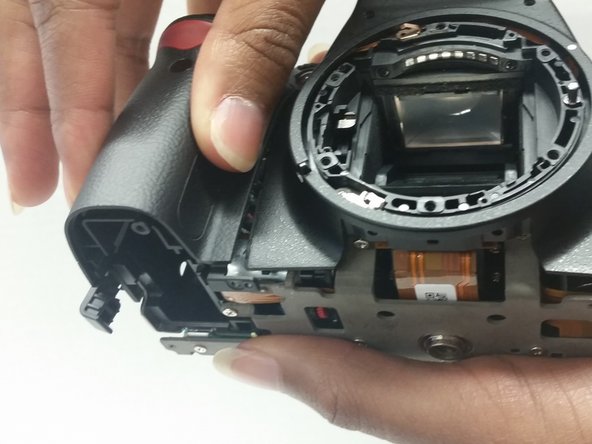
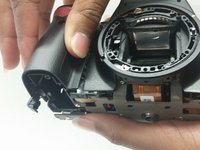
Lift and remove the grip and the front panel of the camera.
-
-
-
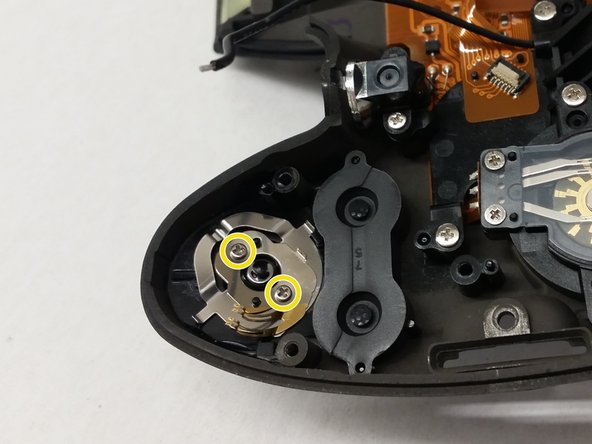
Remove two 3 mm x 4 mm Phillips head screws from where the camera grip was just removed.
-
Remove one 2 mm x 3 mm Phillips head screw from the same location as above.
-
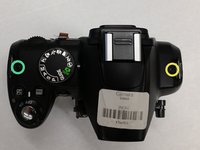
Remove one 3 mm x 5.5 mm Phillips head screw from the top right side of the camera shown.
-
Remove one 3 mm x 3 mm Phillips head screw from the top left side of the camera shown.
-
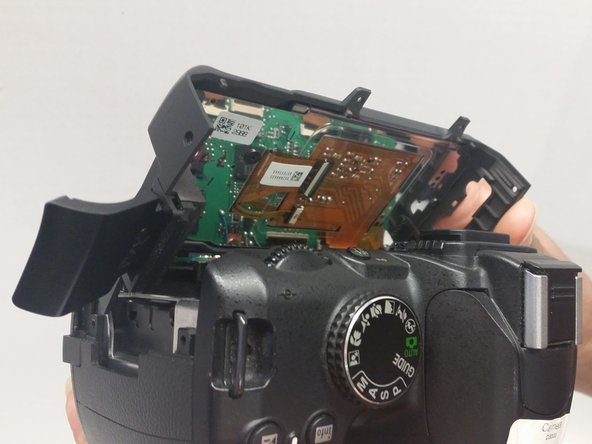
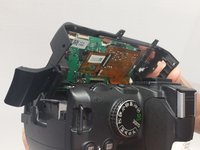
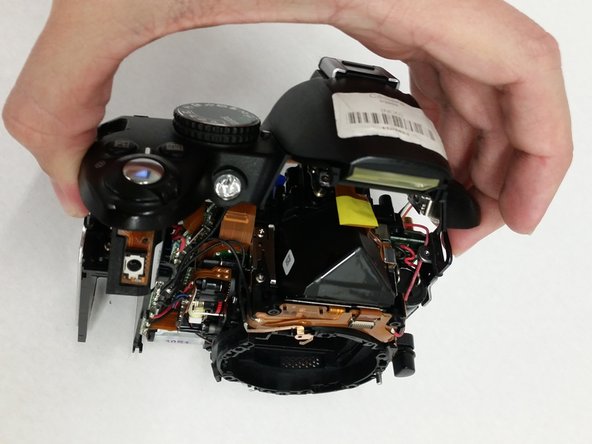
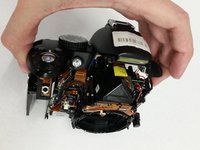
Gently lift the top of the camera up to separate it from the main body of the camera. At this point, it will still be connected via wires.
-
-
-
De-solder the wire shown on the grip side of the camera to allow sufficient access to the top of the camera.
-
-
-
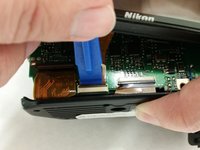
Remove the ribbon connector.
-
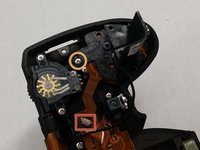
Remove the 3 mm x 4 mm Phillips head screw and lift off the plastic bracket to expose the on/off switch underneath.
-
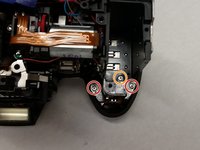
Remove the two 2 mm x 4 mm Phillips head screws and the shutter button and on/off switch will fall down away from the top of the panel.
-







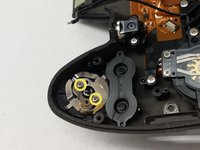
To reassemble your device, follow these instructions in reverse order.
Отменить: Я не выполнил это руководство.
4 человек успешно провели ремонт по этому руководству.

Команда

USF Tampa, Team 14-7, Meier Fall 2015 Участник USF Tampa, Team 14-7, Meier Fall 2015
USFT-MEIER-F15S14G7
4 членов
Автор 6 руководств
1 Комментарий к руководству
Thanks for the guide. It was very helpful. I had problem with a shutter button. I have not replace it but disassembled and cleaned two tiny metal contacts inside, now my camera works well.
