Перейти к основному содержанию
Присоединяйся к сообществу ремонтников - Создай аккаунт

Nikon D90 Flash Bulb Replacement

Выберете то, что вам нужно

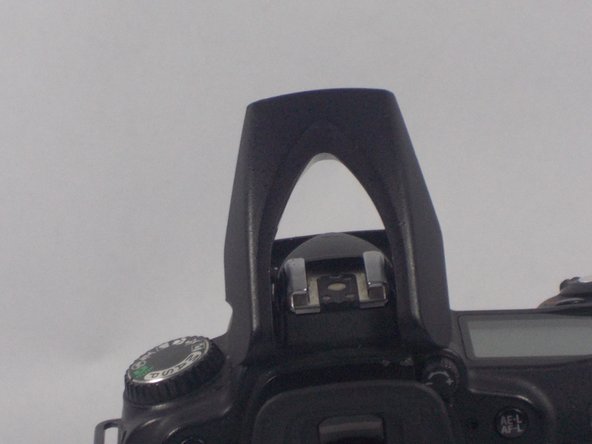
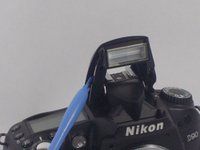
    1. Nikon D90 Flash Bulb Replacement, Open the Flash: шаг 1, изображение 1 из 3 Nikon D90 Flash Bulb Replacement, Open the Flash: шаг 1, изображение 2 из 3 Nikon D90 Flash Bulb Replacement, Open the Flash: шаг 1, изображение 3 из 3
      • Use a plastic opening tool to lift up the flash.

      Спросите у FixBot

      Добавить комментарий

    2. Nikon D90 Flash Bulb Replacement, Flash Casing Screws: шаг 2, изображение 1 из 2 Nikon D90 Flash Bulb Replacement, Flash Casing Screws: шаг 2, изображение 2 из 2
      • Using a PH00 screwdriver, remove the two 5.3 mm Phillips screws from the flash casing.

      • Be careful not to strip the screw heads.

      Спросите у FixBot

      Добавить комментарий

    3. Nikon D90 Flash Bulb Replacement, Removing the Top Flash Casing: шаг 3, изображение 1 из 3 Nikon D90 Flash Bulb Replacement, Removing the Top Flash Casing: шаг 3, изображение 2 из 3 Nikon D90 Flash Bulb Replacement, Removing the Top Flash Casing: шаг 3, изображение 3 из 3
      • Use a plastic opening tool and carefully pry open the top casing of the flash.

      • Then, lift off the top casing of the flash.

      Спросите у FixBot

      Добавить комментарий

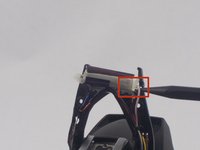
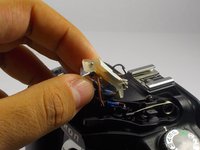
    1. Nikon D90 Flash Bulb Replacement, Removing the Bulb Tape: шаг 4, изображение 1 из 2 Nikon D90 Flash Bulb Replacement, Removing the Bulb Tape: шаг 4, изображение 2 из 2
      Инструмент, используемый на этом этапе:
      Tweezers
      $4.99
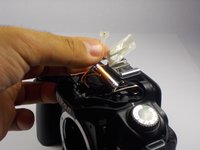
      • Carefully unclip the bulb casing from the plastic casing using tweezers.

      • Remove the black and white tape on the bulb casing.

      • This tape is what holds the wires and bulb in place.

      Спросите у FixBot

      Добавить комментарий

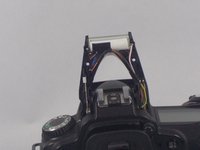
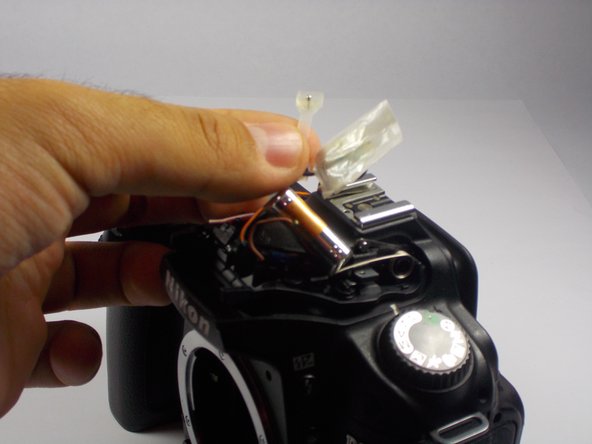
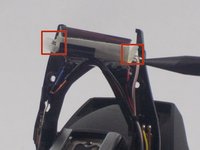
    2. Nikon D90 Flash Bulb Replacement, Removing the Bulb: шаг 5, изображение 1 из 3 Nikon D90 Flash Bulb Replacement, Removing the Bulb: шаг 5, изображение 2 из 3 Nikon D90 Flash Bulb Replacement, Removing the Bulb: шаг 5, изображение 3 из 3
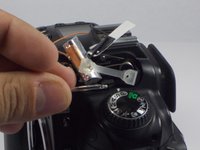
      • Remove the rubber stopper on the left and right side of the bulb.

      • Separate the rubber stopper from the white and black tape.

      • The bulb can now be slid out and replaced.

      • Be careful not to break the bulb or cut yourself on the broken bulb.

      Спросите у FixBot

      Добавить комментарий

Заключение

To reassemble your device, follow these instructions in reverse order.

Отменить: Я не выполнил это руководство.

8 человек успешно провели ремонт по этому руководству.

jonothon cawley

Участник с: 10/20/14

354 Репутация

Автор 2 руководств

Команда

UMass Dartmouth, Team 1-7, Duarte Fall 2014 Участник UMass Dartmouth, Team 1-7, Duarte Fall 2014

UMASSD-DUARTE-F14S1G7

3 членов

Автор 6 руководств

2 Комментарии к руководству

thanks for instruction…………really helpfull

hebi - Ответить Поделиться

Hi guys do you know where to get this bulb?please help

Martin Mitter - Ответить Поделиться

Добавить комментарий

Статистика просмотров:

За последние 24 часов: 3

За последние 7 дней: 13

За последние 30 дней: 52

За всё время: 8,313